Disclosure: If you make a purchase through the links posted below, I may receive a small compensation. Read the full disclosure.
Doodle Crate
Cost: $19.95/month.
Ships To: United States and Canada.
Coupon Code: Use code “SHARE30” to save 30% off your first month of Kiwi Crate and their family of boxes!
Doodle Crate is one of the new(er) lines in the Kiwi Crate family. Designed for girls ages 9-16, Doodle Crate includes all the materials and inspiration for DIY projects such as patterned pouches, friendship bracelets, or colorful candles. Crates encourage girls to tackle new challenges and gain creative confidence!
Doodle Crate ships via FedEx Smart Post and usually takes about a week to arrive to me.
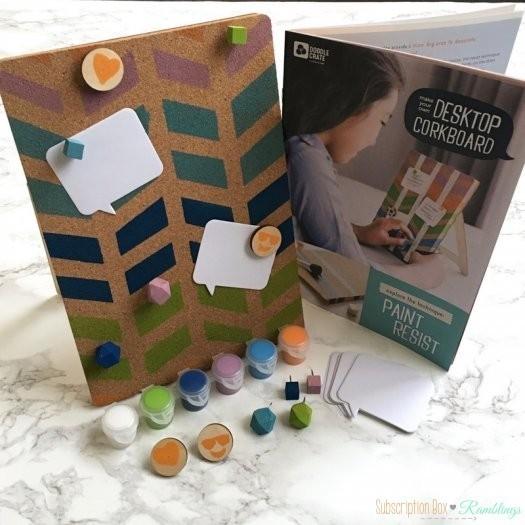
The September 2016 Doodle Crate project was Make Your Own Desktop Corkboard and explored the technique “Paint Resist.”
Materials
The Crate included all of the necessary materials to complete the project with the exception of water, paper towel and scissors.
Step #1 – Design the Corkboard
The first step was to design your corkboard. That involved deciding on a pattern for your board. I went with kind of a detailed chevron (?) pattern.
I ran out of the tape that came with this crate and had to use some I had on hand. I have lots of washi tape (too much), but it took a minute to find one with the same width.
After taping, it was time to paint! The crate only included one “spouncer” to spread the paint with so I had to do a lot of cleaning in between colors.
I let it dry for a few hours and then peeled the tape off to this! I think it came out great.
Step #2 – Paint the Pins
The next step was to paint the push pins that were included in the box. They also included some stencils to use, or you could freehand designs if you wanted.
The pins were a little awkward to paint, so I found that pinning them in the box was an easy way to keep them still so I could paint them. And then I just left them in there to dry.
I stayed simple with my designs, but I think they turned out great!
Step #3 – Build Your Corkboard
I found the instructions in here a tad too detailed (they had me second guessing if I was doing it right), but it all worked out.
I was a bit surprised at how sturdy this seemed.
The final step was to attach the cork to the stand. It had a sticky, peel-off back, so it was super easy! I love how this turned out, and I had a great time working on it. I think Doodle Crate projects are awesome because they aren’t overly involved and always turn out so well.
What do you think about Doodle Crate? If you are interested in subscribing, you can sign up here and use the coupon code “SHARE30” to save 30% off your first month of Doodle Crate and their family of brands.

