Disclosure: If you make a purchase through the links posted below, I may receive a small compensation. Read the full disclosure.
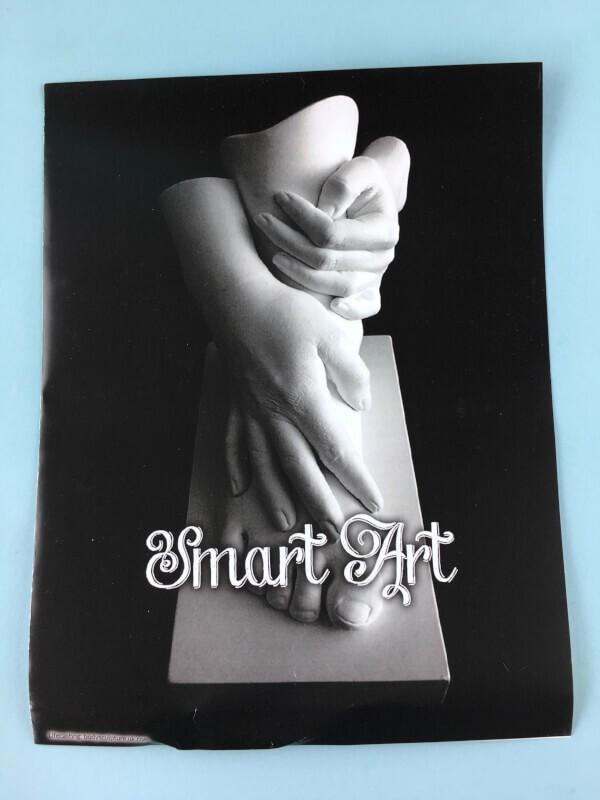
Smart Art provides artists with diverse, high-quality materials that inspire and nourish creativity. Each month subscribers receive a new box featuring a different artist that highlights their time-period, 8-11 trial/full sized art supplies, a suggested project, and a detailed pamphlet introducing a new art medium.
Smart Art Box
Cost: $49.95/month.
Ships To: United States.
Coupon Code: N/A
Disclosure: This complimentary box was sent for review purposes. As always, all opinions are my own, and no compensation was received.
Smart Art ships via USPS and ships on or around the 1st of the month. If you sign up on or before the 28th of the month, you will get the box that will be released on the 1st of the following month. All orders processed after the 28th will ship the month after the following month. For example, a purchase made on or before February 28th will be shipped March 1st. A purchase made on March 1st will be shipped April 1st.

I never know what to expect from Smart Art or what project will be included! That’s what makes it fun though.
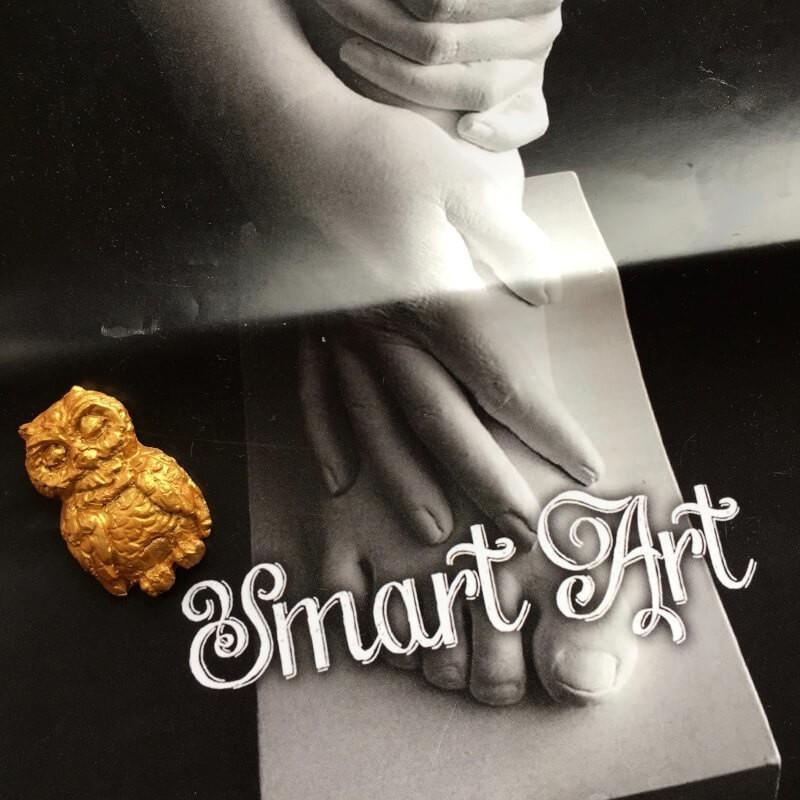
The May 2017 Smart Art explored Mold Making & Casting. The instruction booklet gives a bit of background on the project and also Project Pointers – these are key!
The Materials
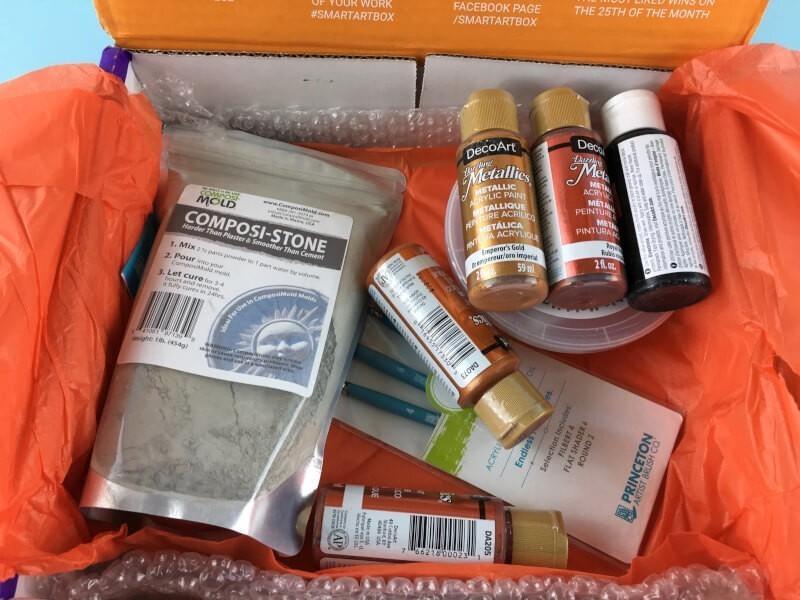

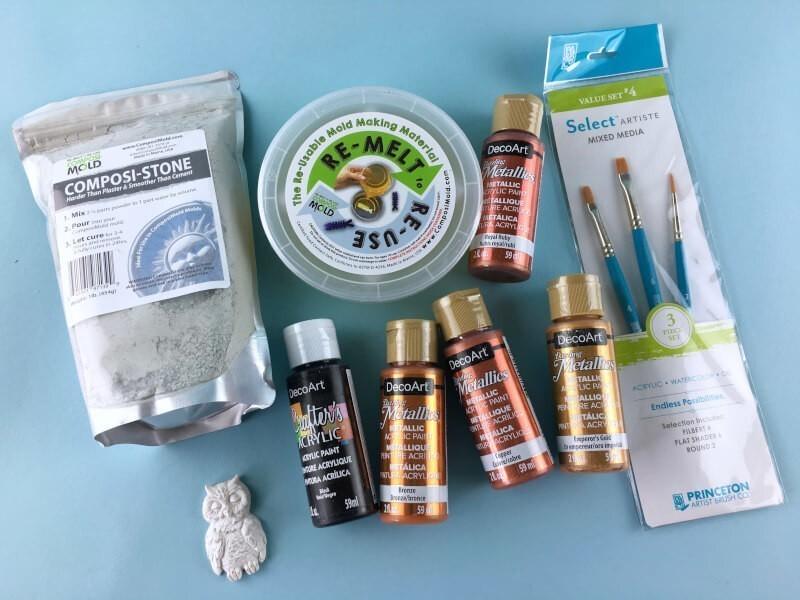
The box included:
~ComposiMold Original 6oz ($15.95)
~Composi-stone 1lb ($13)
~Crafter’s Acrylic Paint Black ($2.15)
~Prima Marketing Resin Owl ($1)
~Dazzling Metallics Acrylic Colors 4 – 2oz Bottles ($6.12)
~Princeton Artist Brush Co. Select Artiste Brush Set #4 3PCS ($9.99)
Total Materials Value: $48.21
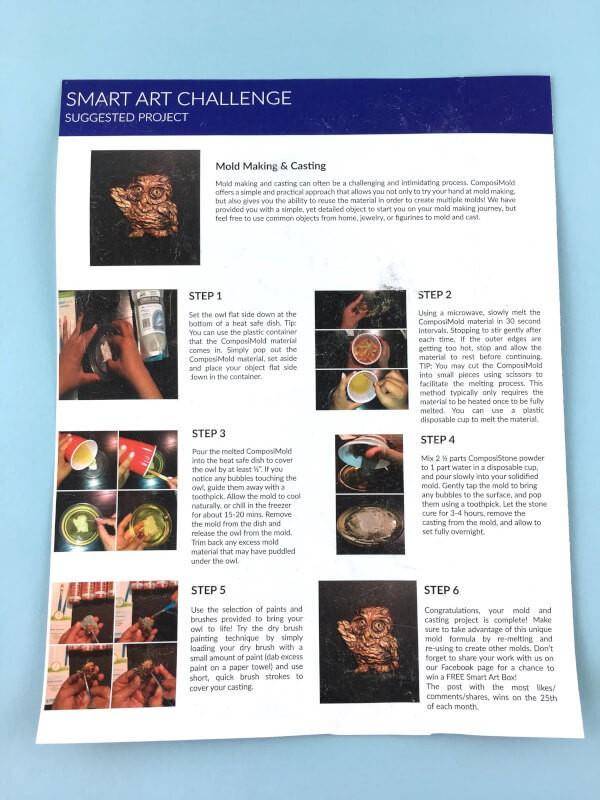
Instructions
Smart Art always includes step-by-step instructions. You can choose to follow along exactly or branch out on your own if you are comfortable.
The Project
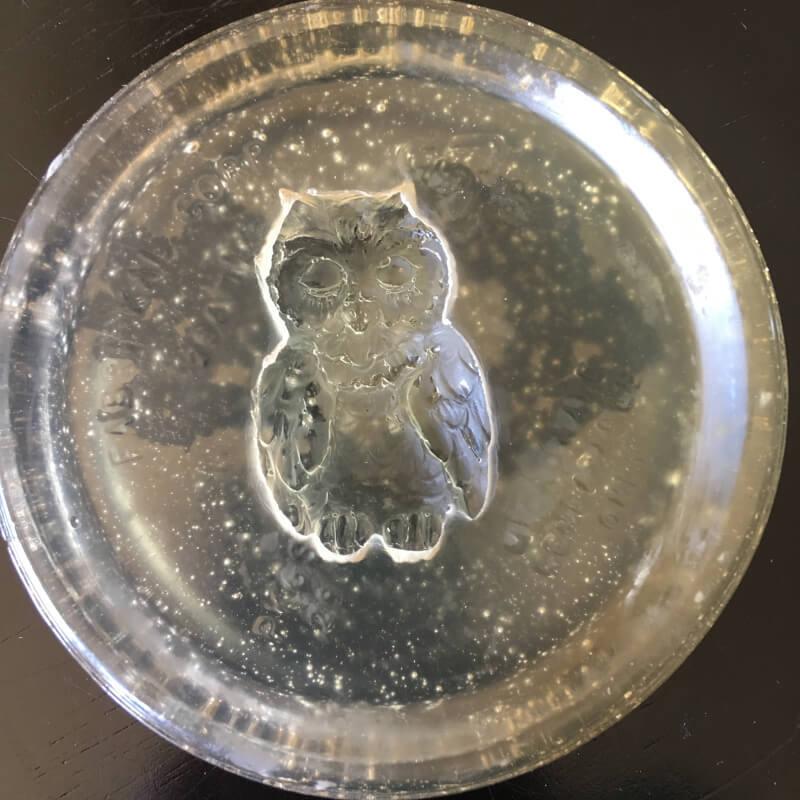
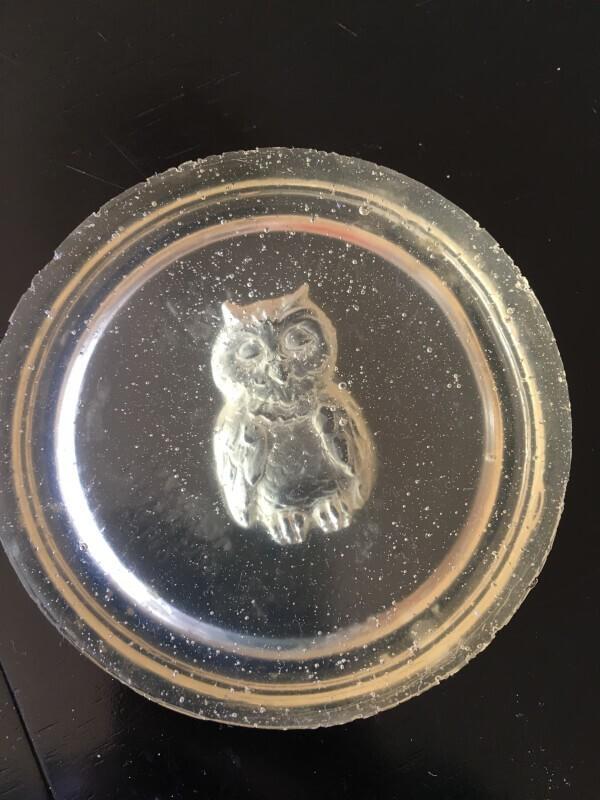
The first step was to make the mold. We (my husband helped me out with this one) used a cup to melt the ComposiMold in the microwave and used the dish the ComposiMold came in to form the actual mold. We put the owl flat in the container and then poured the ComposiMold over it. We let it dry overnight, and resin owl popped right out!
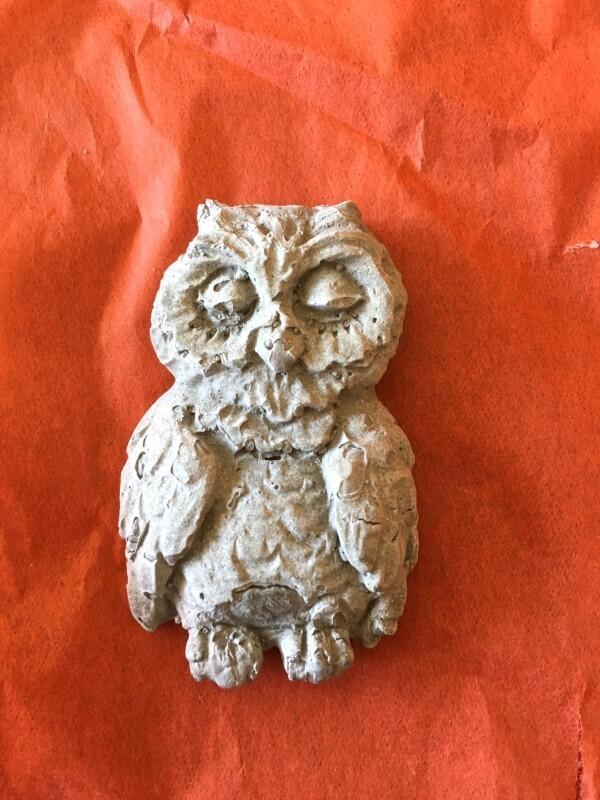
The next step – which I have no pictures of, was to use the ComposiStone (mix 2 1/2 parts to 1 part water) to cast the owl. This was fairly simple, and again we let it cure overnight.
Before Painting
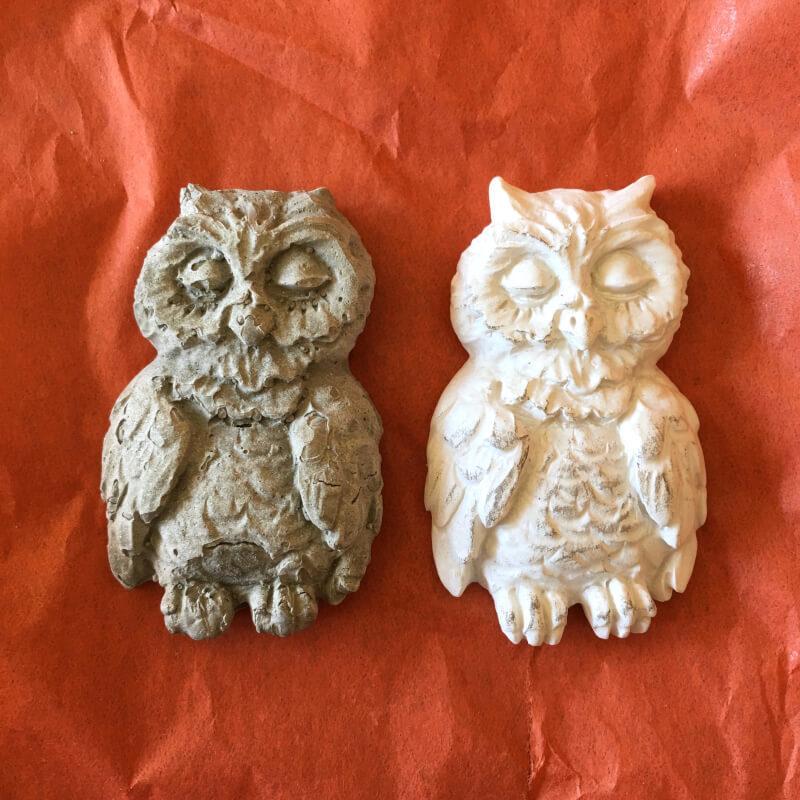
Ours is the one on the left. It has a tad less detail than the resin one, but I think it turned out great!
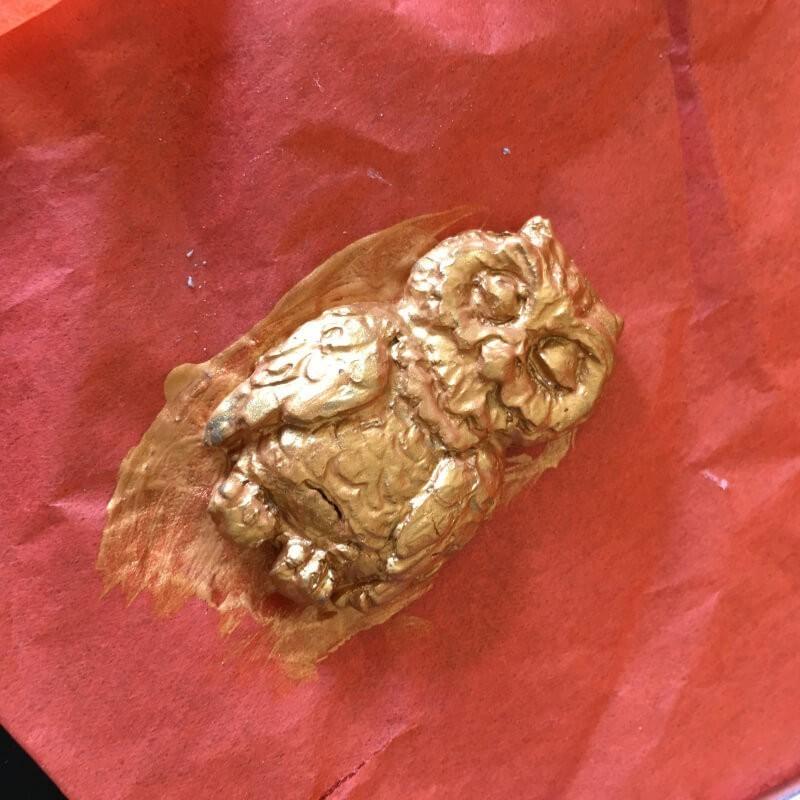

I used two coats of the included gold paint and think my little owl is adorable. We have a ton of left over supplies and could use them to make more owls (I’d guess we could make at least a dozen more), or we can remelt the ComposiMold to make other molds. The possibilities are endless!
What do you think of Smart Art? If you are interested in subscribing or want to learn more, you can check them out here.
SaveSave
SaveSaveSaveSaveSaveSave
SaveSave