Disclosure: If you make a purchase through the links posted below, I may receive a small compensation. Read the full disclosure.
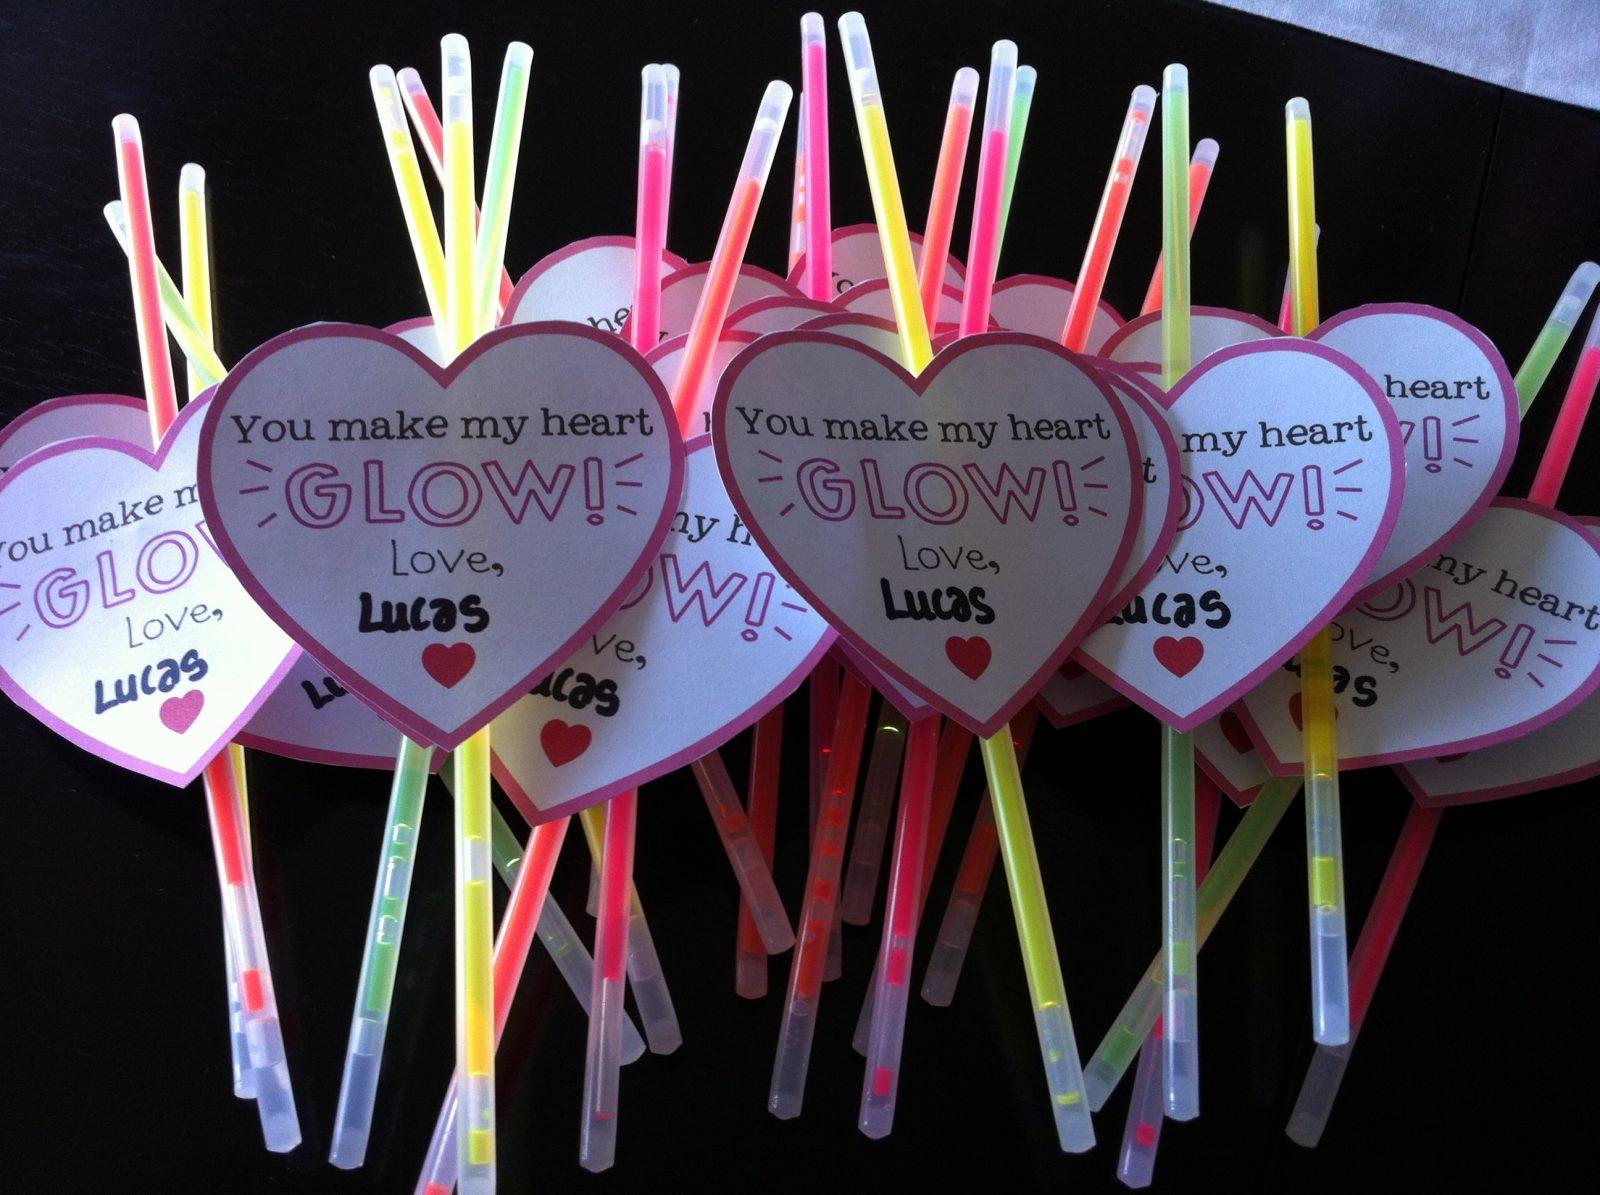
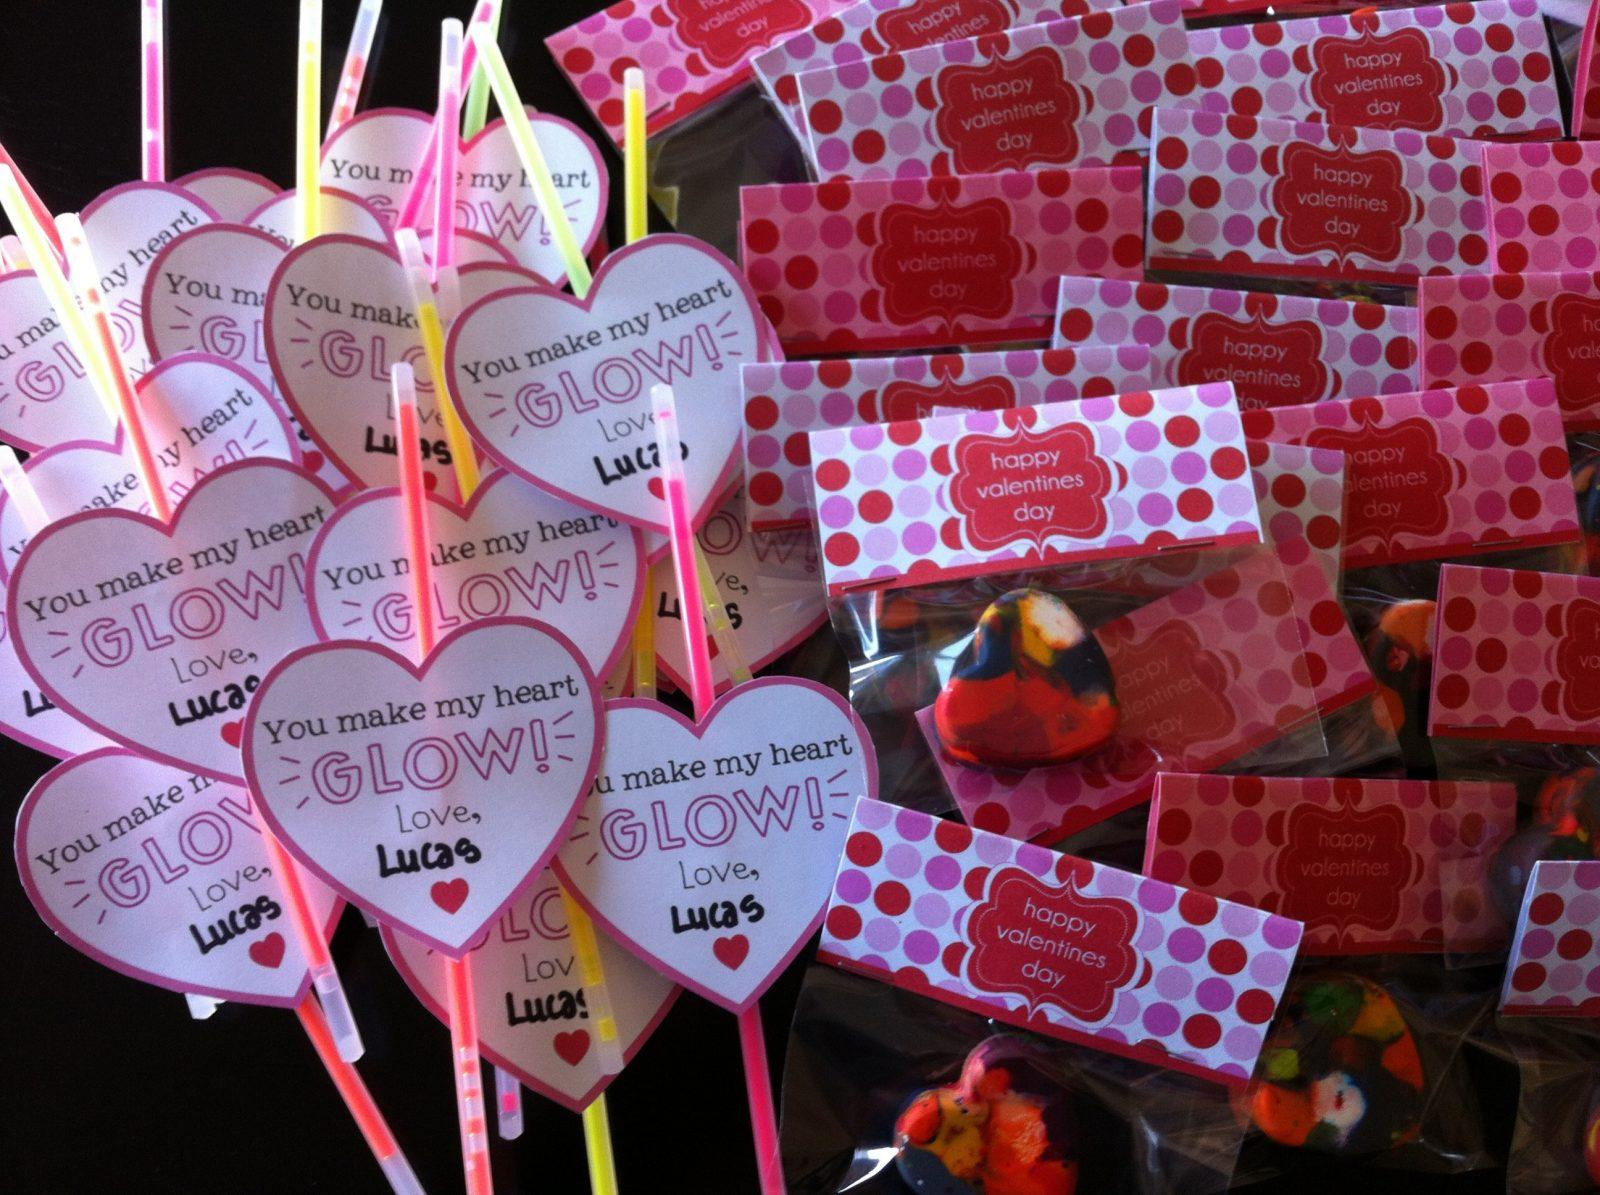
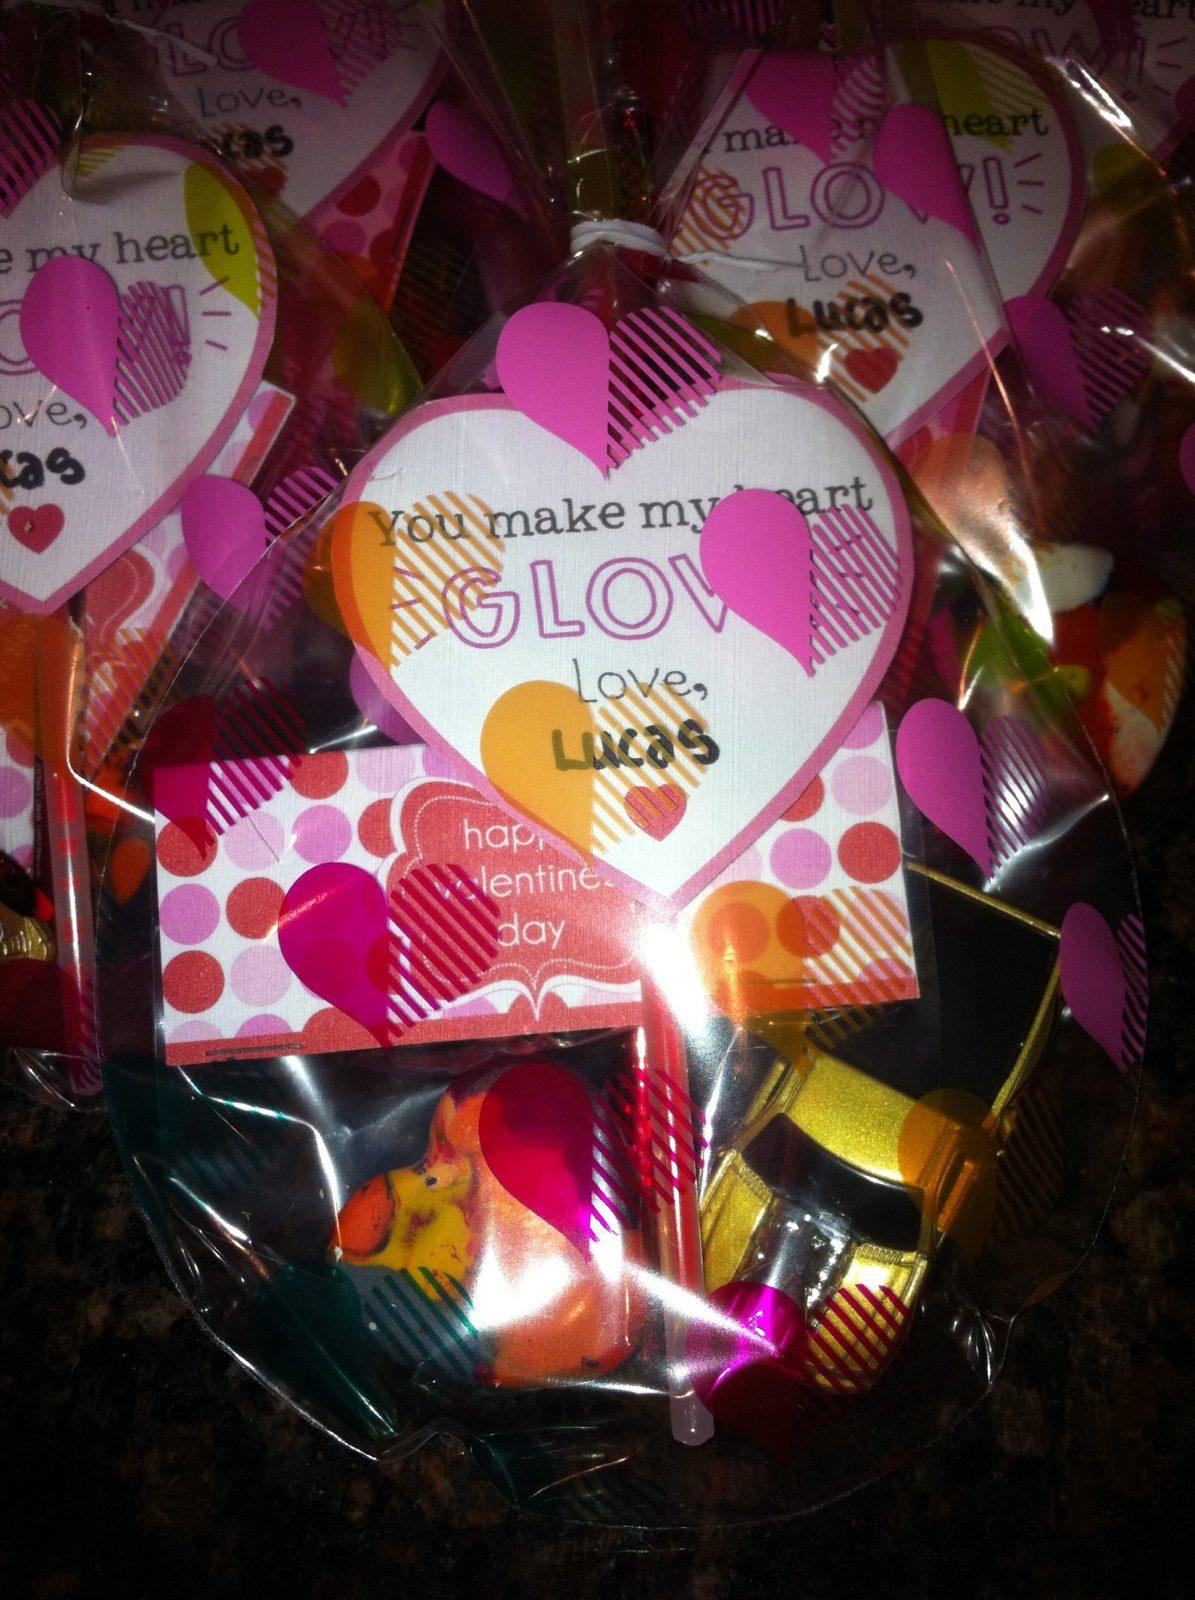
It would have been so easy to just go to Target and buy a box of Valentine’s and some candy for L’s school friends and call it a day, but no. I had to look at Pinterest for ideas and ended up not only making one “crafty” valentine, but two. I feel in love with the “You Make My Heart Glow” glow sticks idea and then decided I had to make heart shaped crayons too. Only because I wanted to use the cute little bags I had gotten at Joann Fabrics and because I found these cute labels to attach. L was helping me make them and kept telling me which friend should get which crayon / glow stick. Too cute!
And then I went into the hoard basement and found some Valentine’s Hot Wheels and Valentine’s pencils that I bought on clearance last year to round out the treat bags. All in all, it was a very inexpensive project and I would guess each treat bag cost somewhere around $1 – $1.50 each? Not too bad.
So what did you do for Valentine’s Day treats? Did you take the easy smart way out? Or did you get all Pinterest crazy like I did?
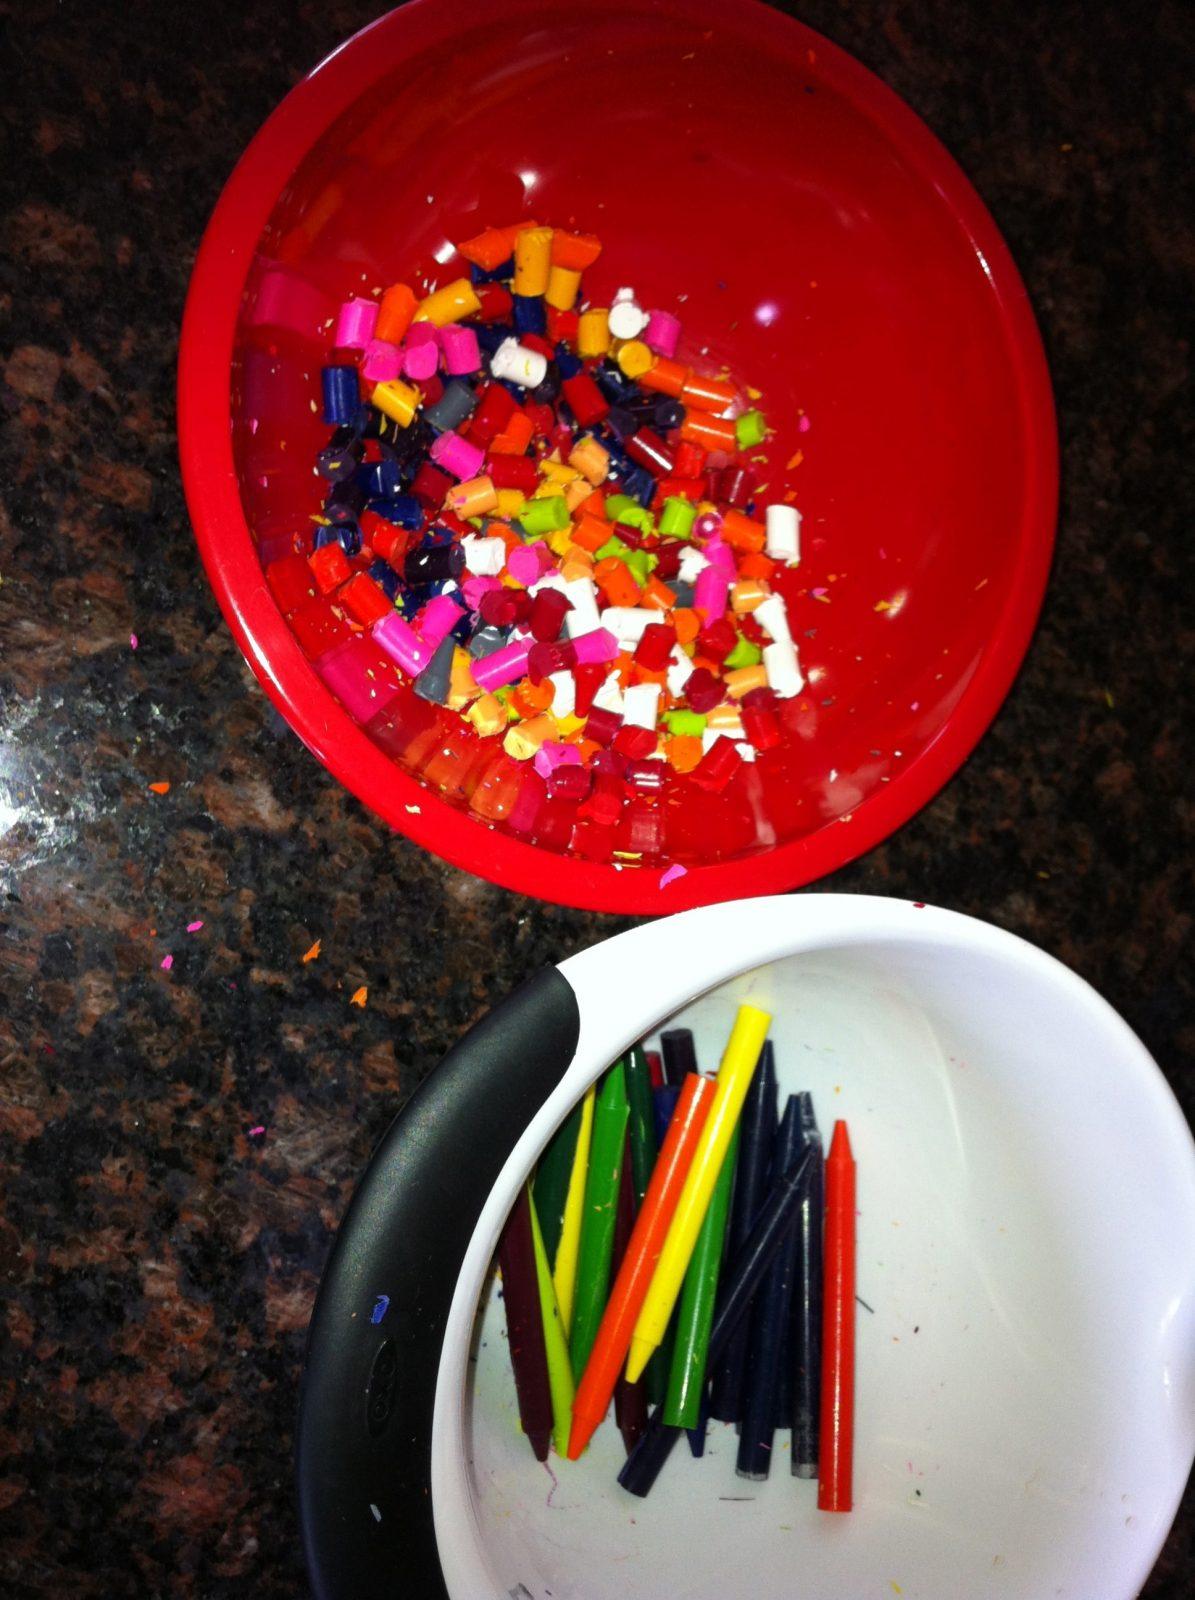
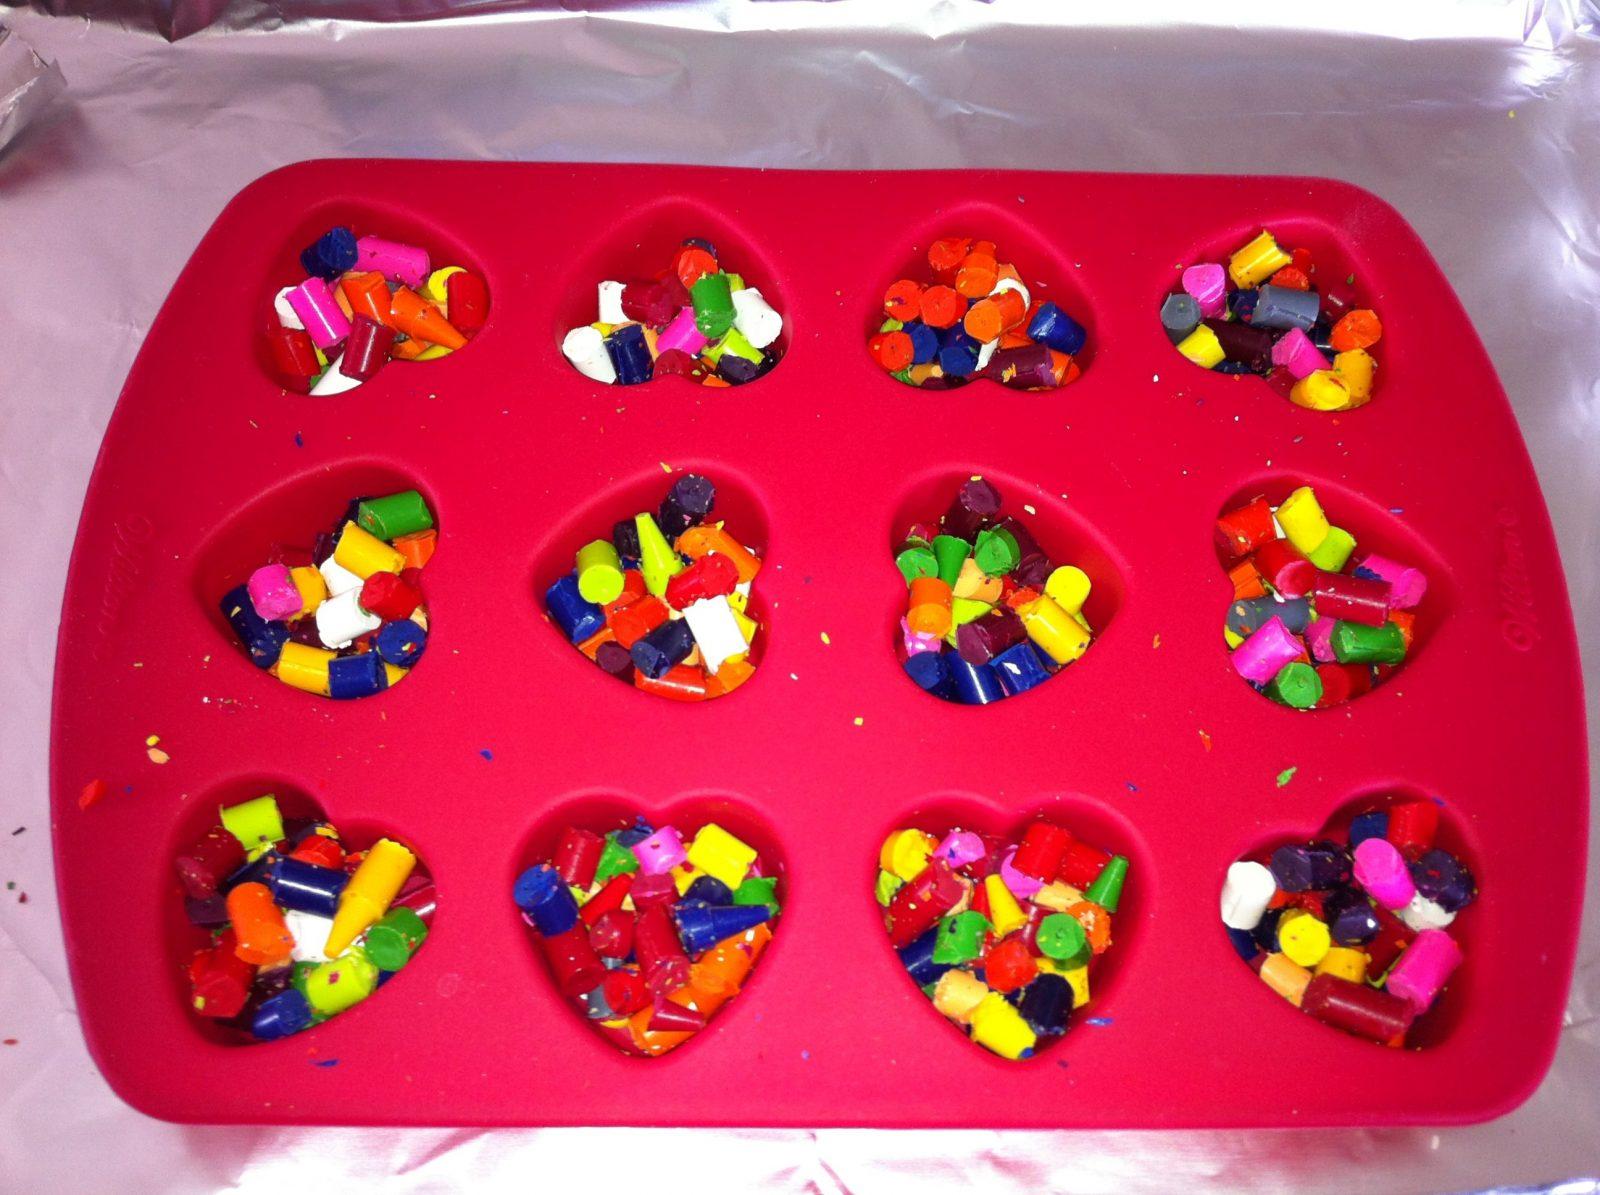
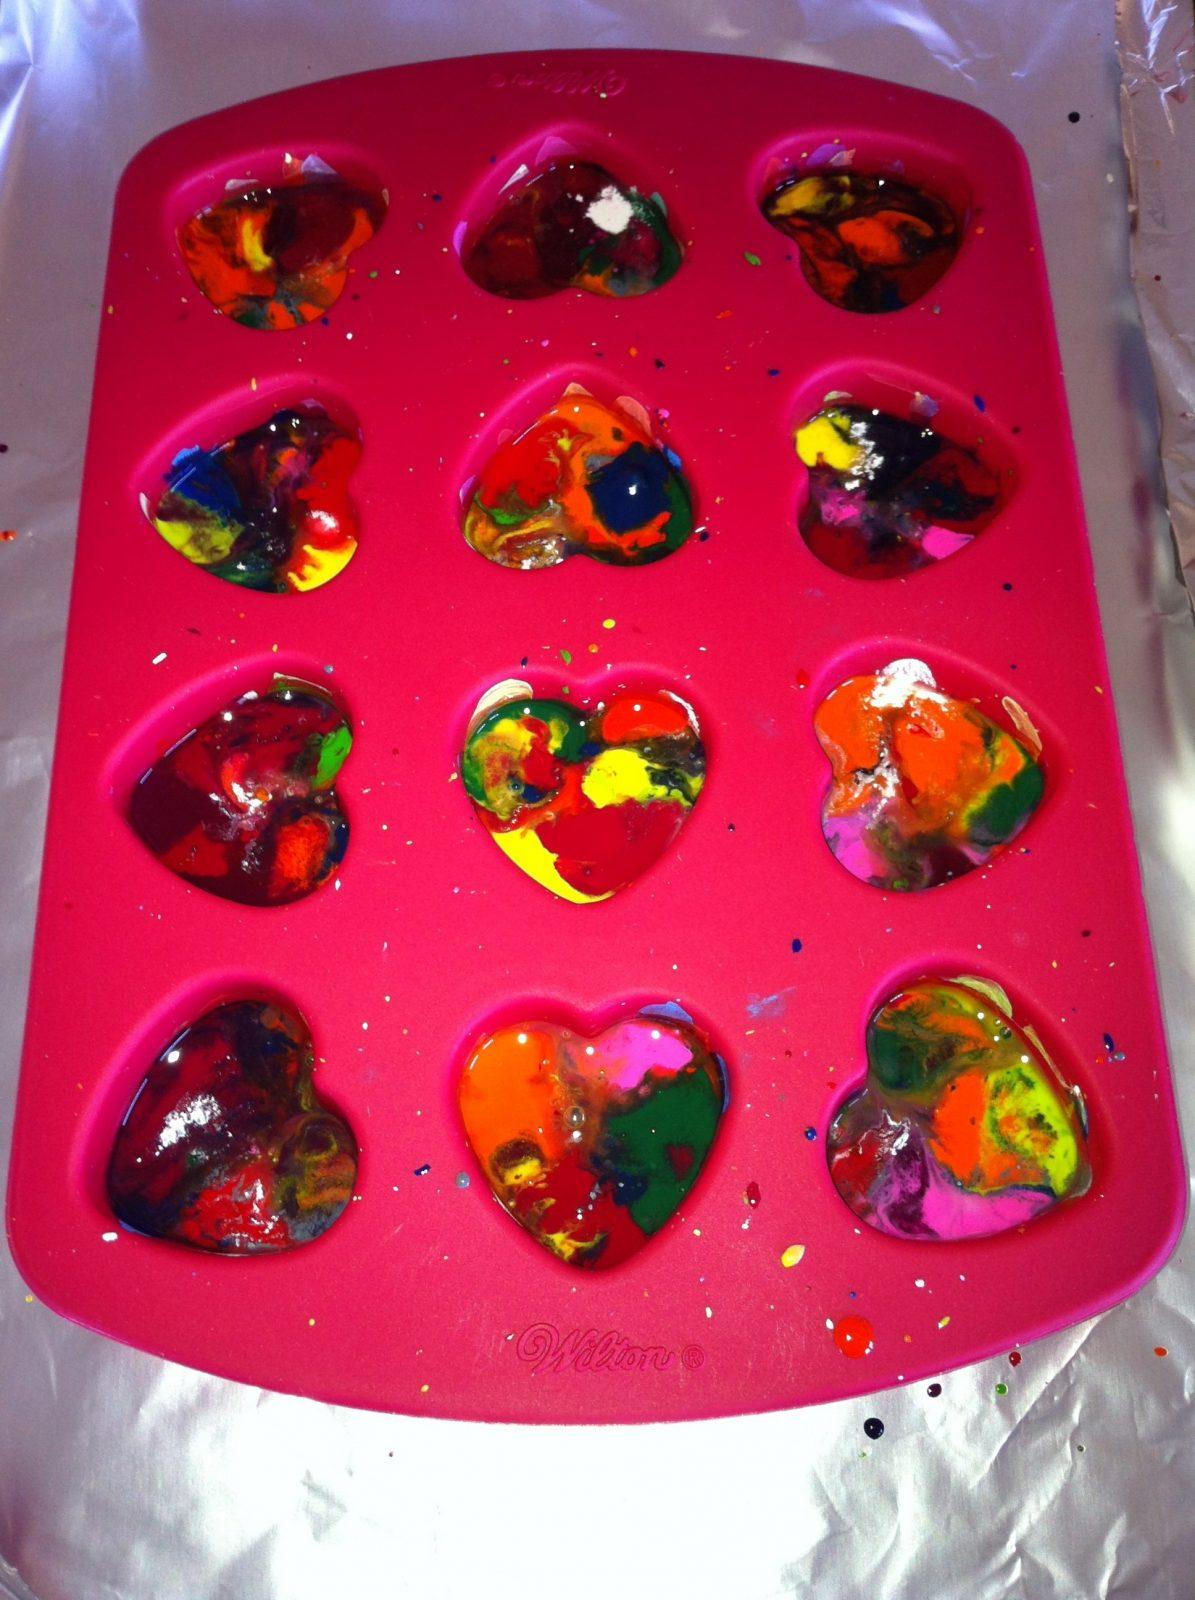
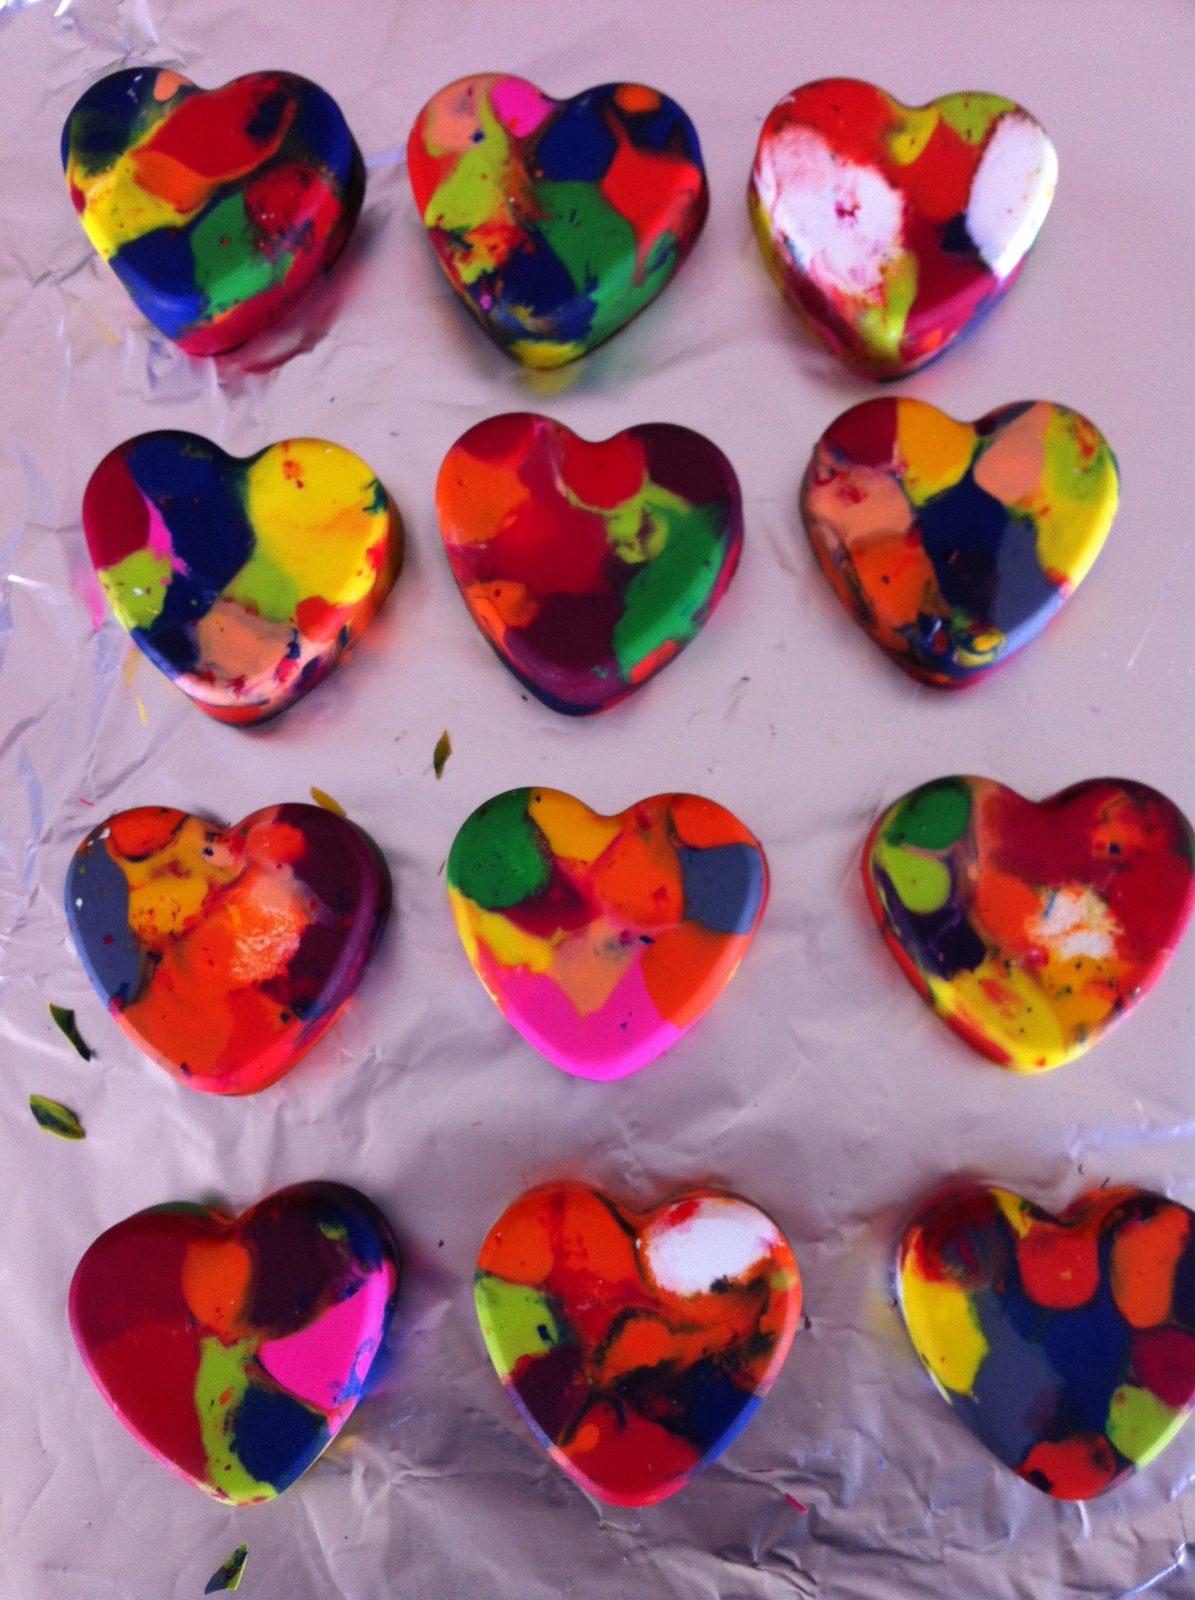


*I originally posted all about making crayons here, so I didn’t bother to repost all the steps. Although I did learn a few tricks from last time. The smaller the crayon pieces the quicker they melt. And don’t use too many dark colors.
**Oh, and be careful with the glow sticks. I bought 3 packs of 10 from Target. I only needed about 25, but I am so glad I had extra. I kind of forget how easy it is to crack those things! Oops!