Disclosure: If you make a purchase through the links posted below, I may receive a small compensation. Read the full disclosure.
Doodle Crate is one of the new(er) lines in the Kiwi Crate family. Designed for girls ages 9-16, Doodle Crate includes all the materials and inspiration for DIY projects such as patterned pouches, friendship bracelets, or colorful candles. Crates encourage girls to tackle new challenges and gain creative confidence!
Doodle Crate
Cost: $19.95/month.
Ships To: United States and Canada.
Coupon Code: Use code “SHARE30” to save 30% off your first month of Kiwi Crate and their family of boxes!
Doodle Crate ships via FedEx Smart Post and usually takes about a week to arrive to me.
I am far from a teen/tween, but I subscribe to Doodle Crate for myself. I find the projects to be (fairly) simple, fun to do and relaxing.
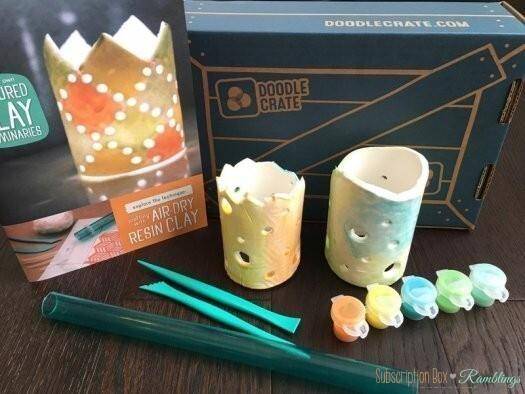
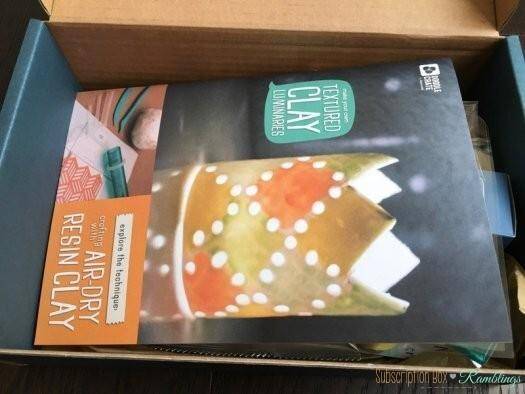
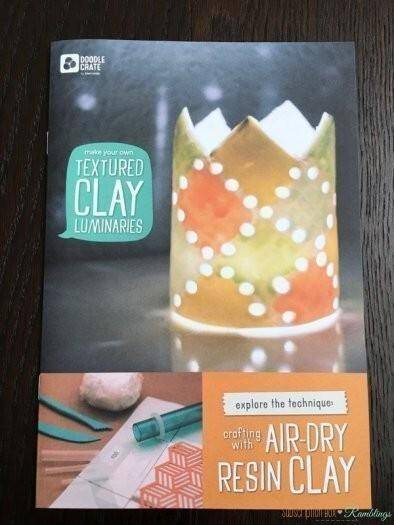
The March 2017 Doodle Crate explored the technique “Crafting with Air-Dry Resin Clay” and included the materials necessary to make your own Textured Clay Luminaries.
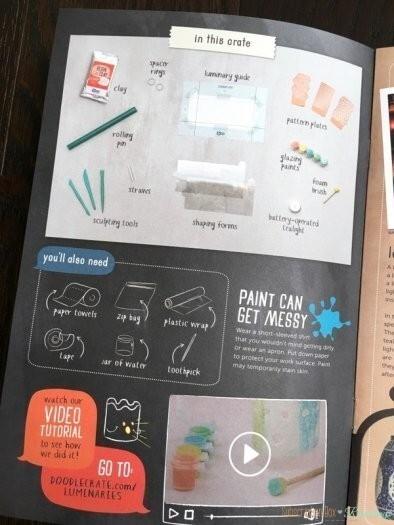
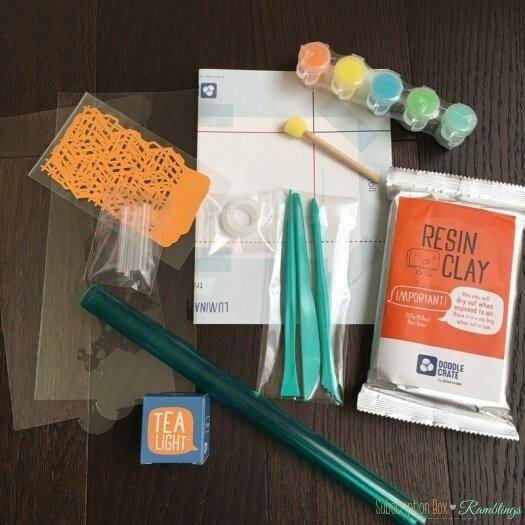
The box included: clay, a rolling pin, sculpting tools, straws, luminary guide, shaping forms, pattern plates, glazing paints, a foam brush and a battery-operated tealight. The information card also mentions that paper towels, plastic wrap, tape, water, a toothpick and a ziploc bag are also needed.
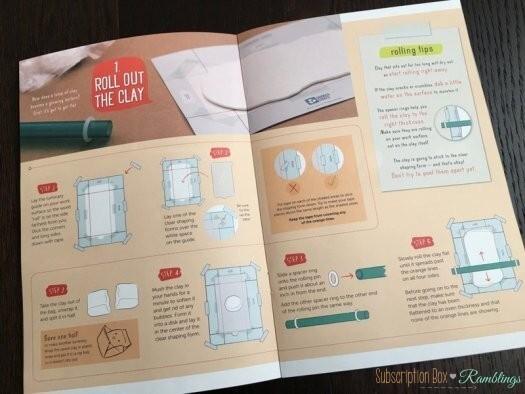
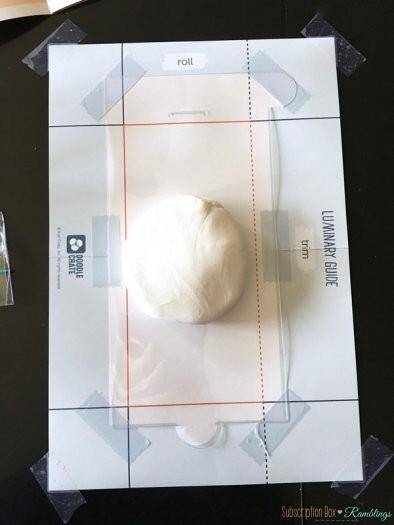
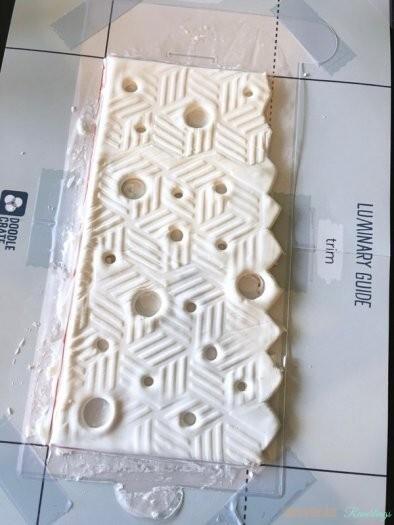
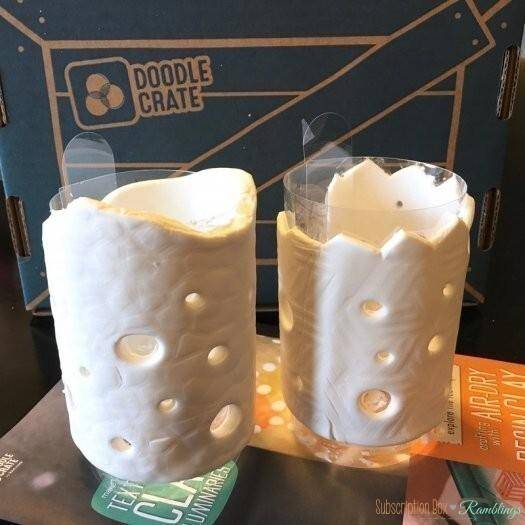
The first step was to roll out the clay into a flat sheet. The luminary guide was super helpful to figure out how big to make the clay. I did my luminaries one right after the other and ended up making my second one a bit thicker. I think I made my first one just a tad too thin.
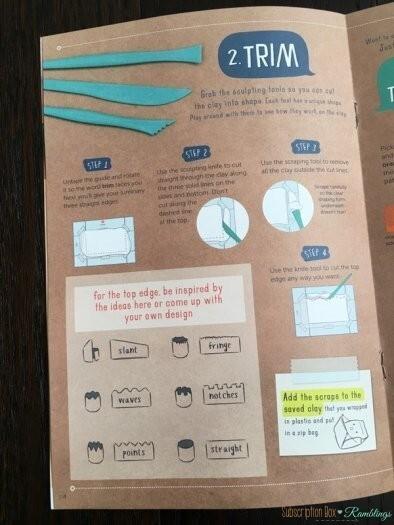
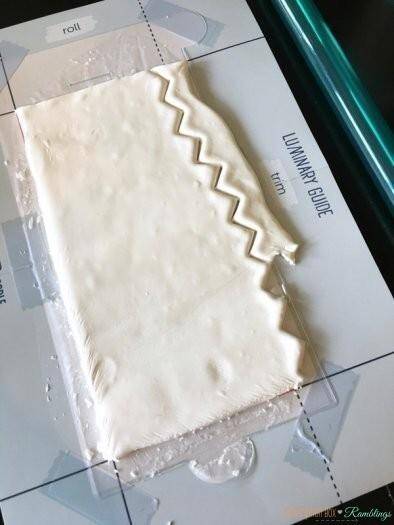
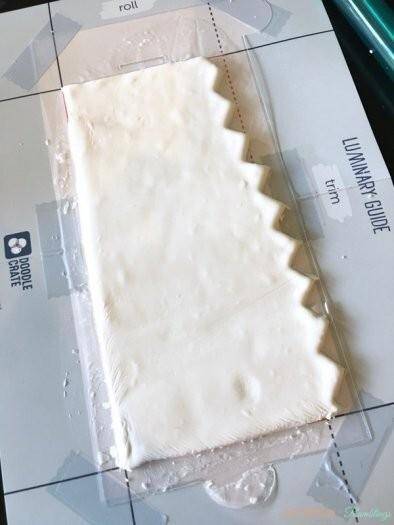
The next step was to trim the clay into shape. Agin the guide did most of the work. I used the tools to quickly trim around the sides and also to make a little pattern across the top edge. The plastic sculpting tools worked, but if you want super clean edges, you might want to use a “real” knife.
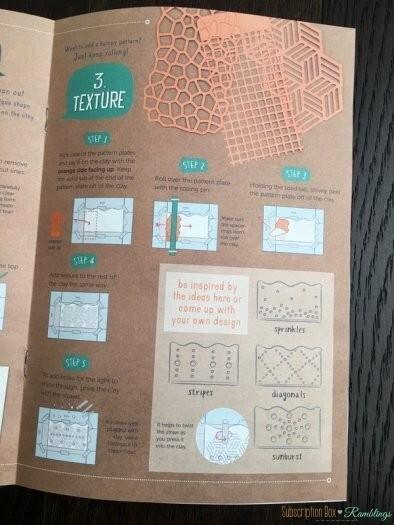
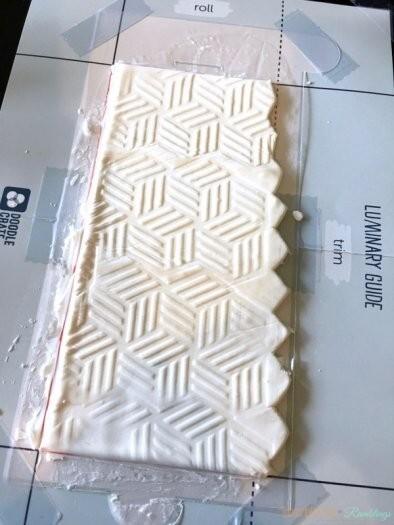
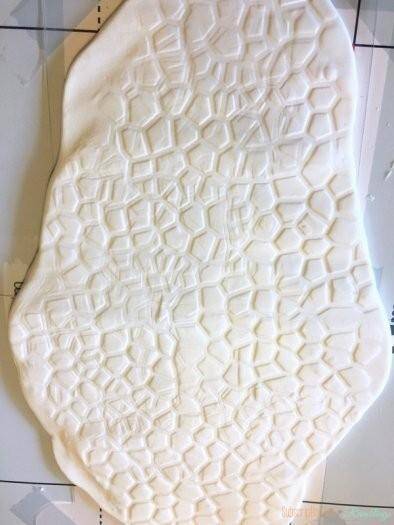
The box came with three different pattern plates and a few different sized straws to use to make your holes for the light to shine through. I wanted to get a deeper pattern, but the harder I rolled on the plate, the more my clay spread and didn’t fit into the guide anymore. For the second luminary, I used the pattern plates BEFORE trimming, which I think worked a bit better. I was able to get a deeper pattern and was then able to trim to shape.
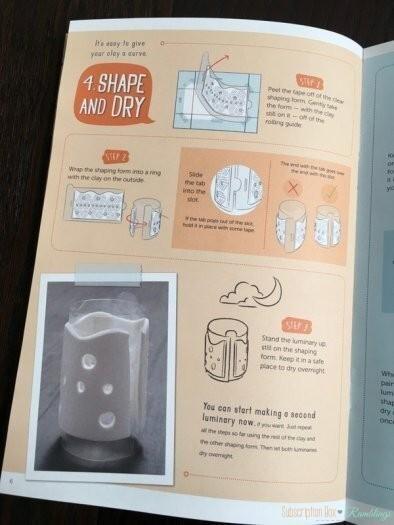
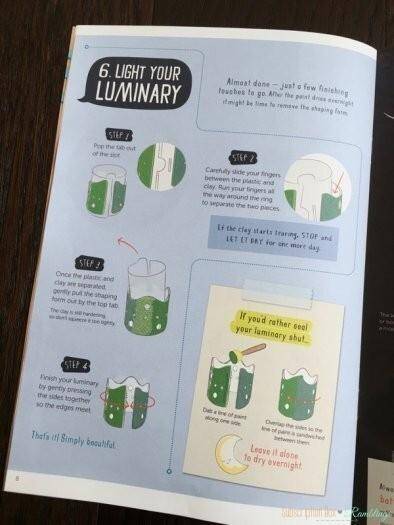
After you texturize your luminary, you peel the clay and the clear shaping form and connect the shaping form into a ring. The instructions say to let it sit overnight to dry, but I ended up leaving mine for two nights. It just wasn’t ready after one night.
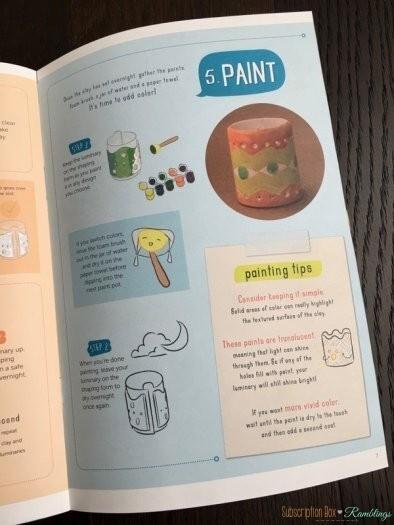
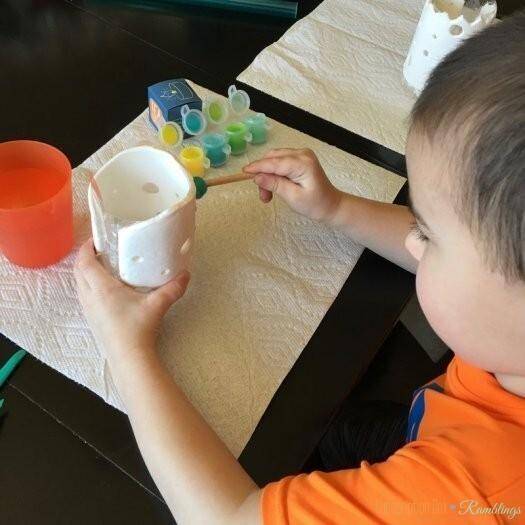
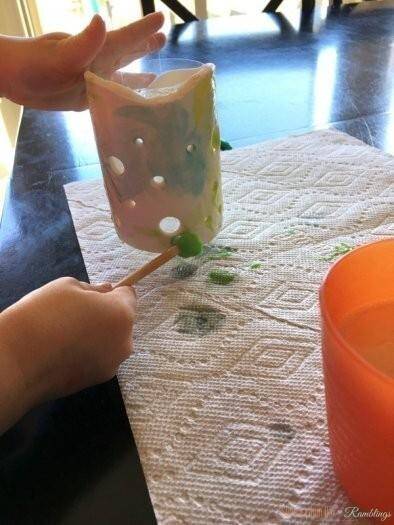
W, my 4-year-old, helped me paint the luminaires. He was all about it and did a better job than I did on mine ;). We let these dry overnight too.
Step #6 – Light Your Luminary / Finished Project
Maybe we won’t have the fanciest luminaries on the block, but we did have fun making them! I do wish that the box would have included two battery operated tealights. It seems silly to include enough materials for two luminaries, but only include one tealight.
What do you think about Doodle Crate? Doodle Crate is currently offering 30% off the first month of a new subscription with coupon code “SHARE30” at checkout.


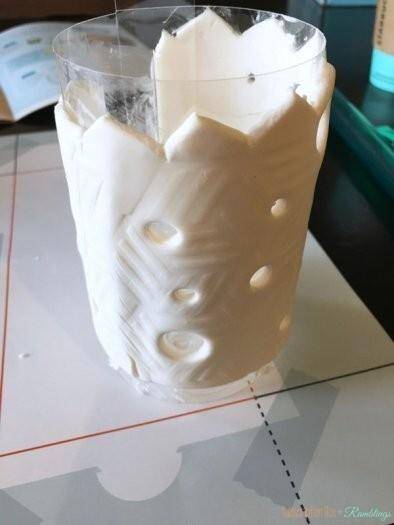
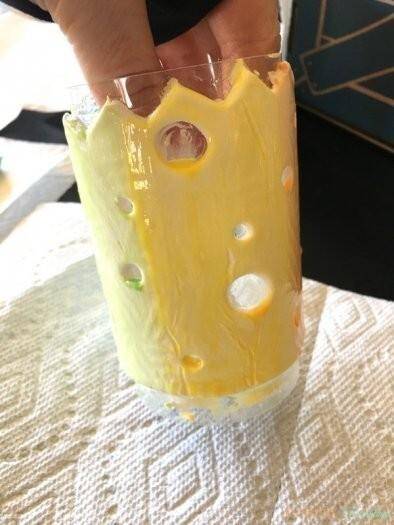
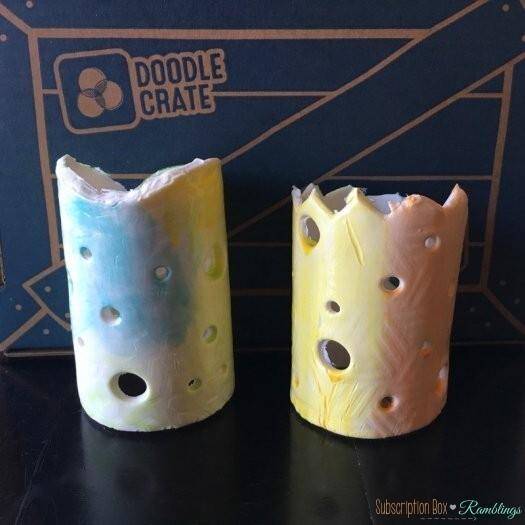
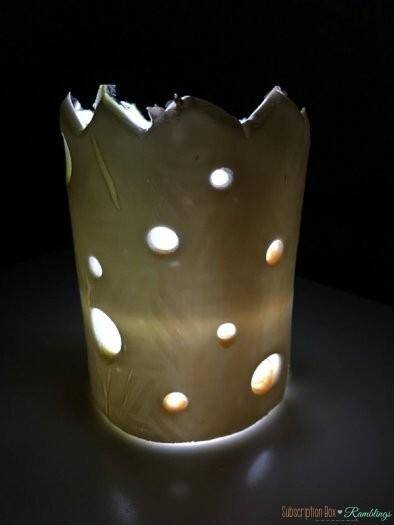
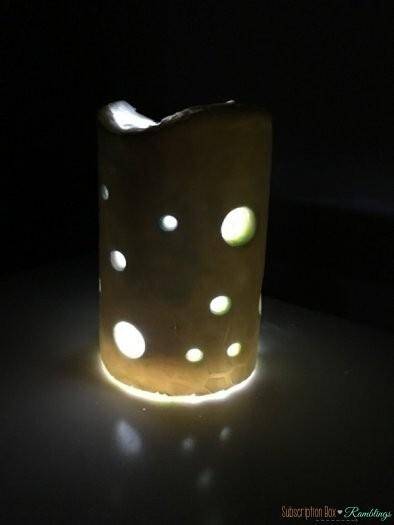


These came out really cute. It’s the memories that are made that count!
William loved it!