Disclosure: If you make a purchase through the links posted below, I may receive a small compensation. Read the full disclosure.
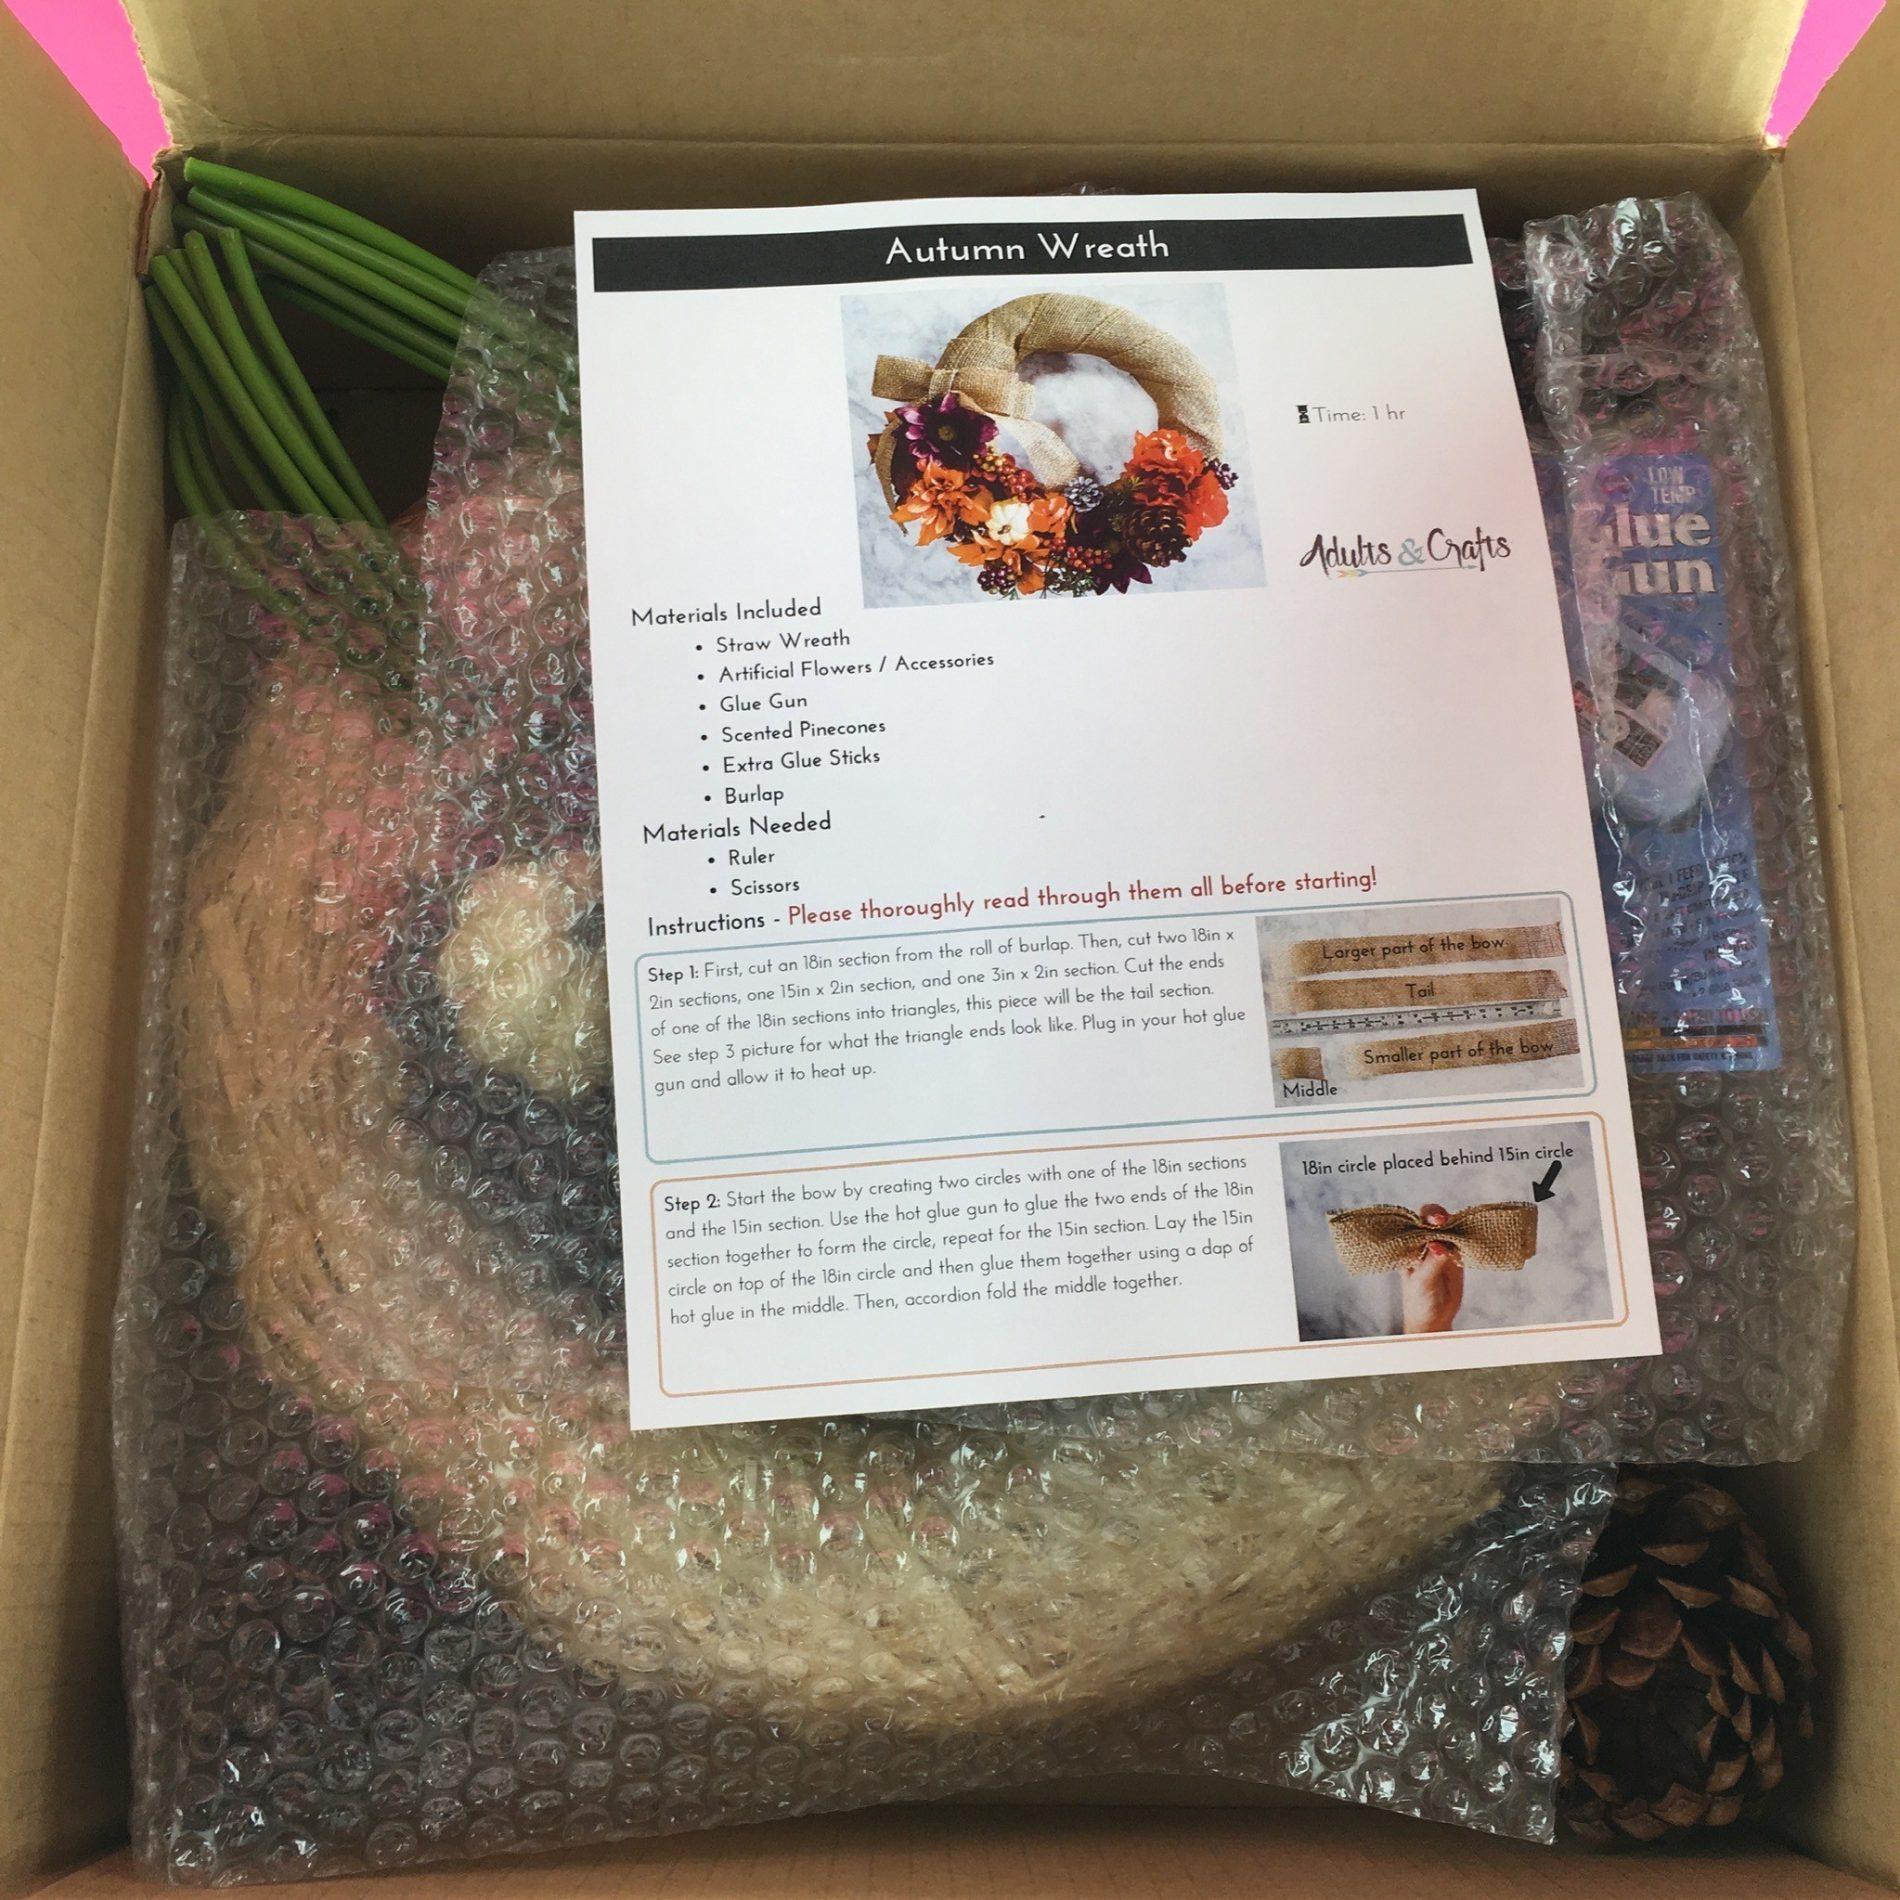
Adults & Crafts delivers customized DIY craft kits to your door each month. Boxes will include everything you need to go from zero to crafting hero—materials, instructions, and (most) tools you need to complete any one of their unique projects.
Adults & Crafts
Cost: $39.95/month.
Ships To: United States.
Coupon Code: “RAMBLINGS” to save 10% off.
Disclosure: This complimentary box was received for review purposes. All opinions are my own, and no compensation was received.

Adults & Crafts ships via USPS, FedEx or UPS depending on what they are sending that month and your location. My box shipped via USPS.
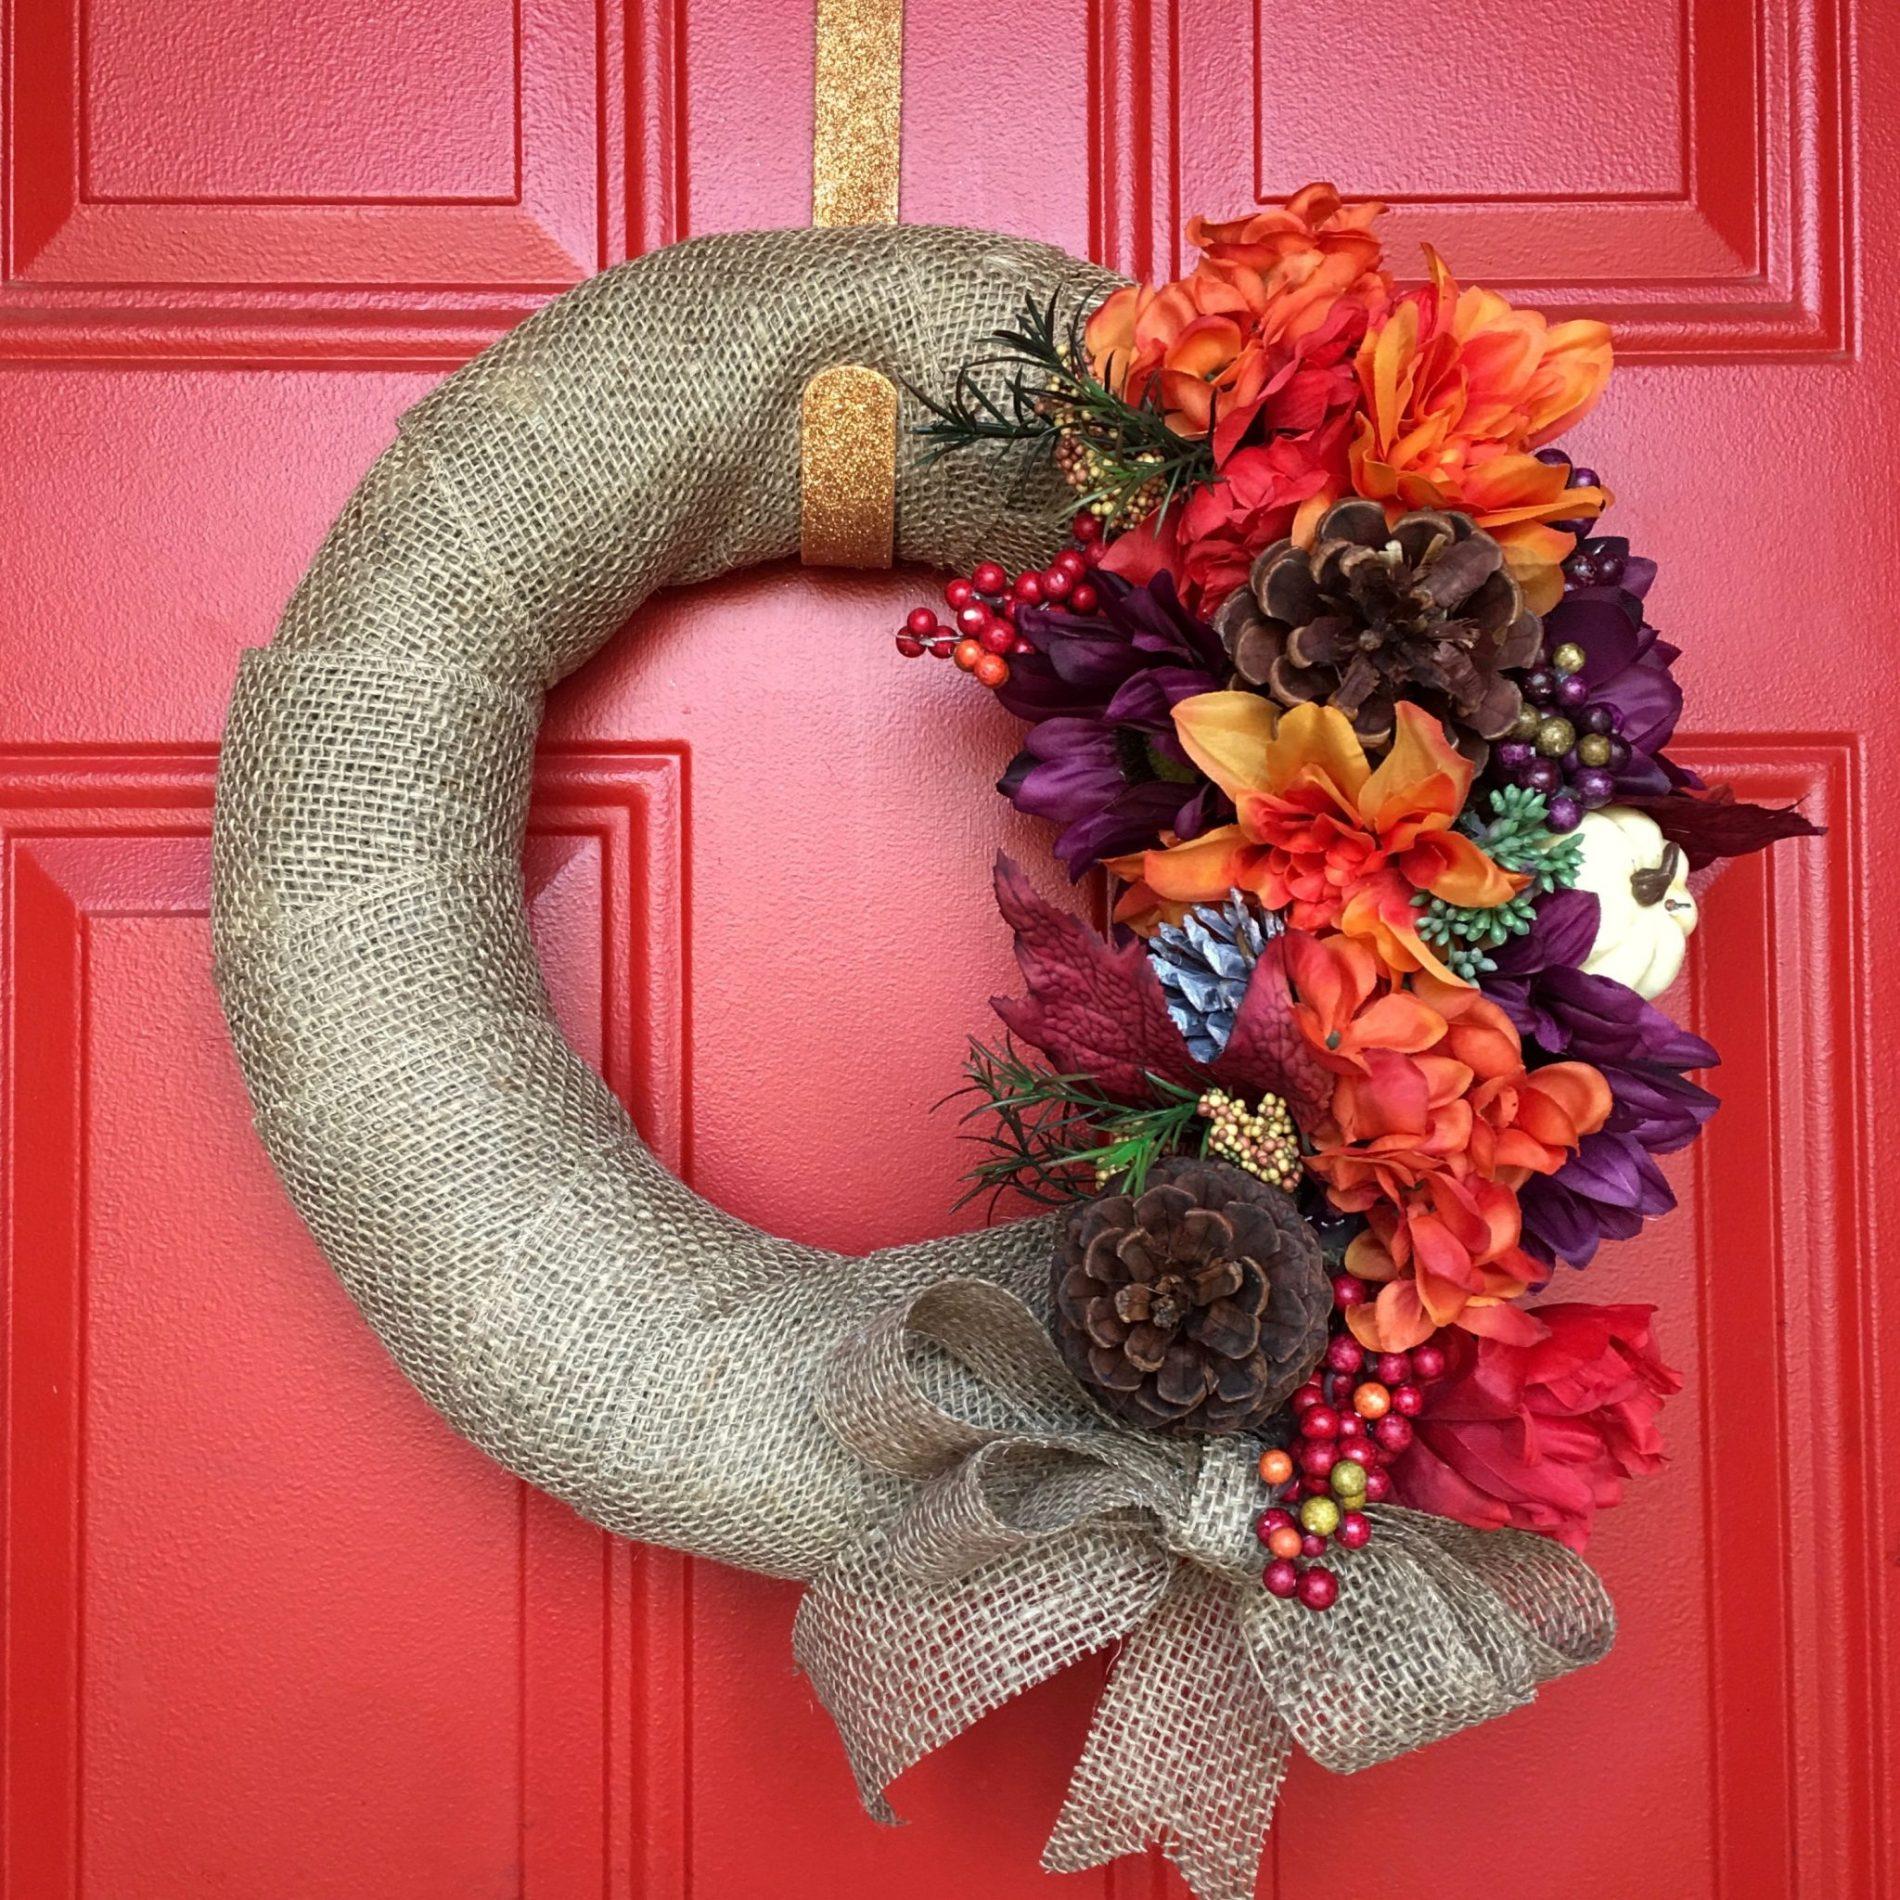
I couldn’t have been more excited to see this project this month! I love making wreaths!
Instructions
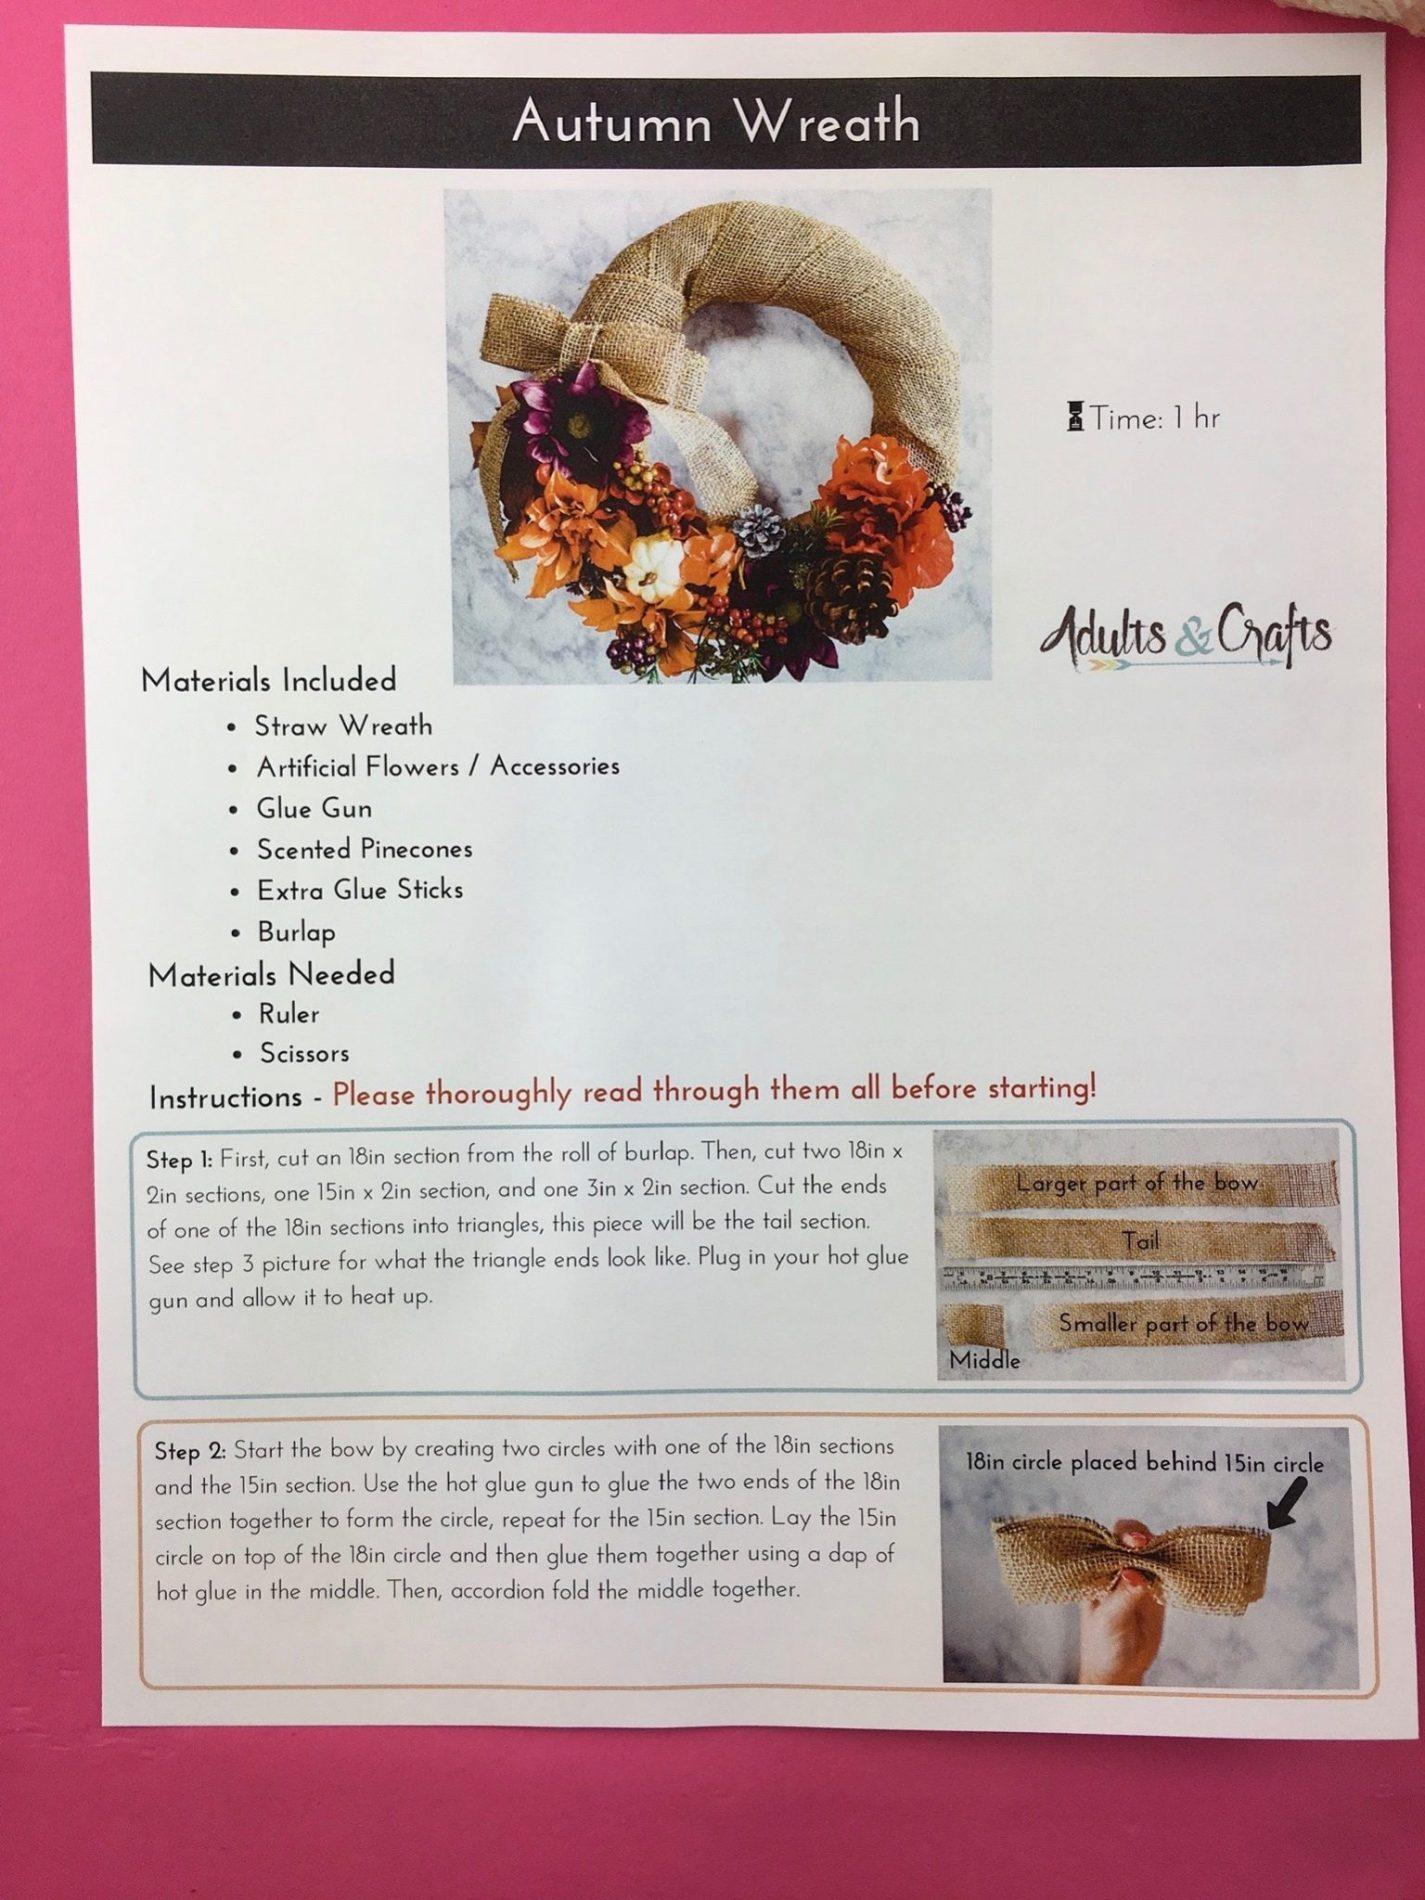
Adults & Crafts always includes Step by Step written project instructions. I don’t always find them perfectly clear (I think it is difficult to write crafting instructions), but I can always figure out what to do.
Materials
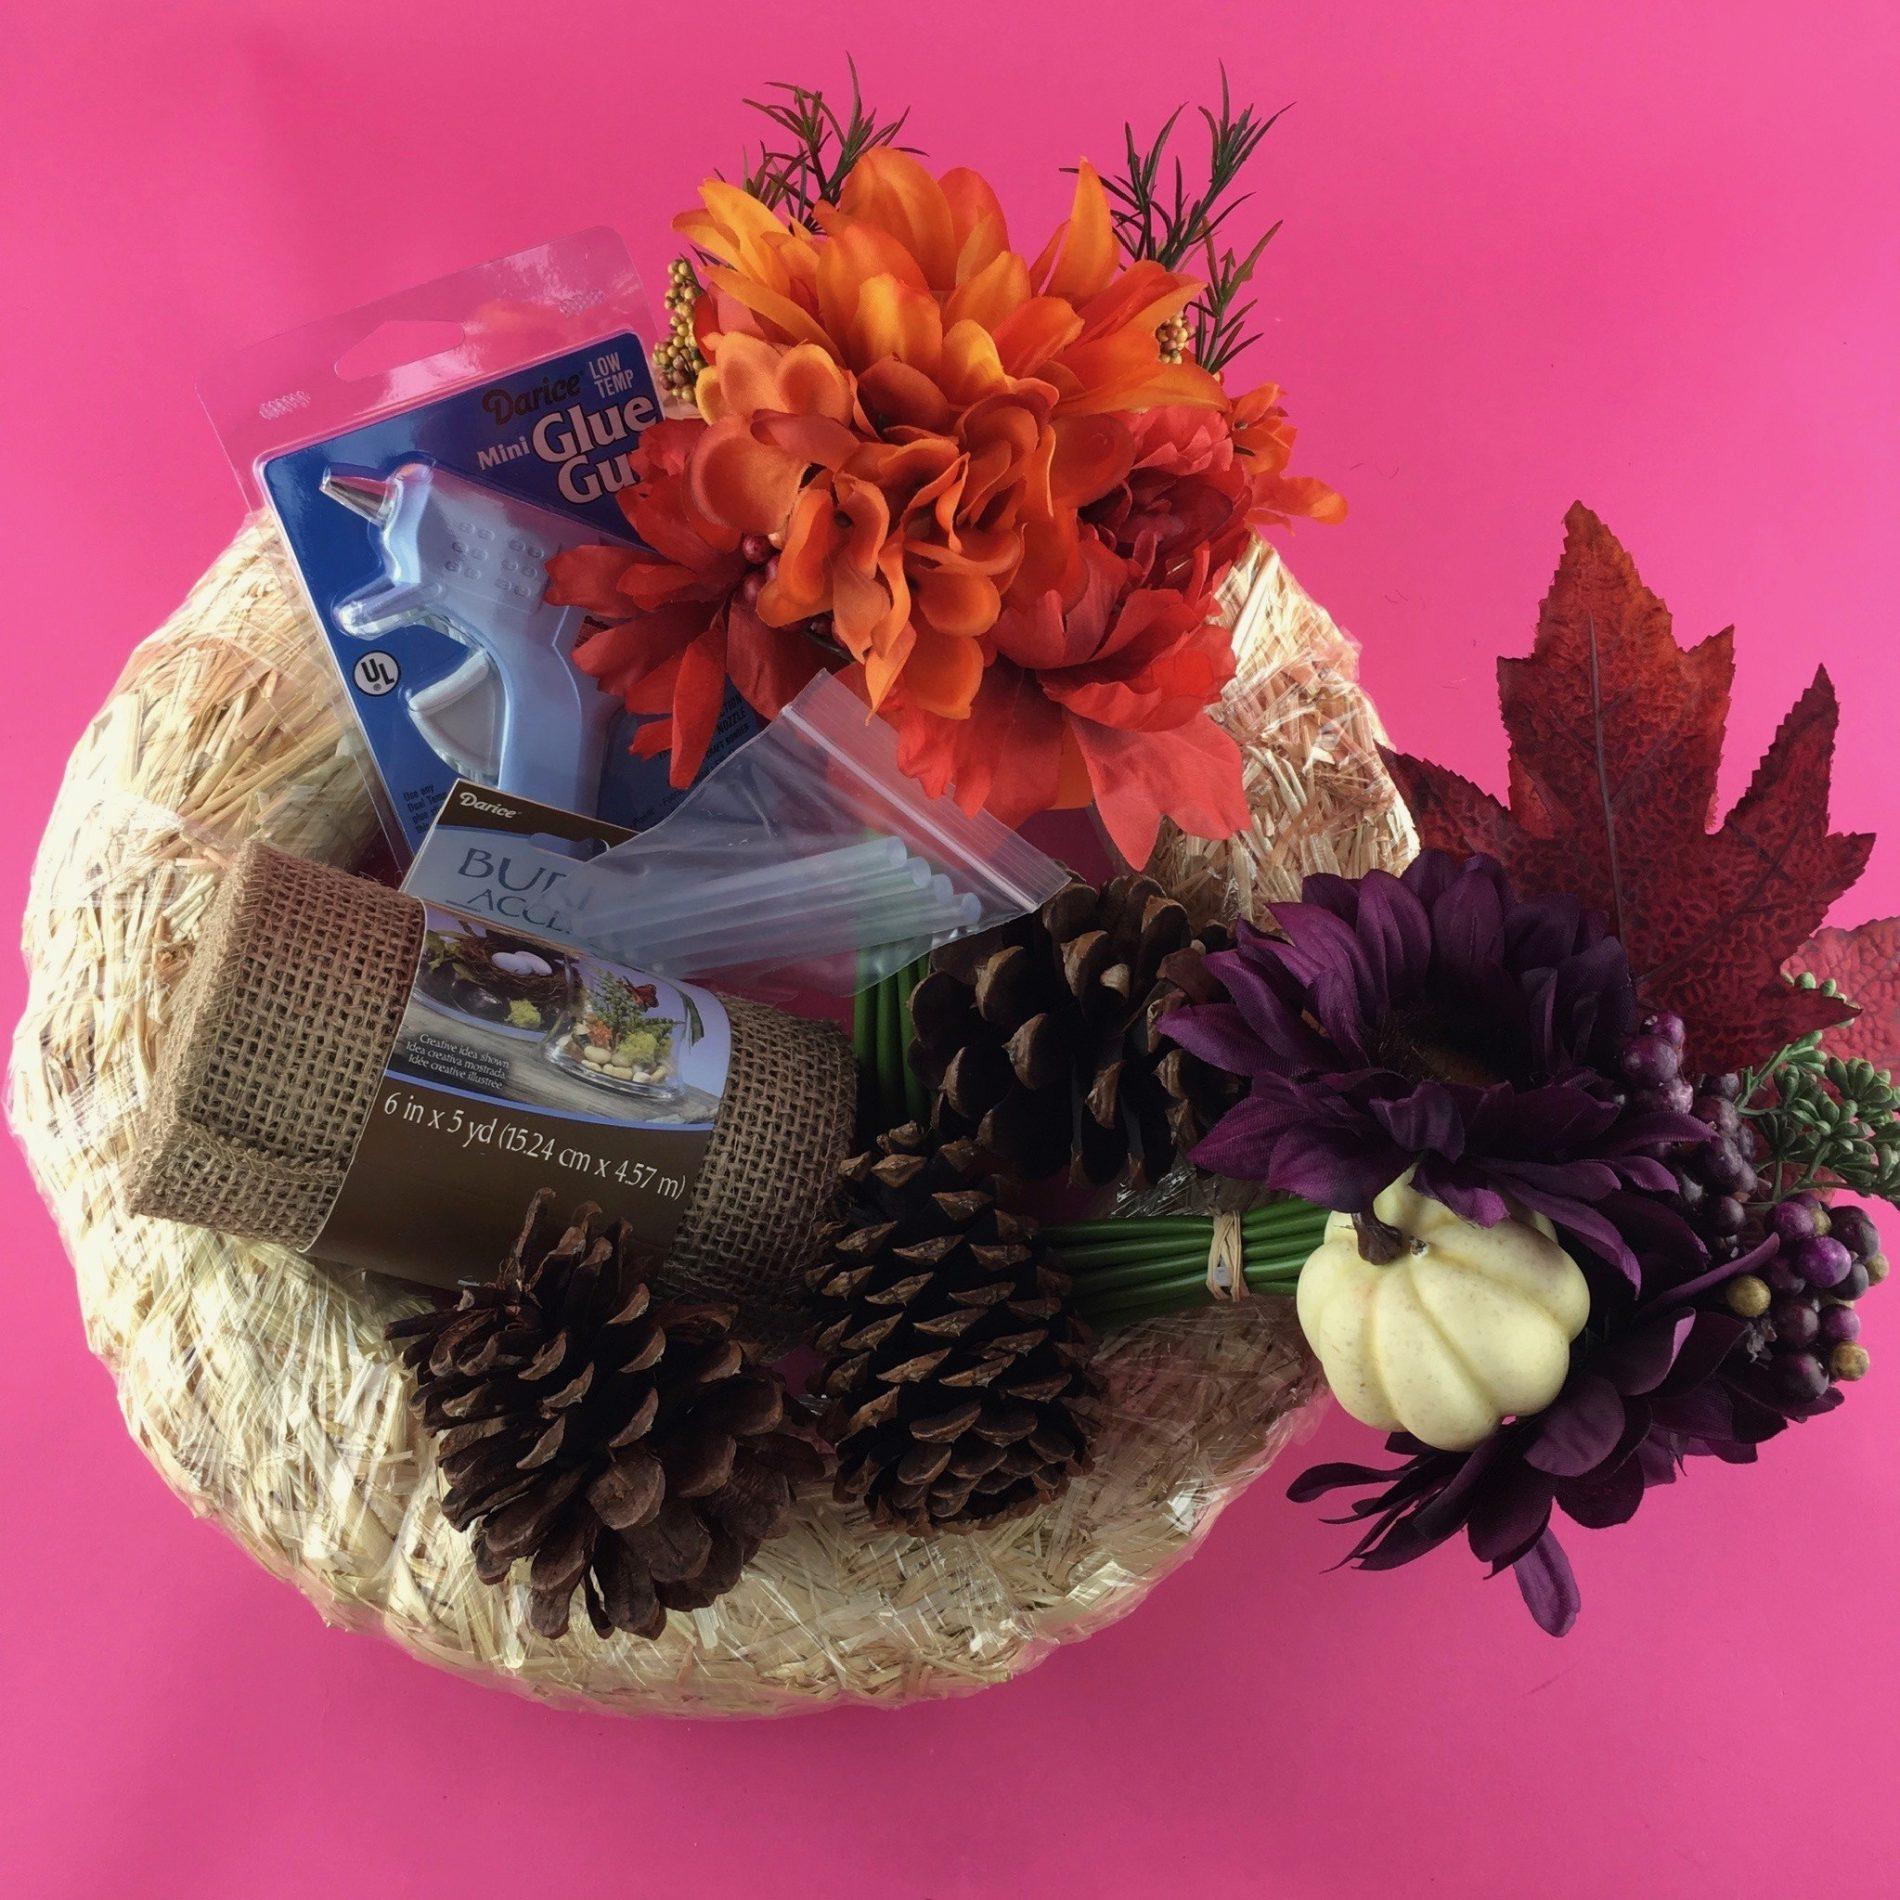
Materials included were:
~Straw Wreath
~Artificial Flowers / Accessories
~Glue Gun
~Scented Pinecones
~Burlap
Additional supplies needed were:
~Ruler
~Scissors
The Project
Step #1 – Cut Burlap for Bow
 The first step was to cut off an 18″ sectin from the roll of burlap and then cut that section into strips. These instructions were super clear and easy to follow. Cutting burlap is a tad messy, so I should have put down a piece of newspaper or something, but of course I didn’t.
Steps #2 & #3 – Make Bow
 Using those strips I just cut, it was time to create the bow. The instructions were very clear (basically it was just glueing and folding) right up until it was time to attach the “tail” of the bow. I played around with a few options and ended up attaching the tail how I thought looked best. It’s a craft subscription so there really aren’t any set “rules”. You can be creative!
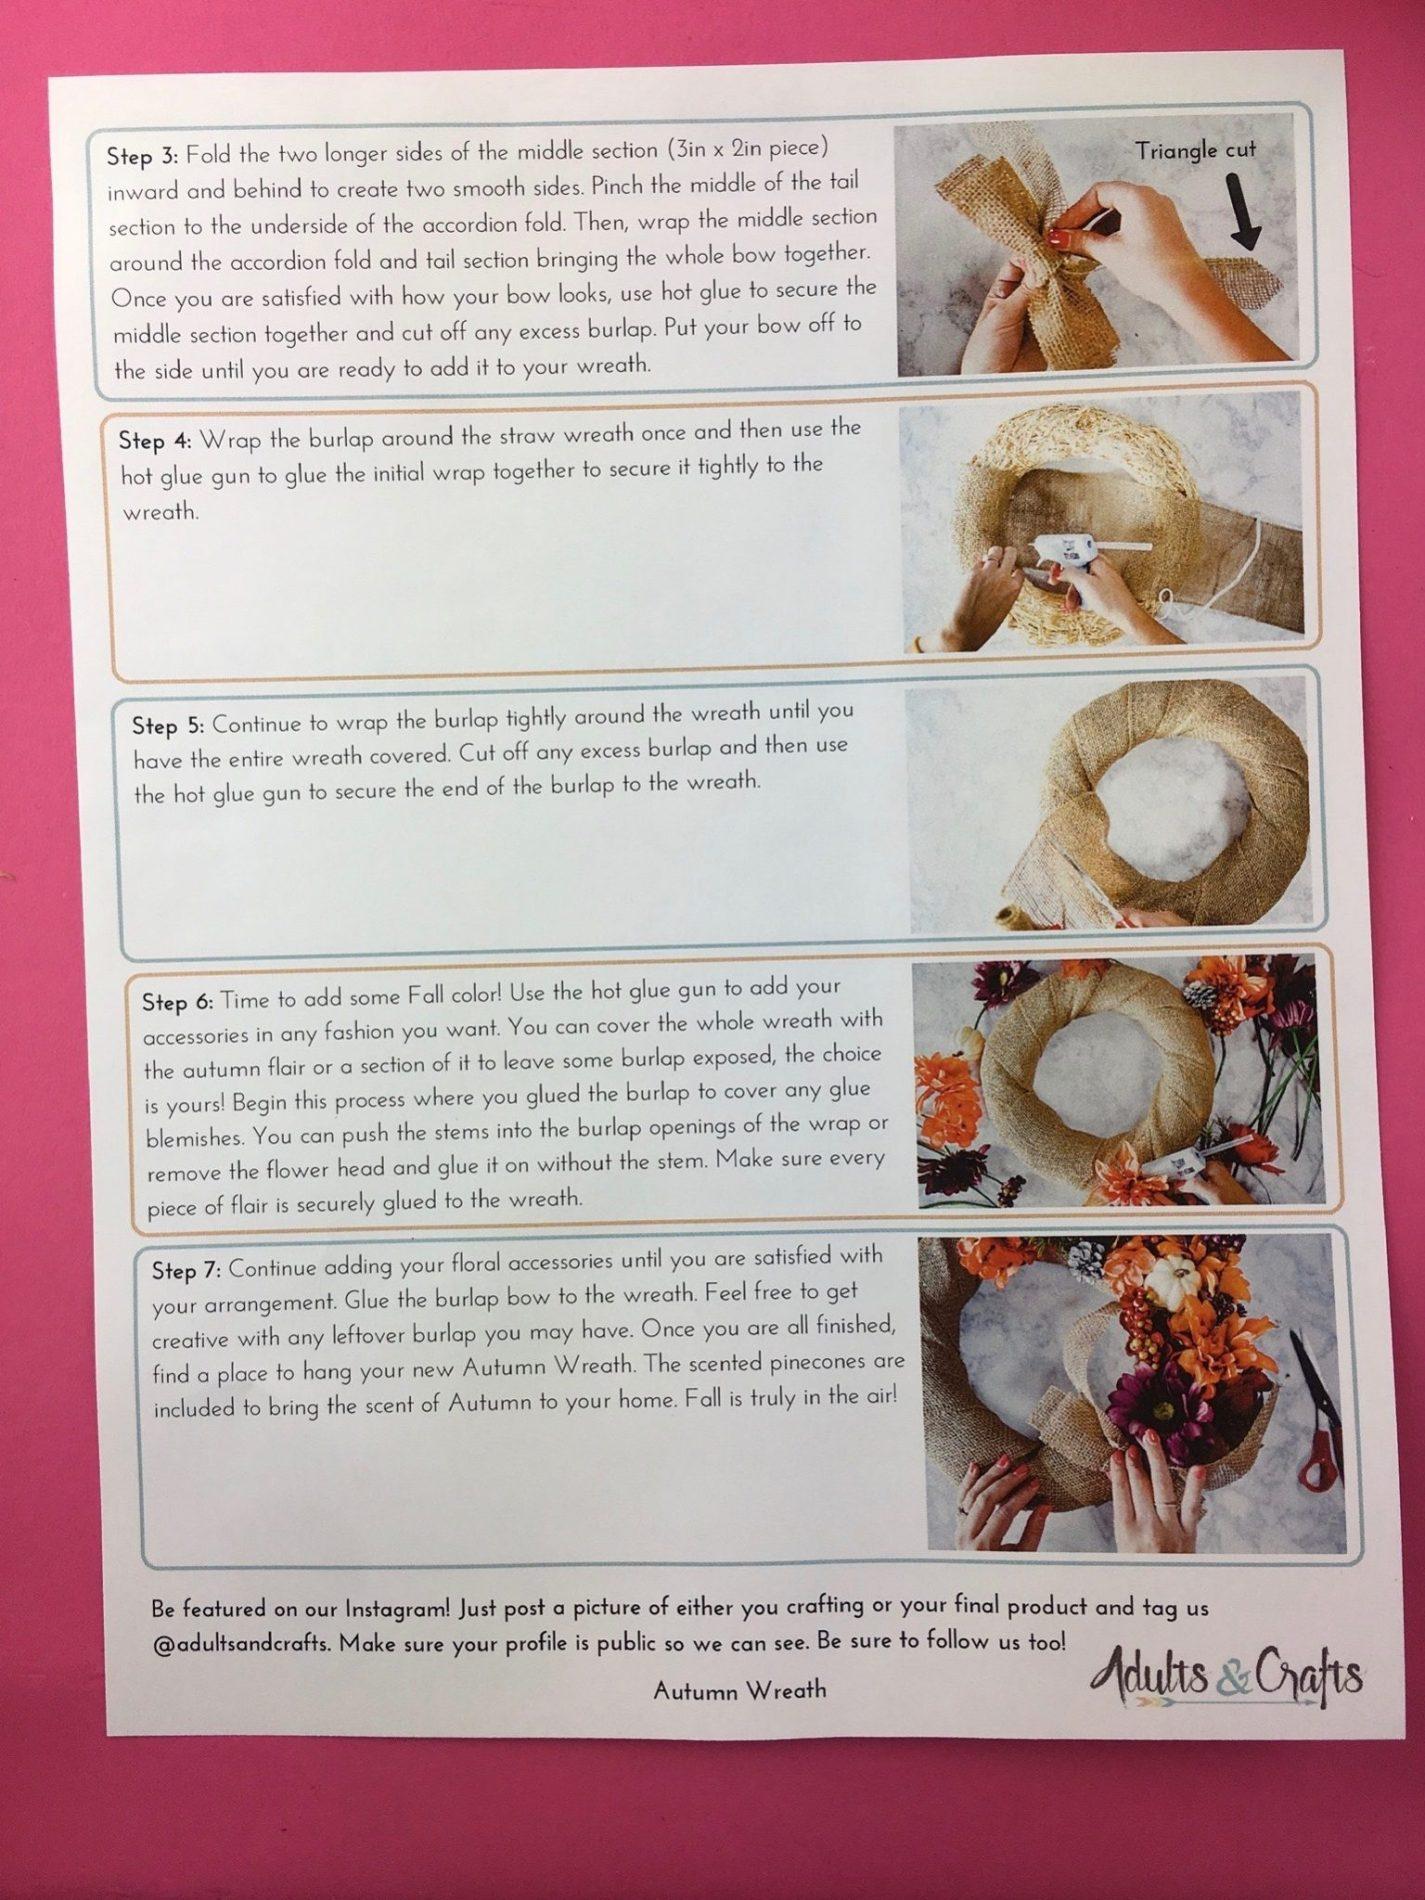
Steps #4 & #5 – Wrap Wreath in Burlap
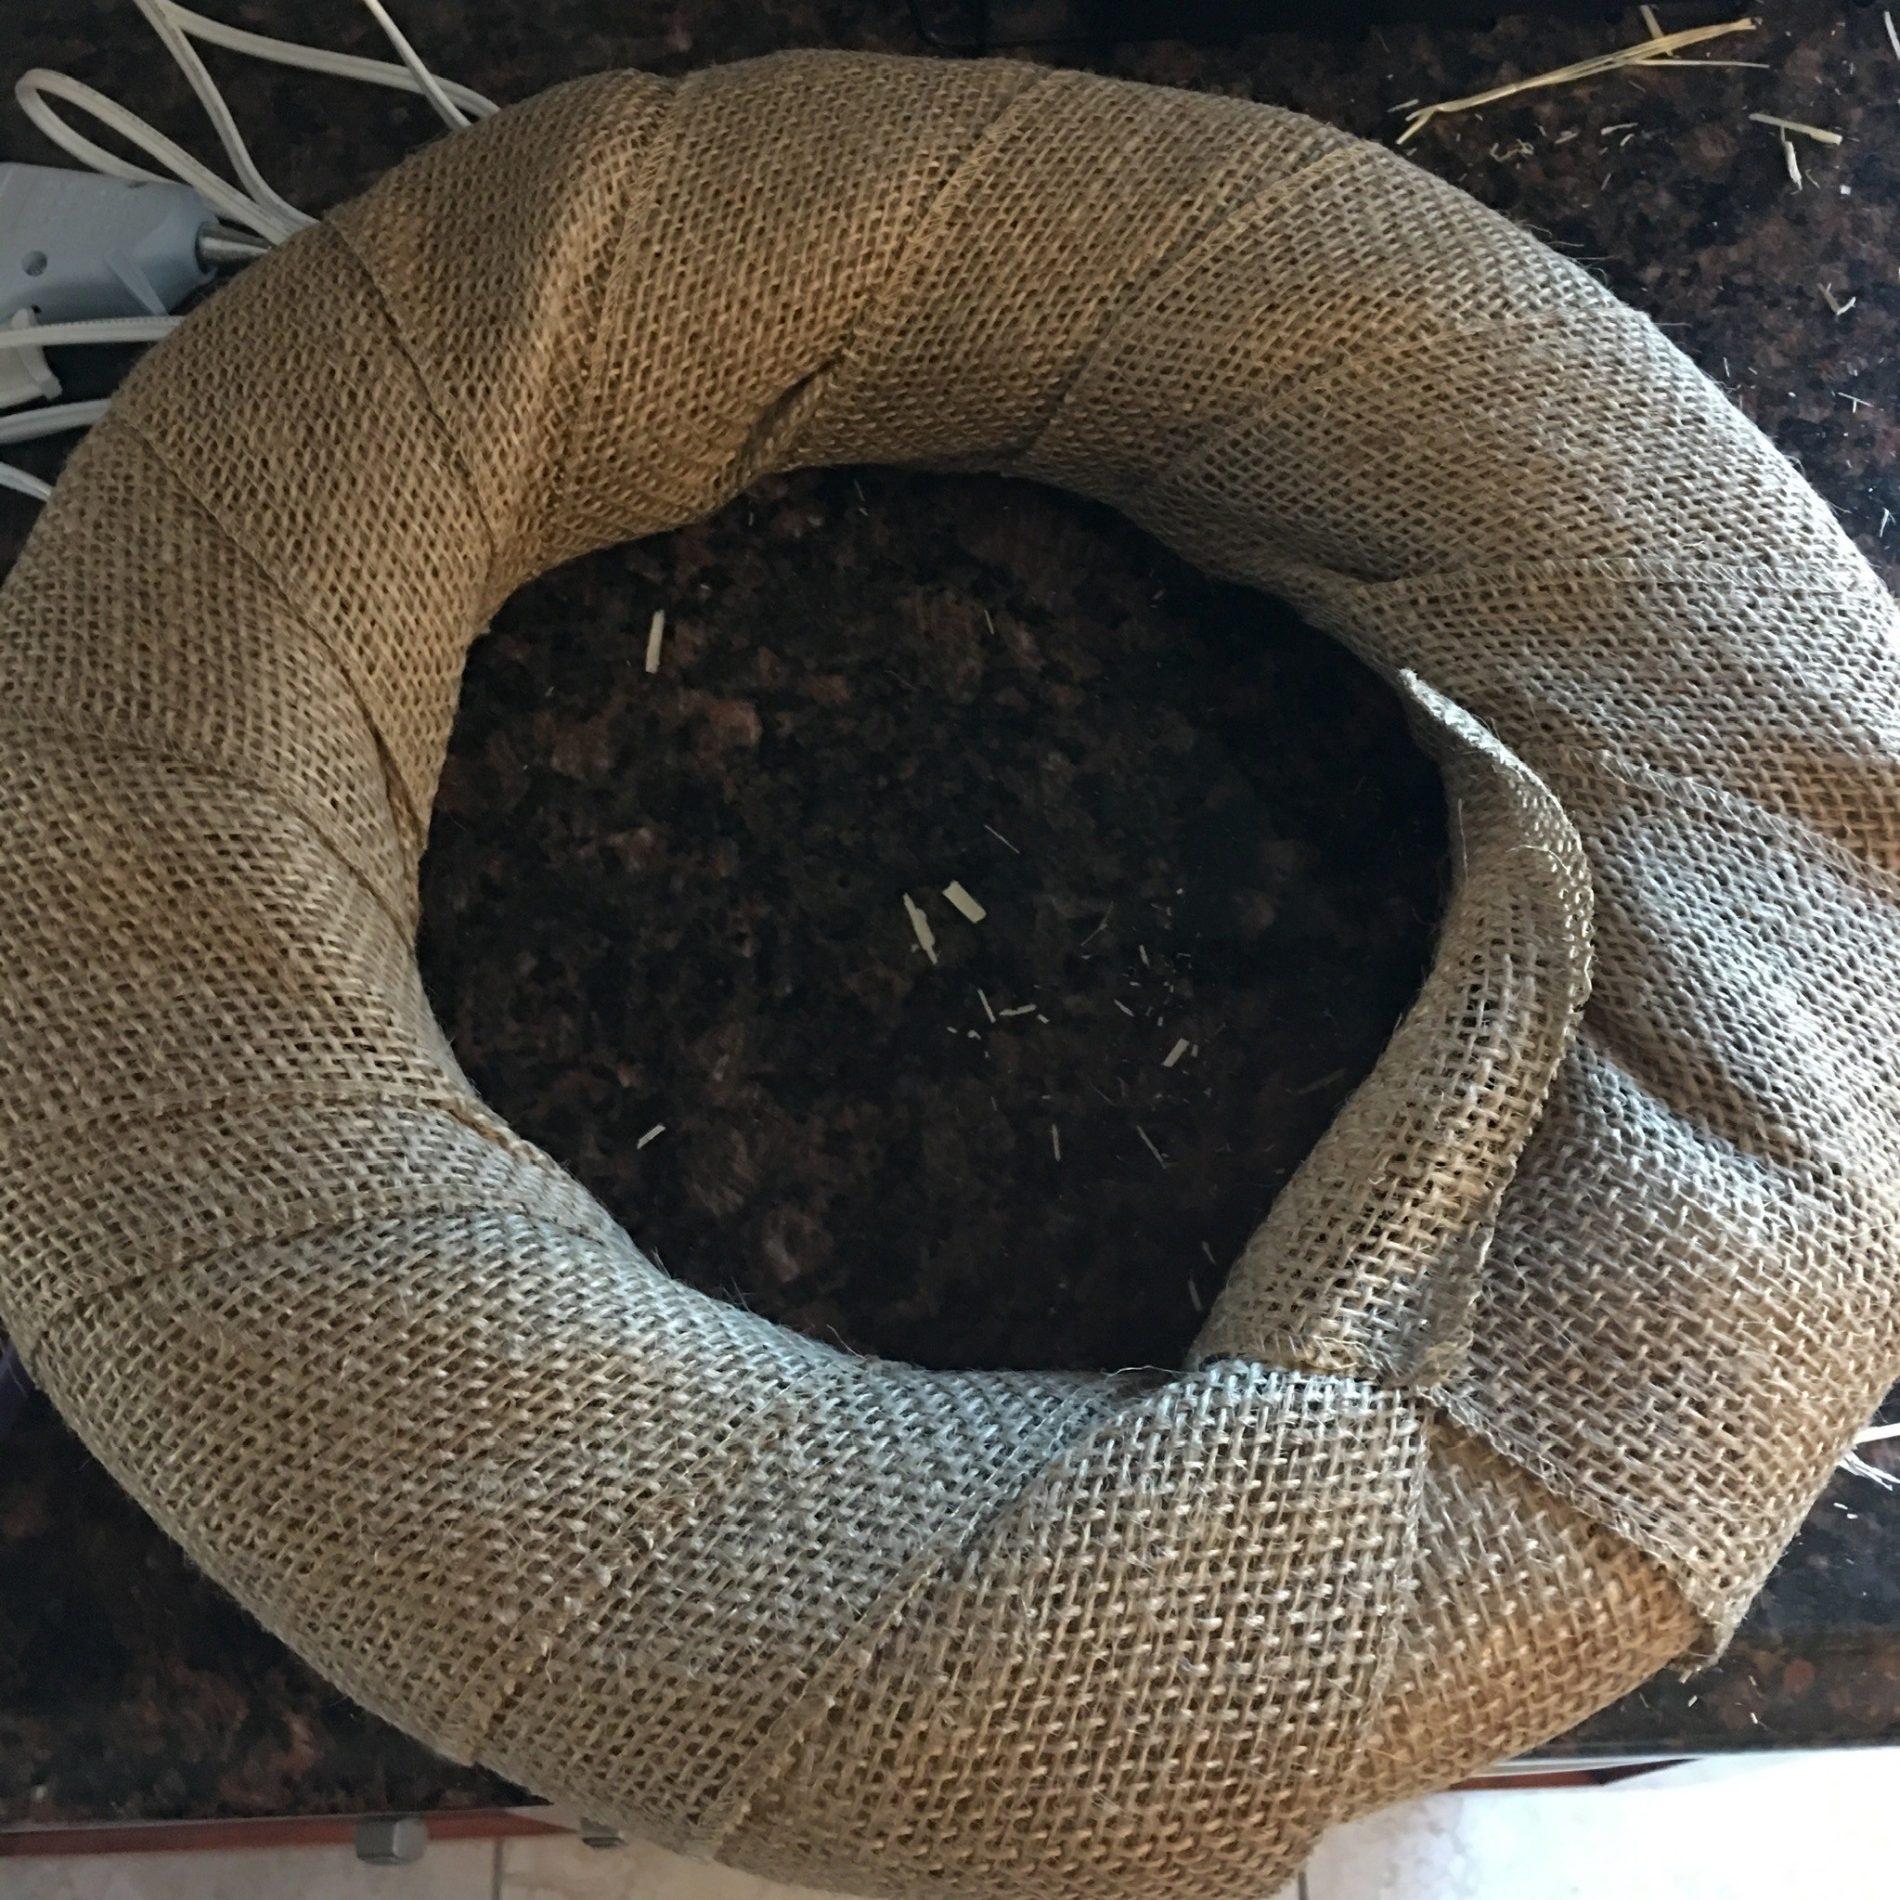
 Next up was wrapping the wreath in the remaining burlap. I used everything left on the roll and tried to wrap it as tightly as possible no there wasn’t too much slack. I hot glued the first and last sections to the wreath and then cut off the small amount of exvess and added more glue so it layed flat.
Step #6 – Add Flowers & Accessories
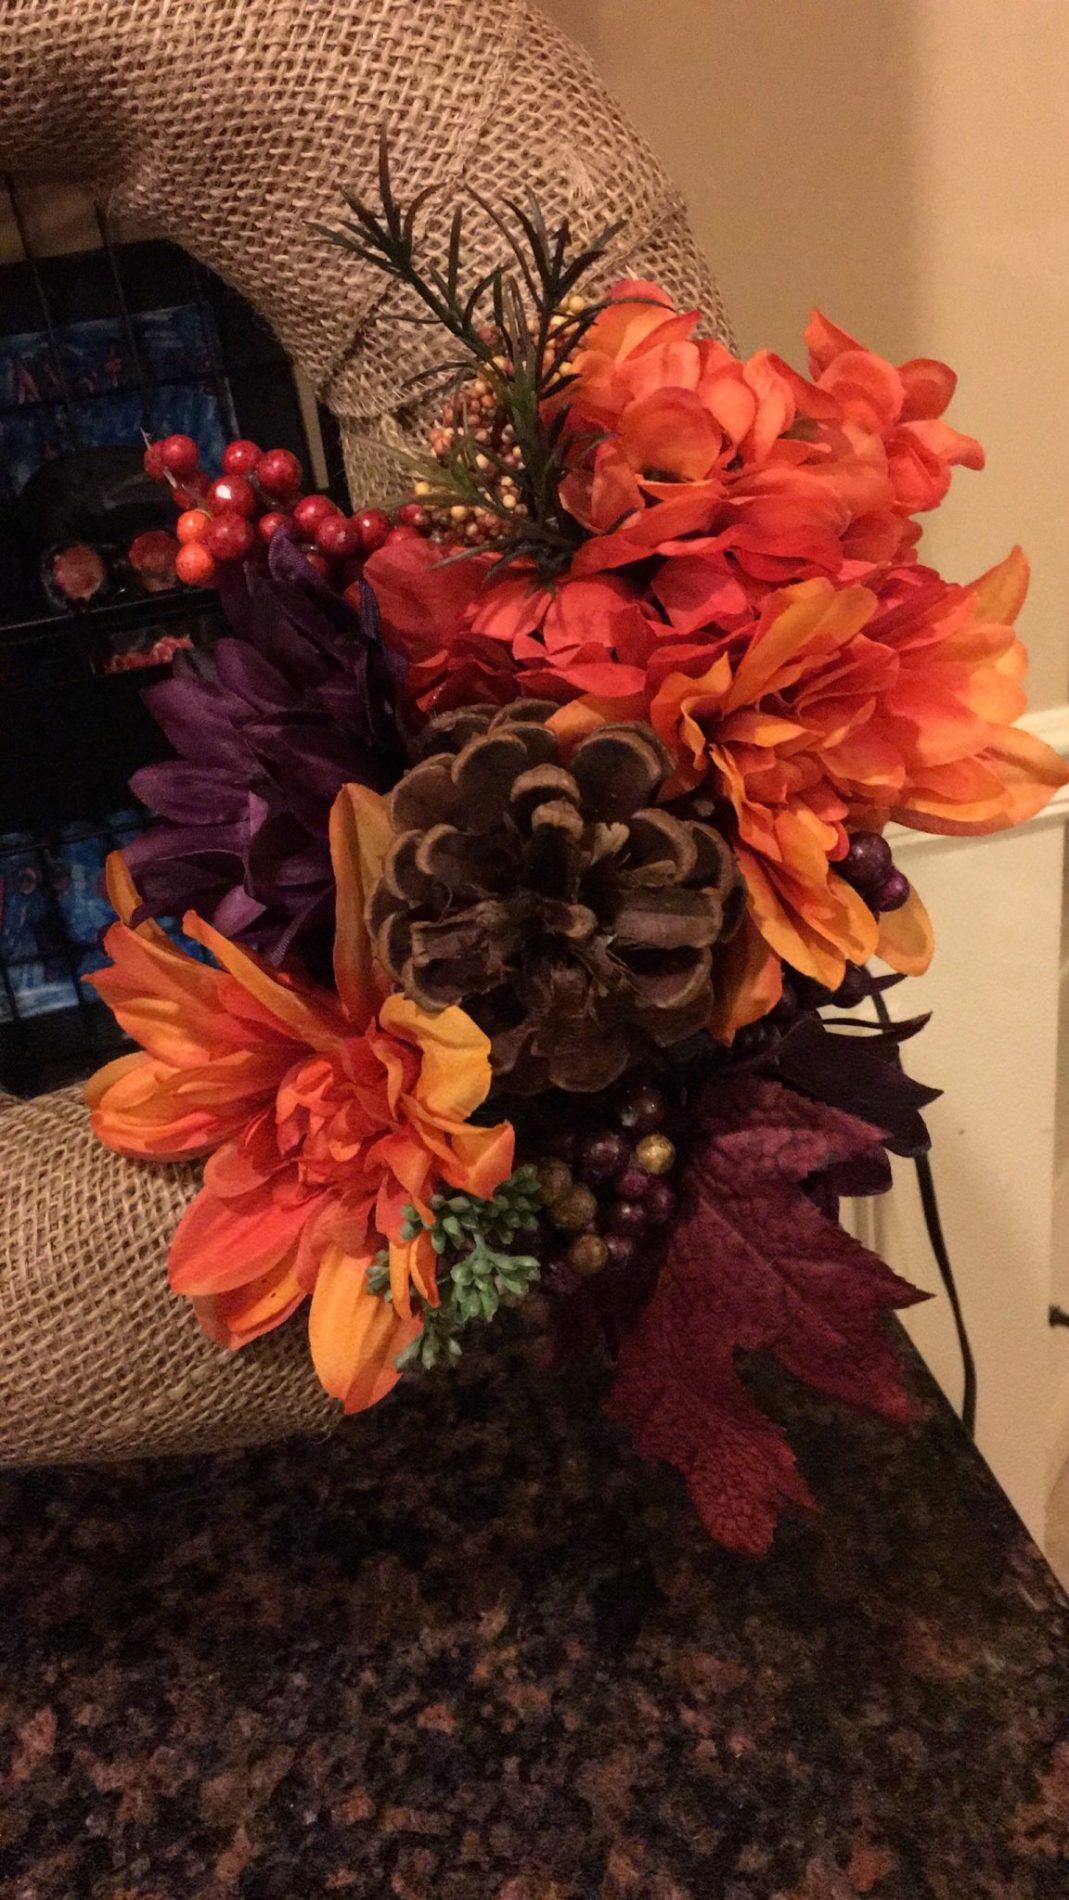
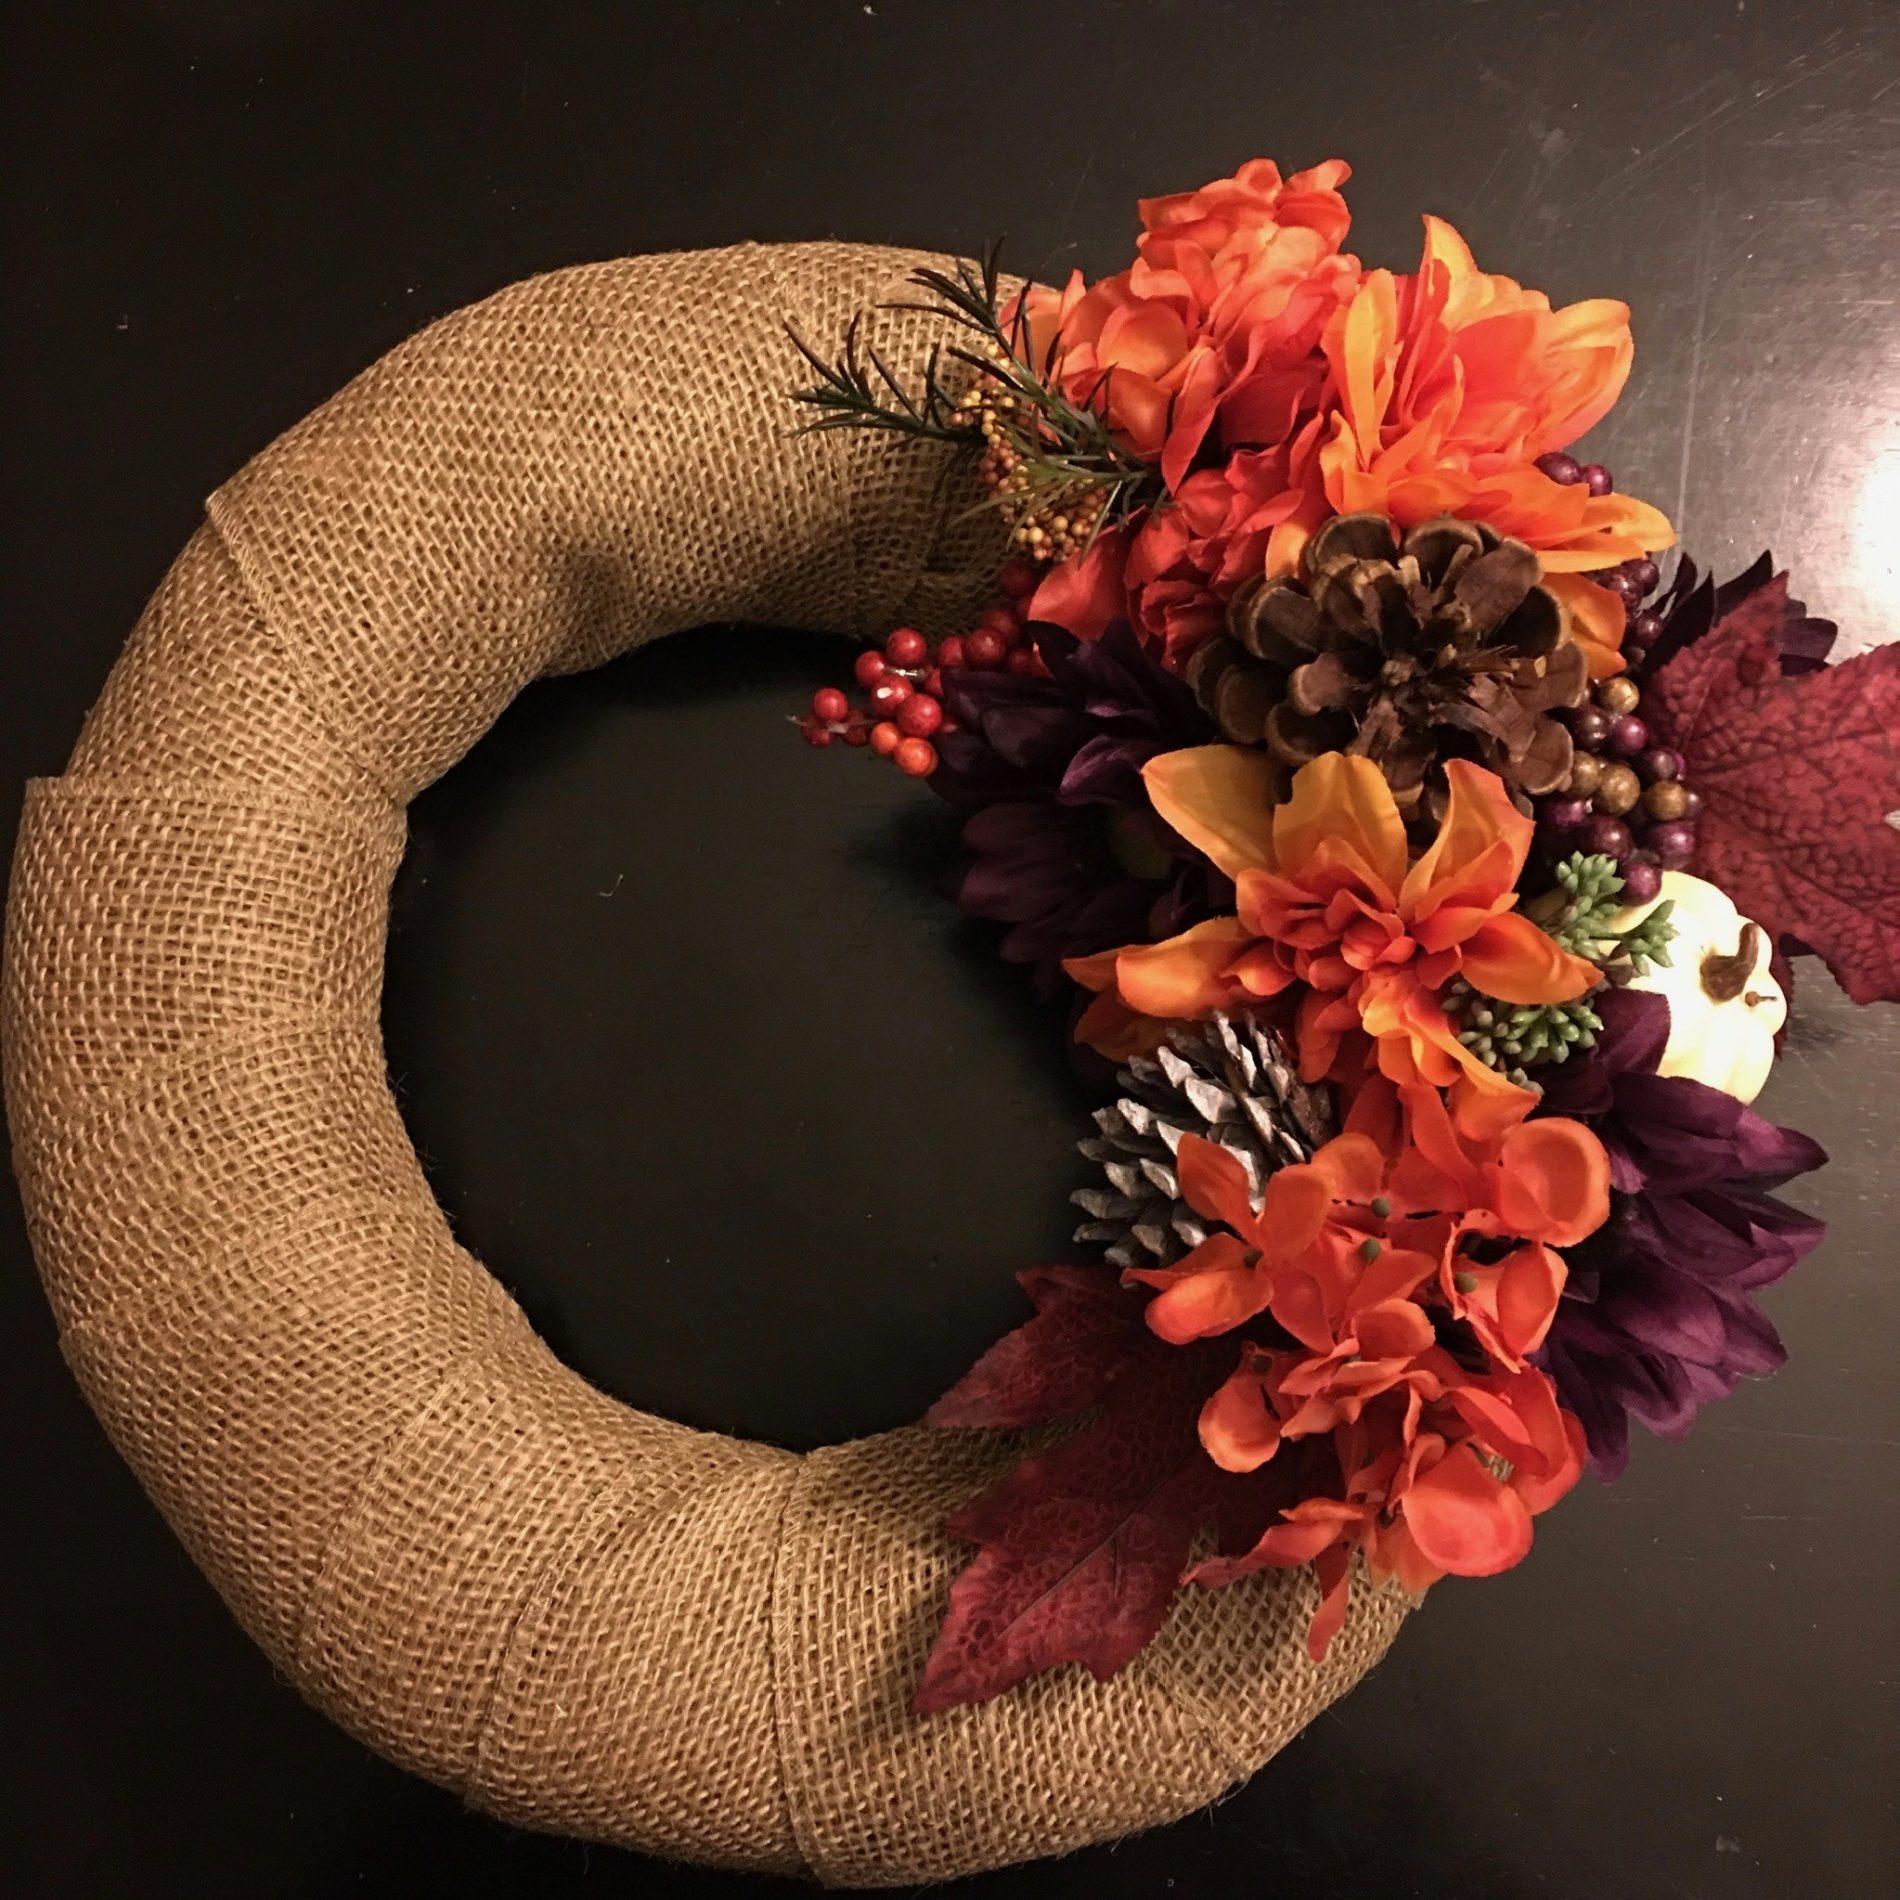 I added my flowers and accessories by cutting off the stems and either poking the wire through the burlap and straw wreath and / or hot glueing thing down. I didn’t preplan how I was going top place everything out, I just went by what I thought looked good. I ended up with one extra pinecone and ne extra leaf. I used everything else!
Step #7 – Add Bow
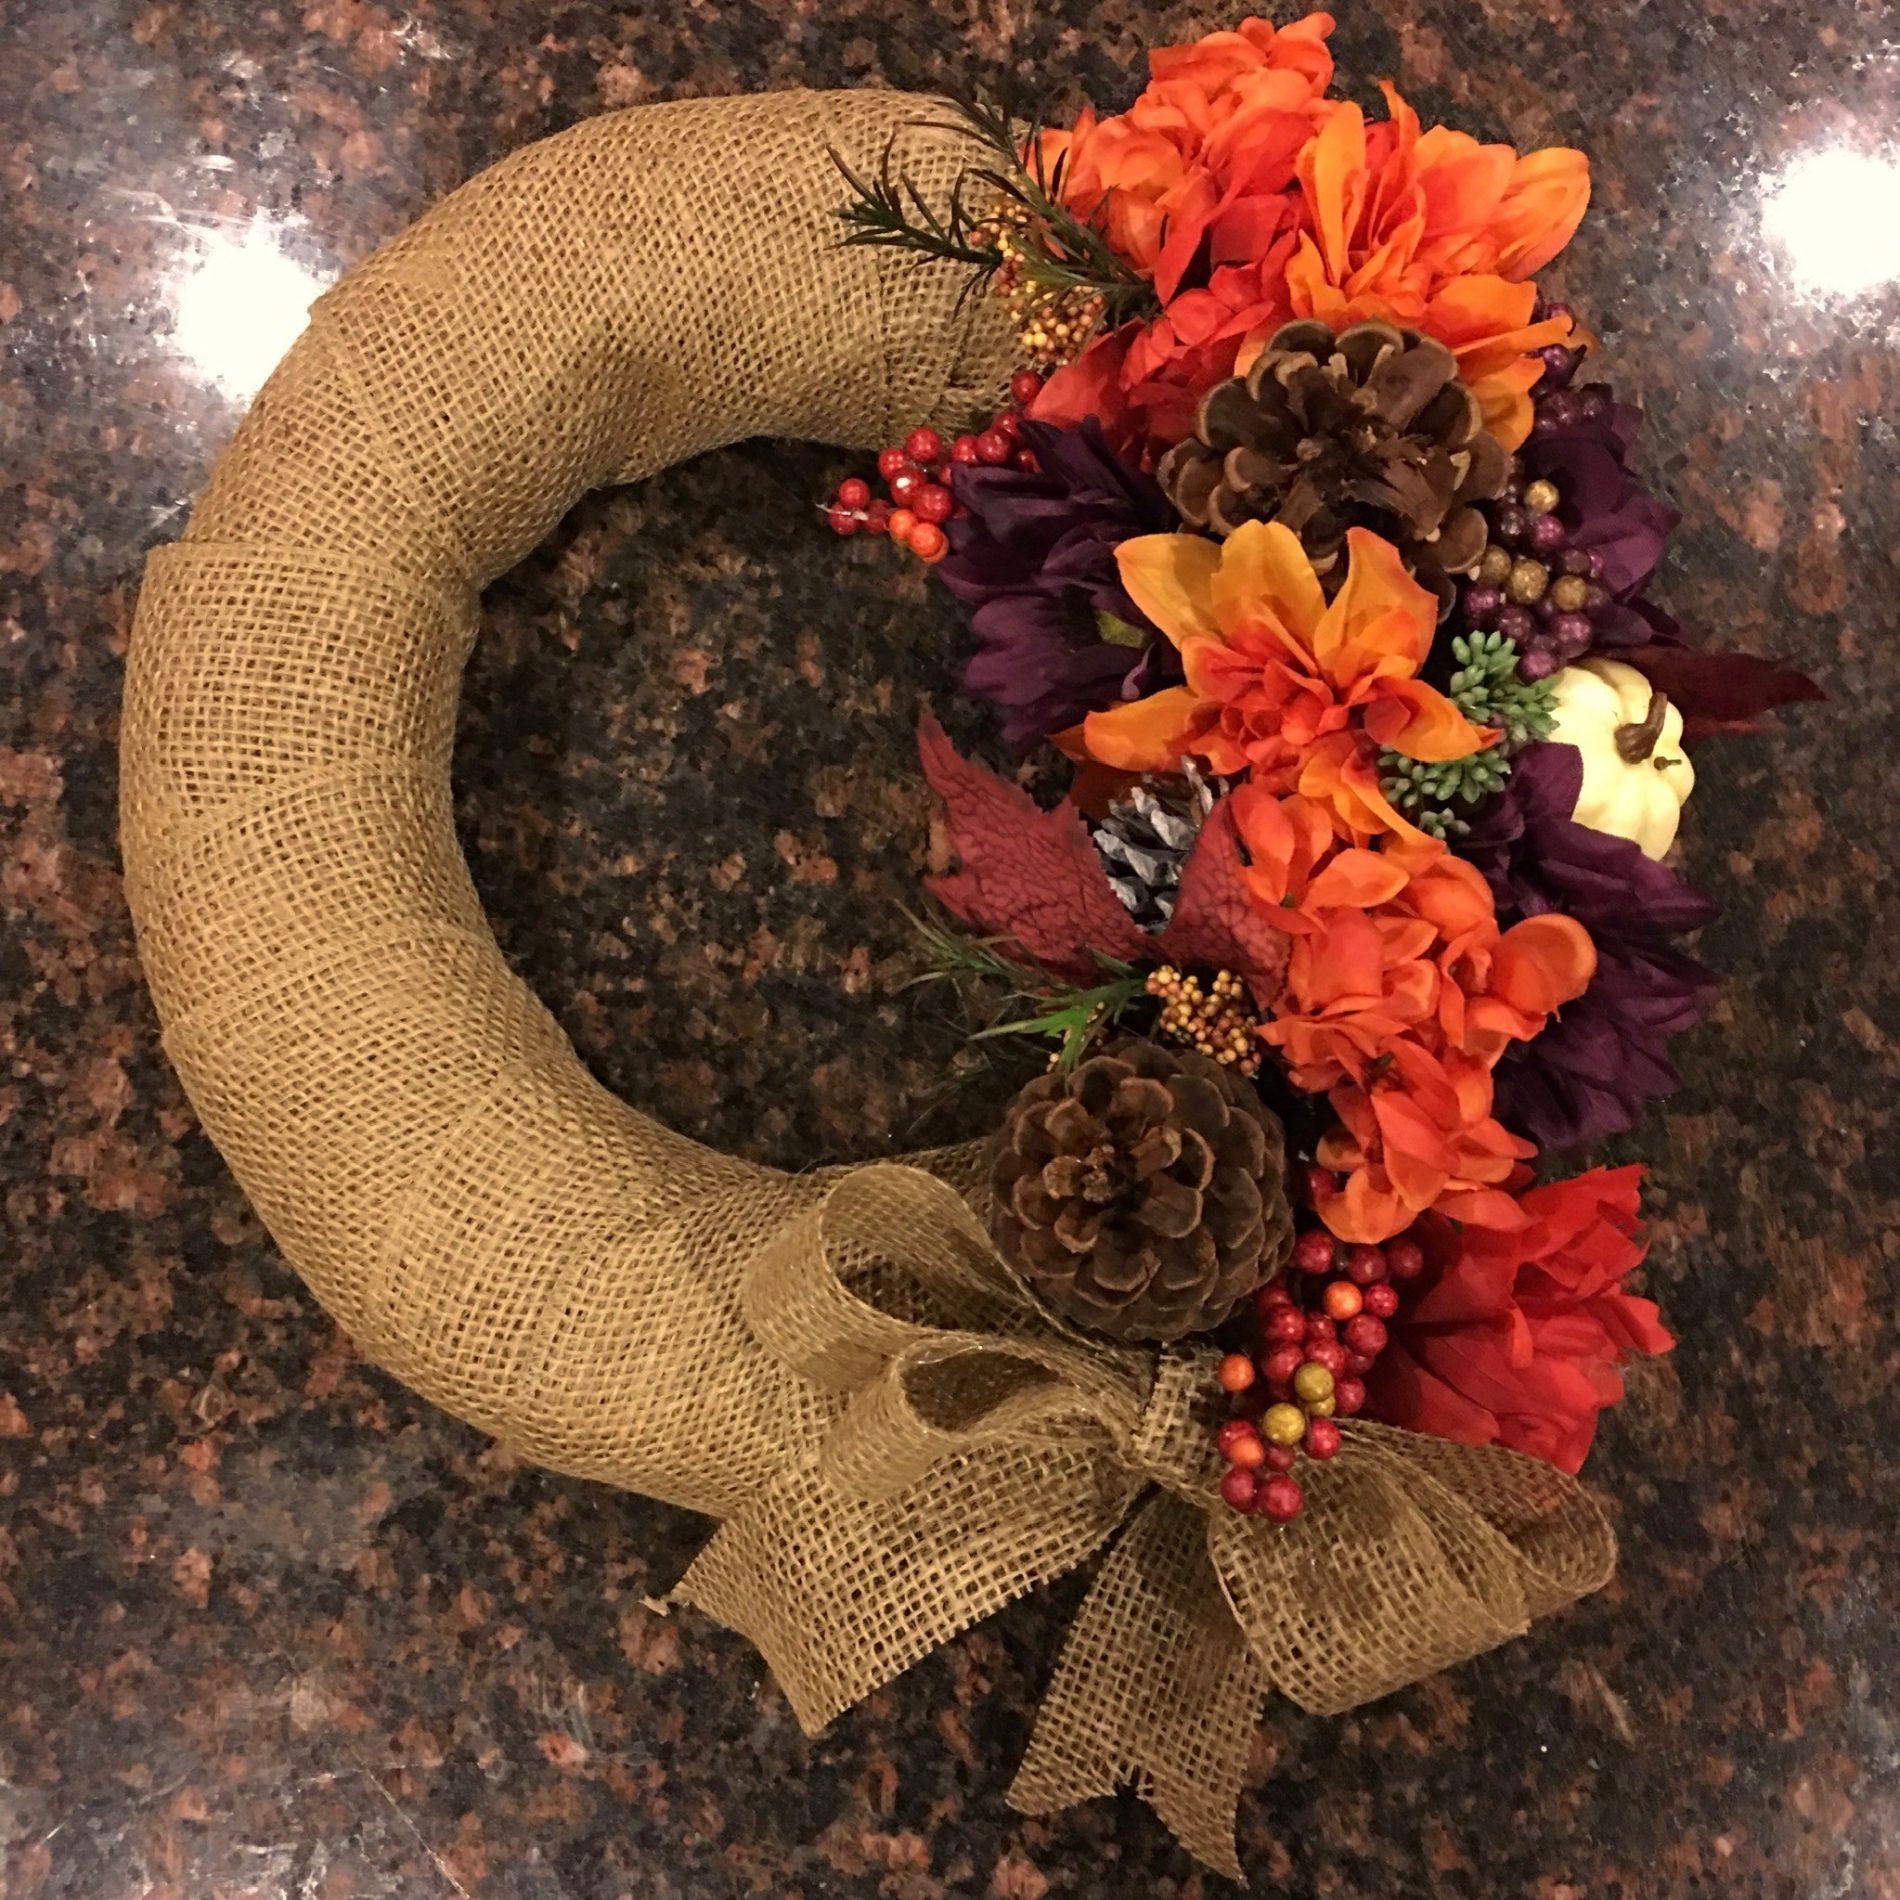
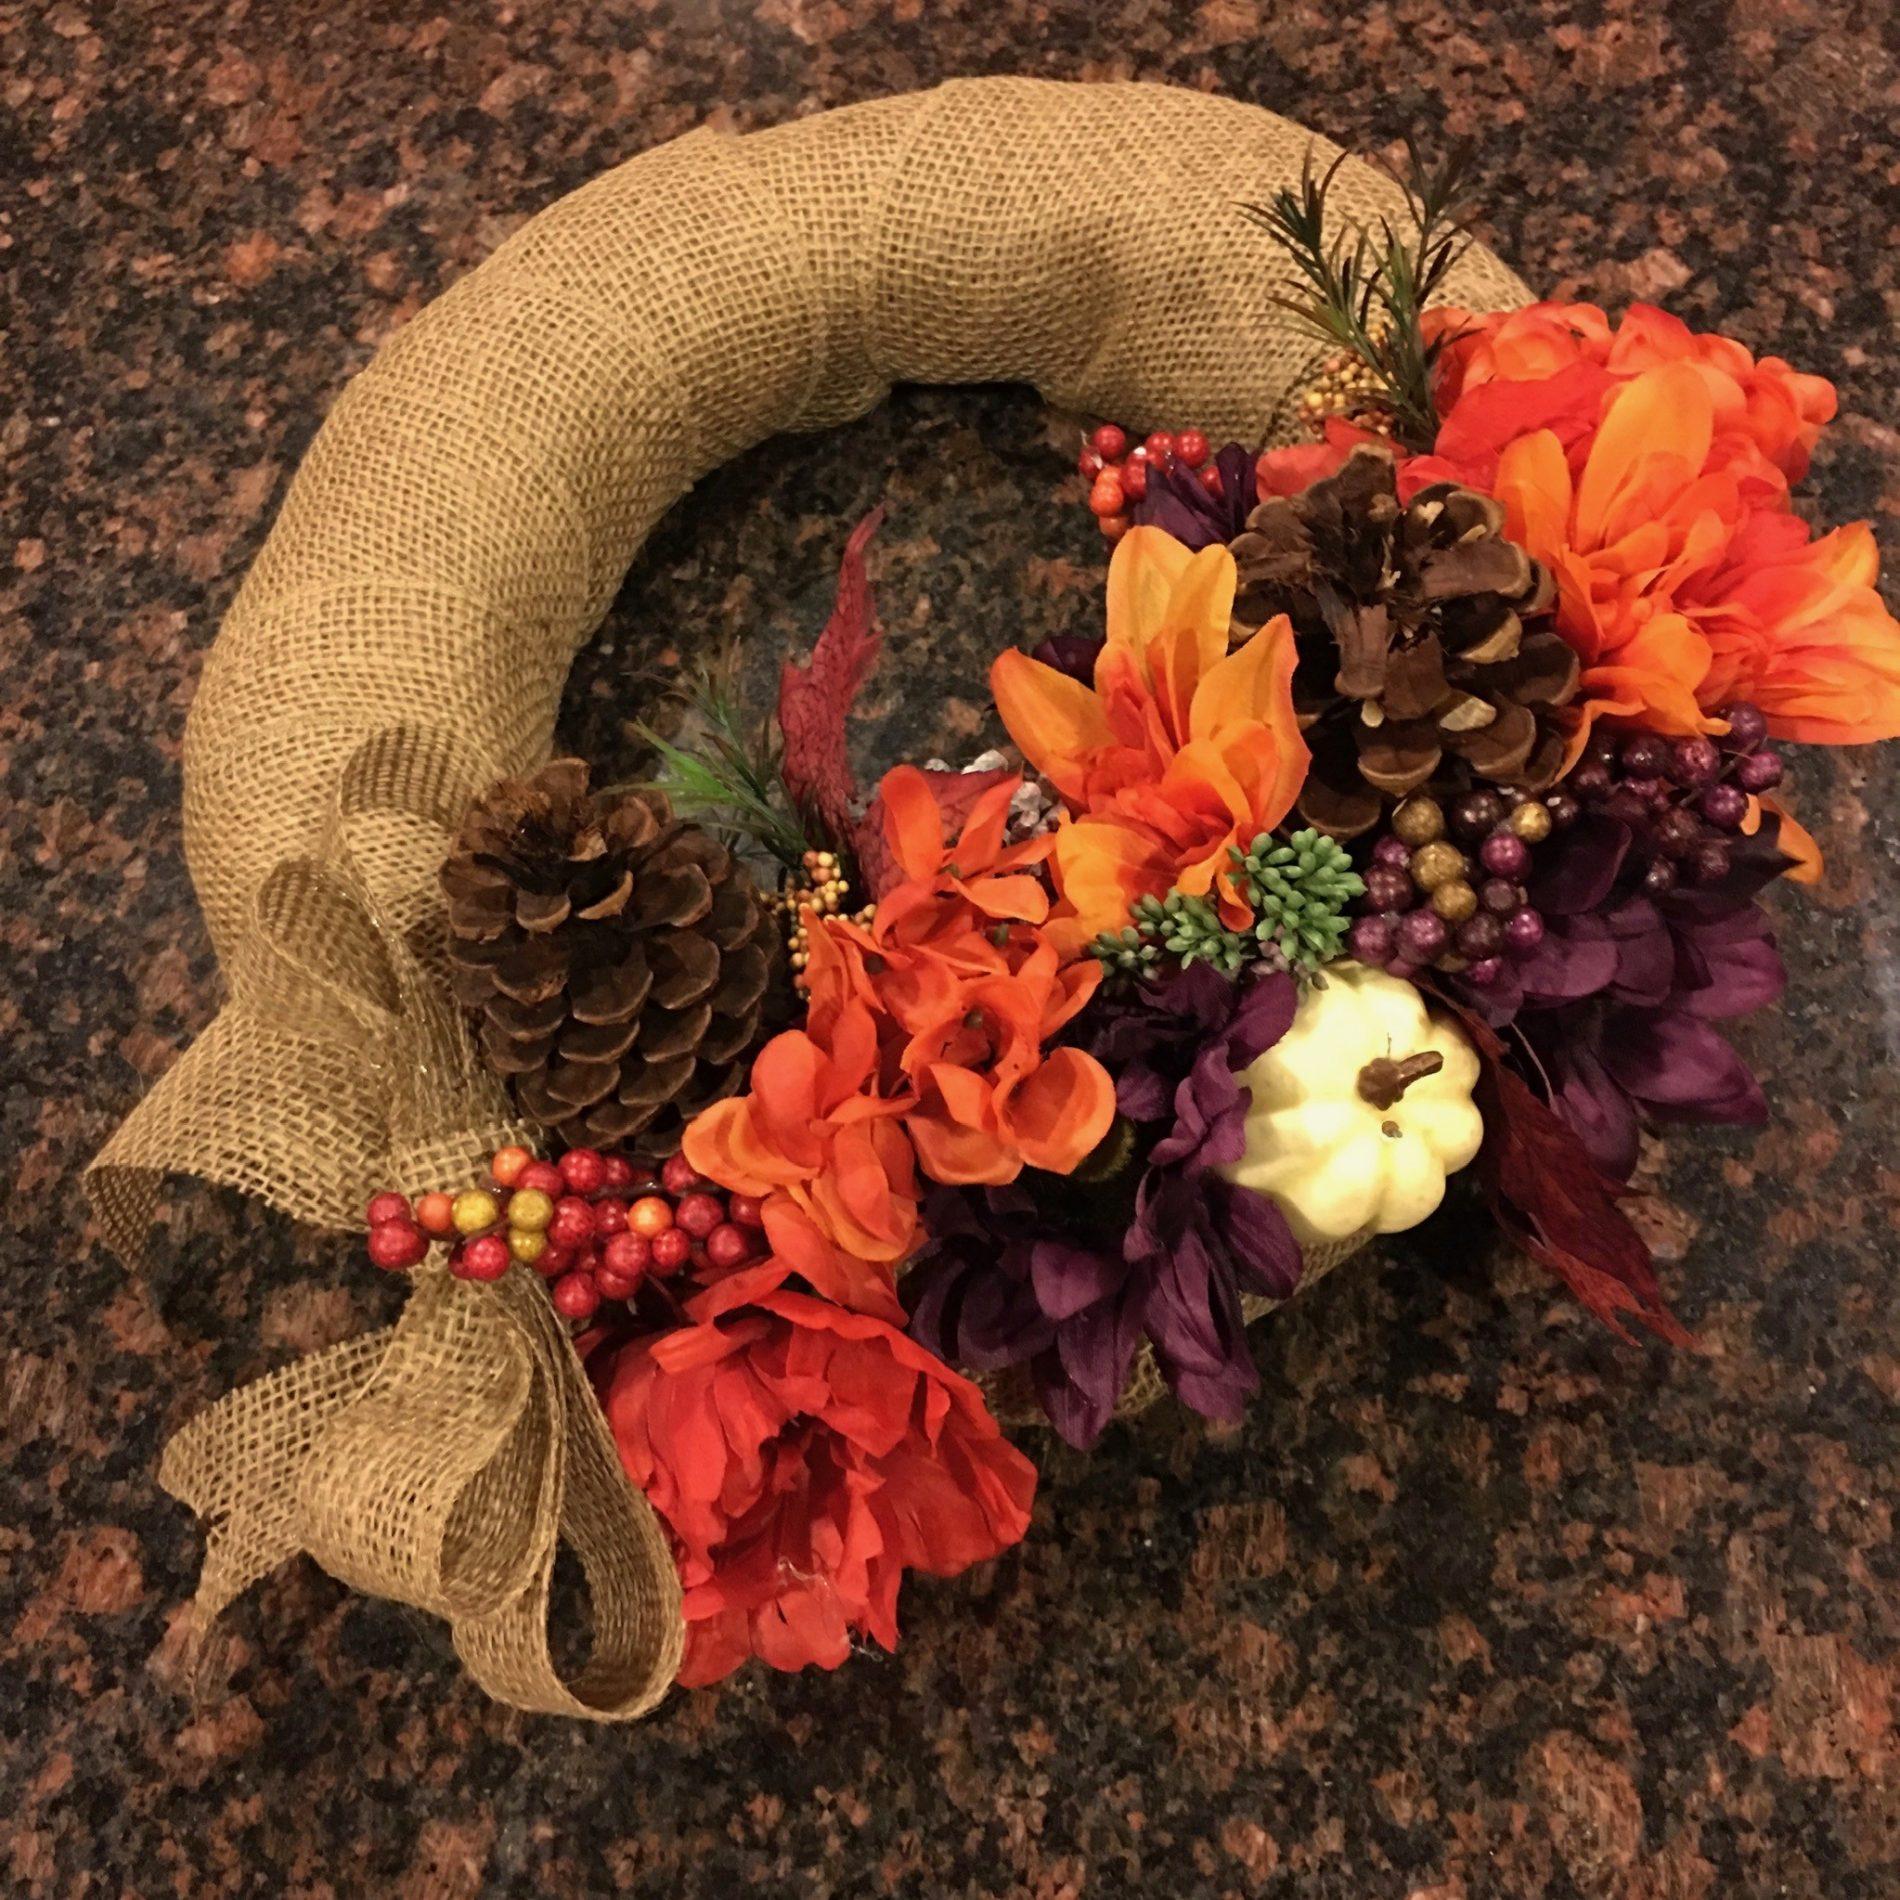 The last step was to add the bow. I debated not including the bow because I liked it so much the way it was, but I am glad I did. It finished things off perfectly.
Final Thoughts
I think this was one of my all-time favorite Adults & Crafts projects. I love how it turned out and just happened to need a new fall wreath anyway! I think it took me 30-45 minutes in all, so even less than the one hour estimate.
What do you think of Adults & Crafts? If you are interested in subscribing use coupon code “RAMBLINGS” to save 10% off!