Disclosure: If you make a purchase through the links posted below, I may receive a small compensation. Read the full disclosure.
Pinterest struck again and, over the weekend, L and I decided to make another fun project I spotted on there. I love using L’s own projects to hang on the walls in the playroom and in the basement, so I knew this melted crayon project would be perfect.
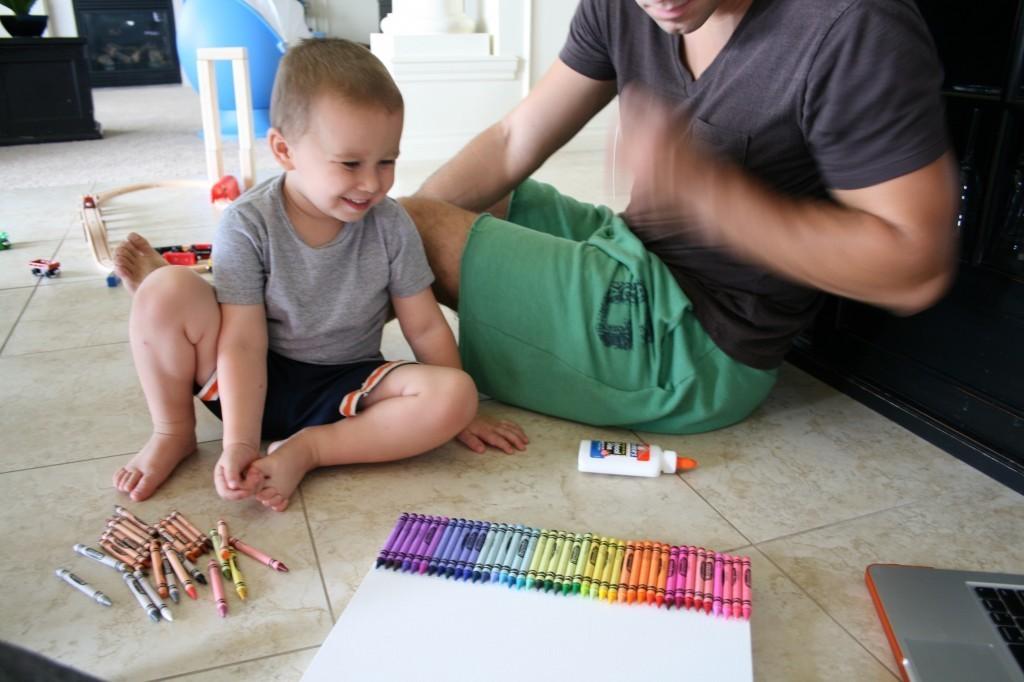
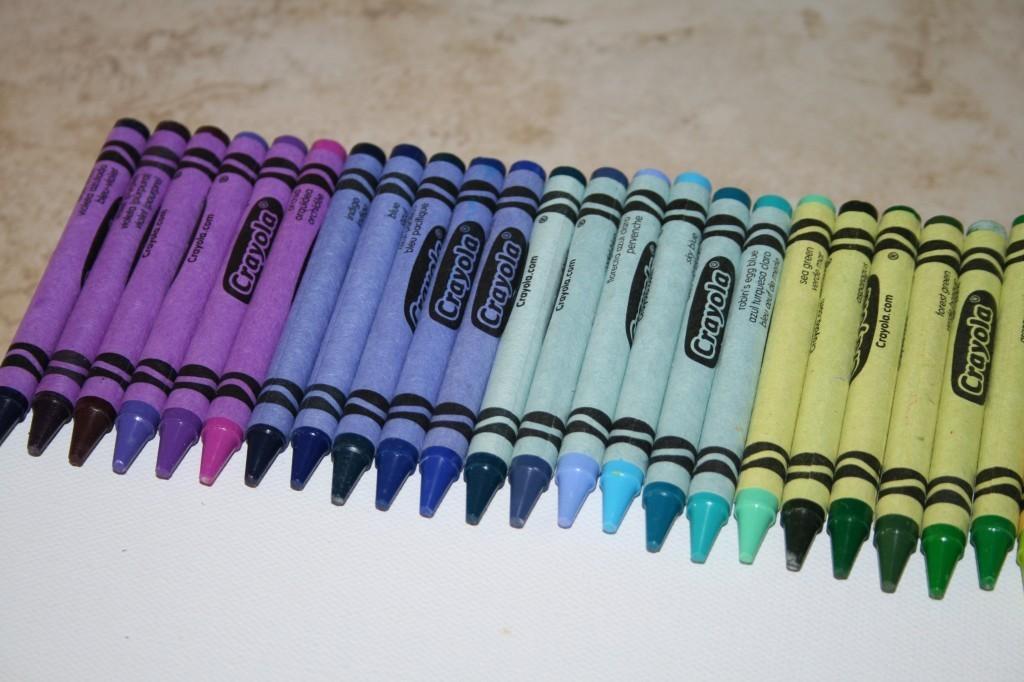
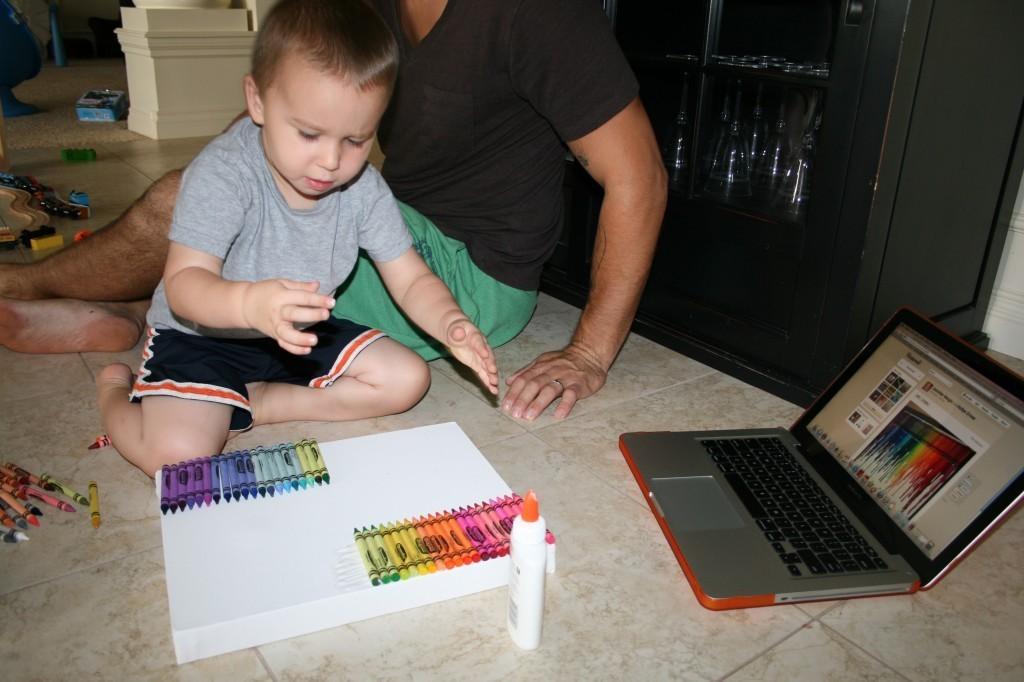
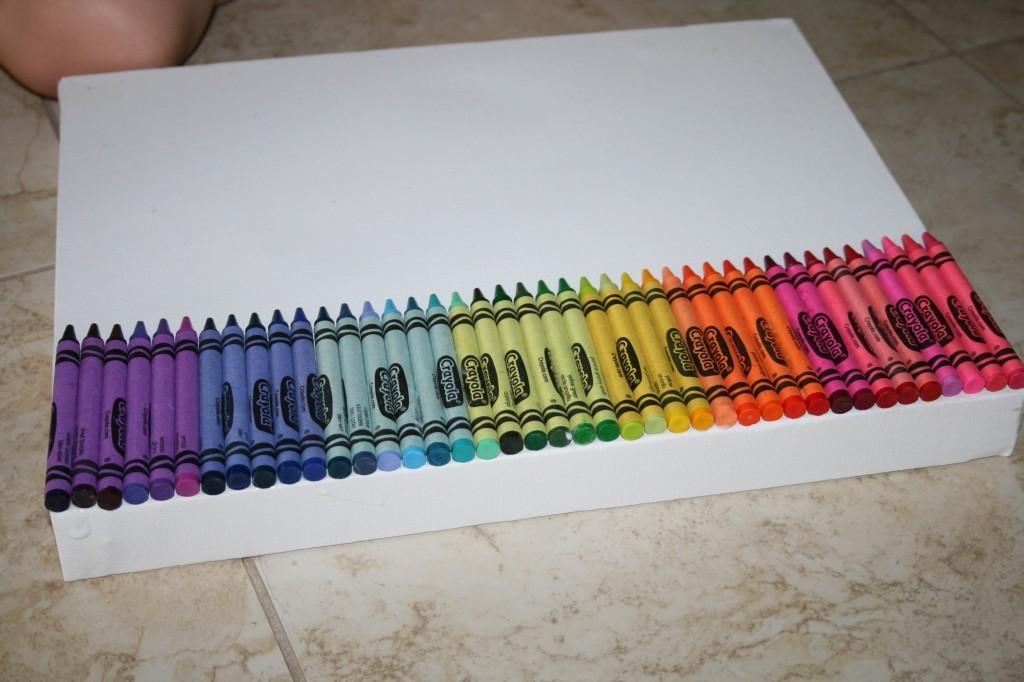
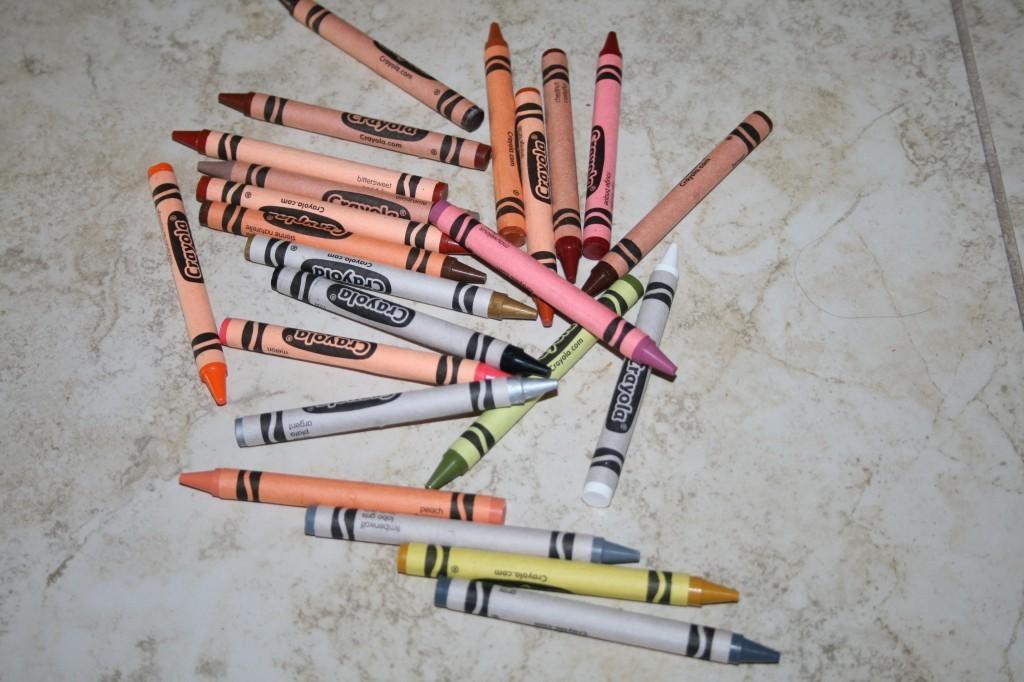
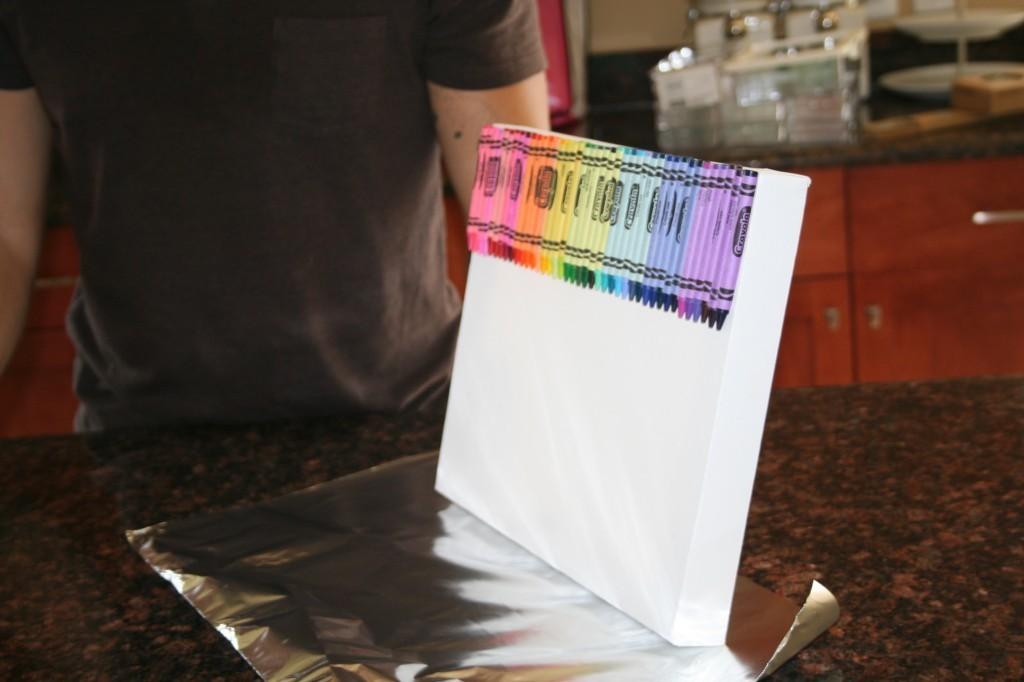
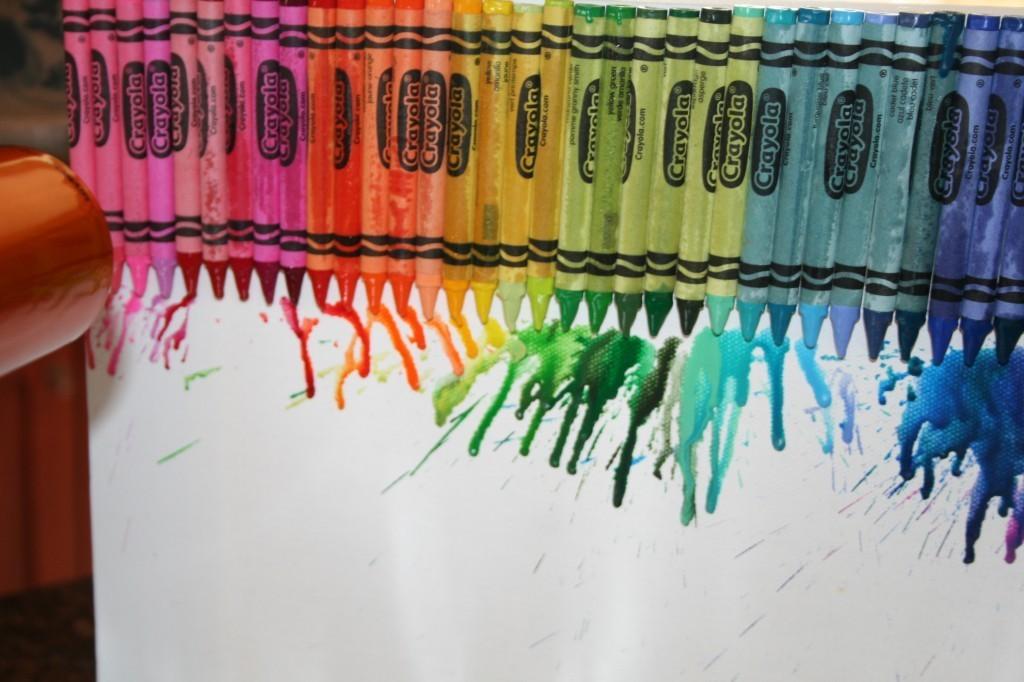
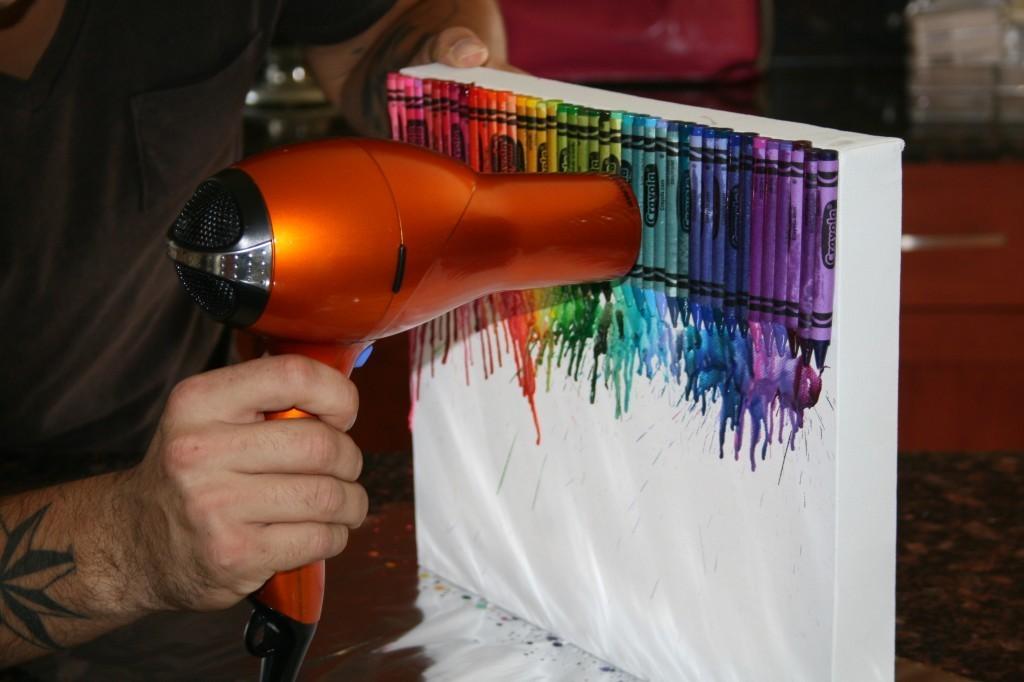
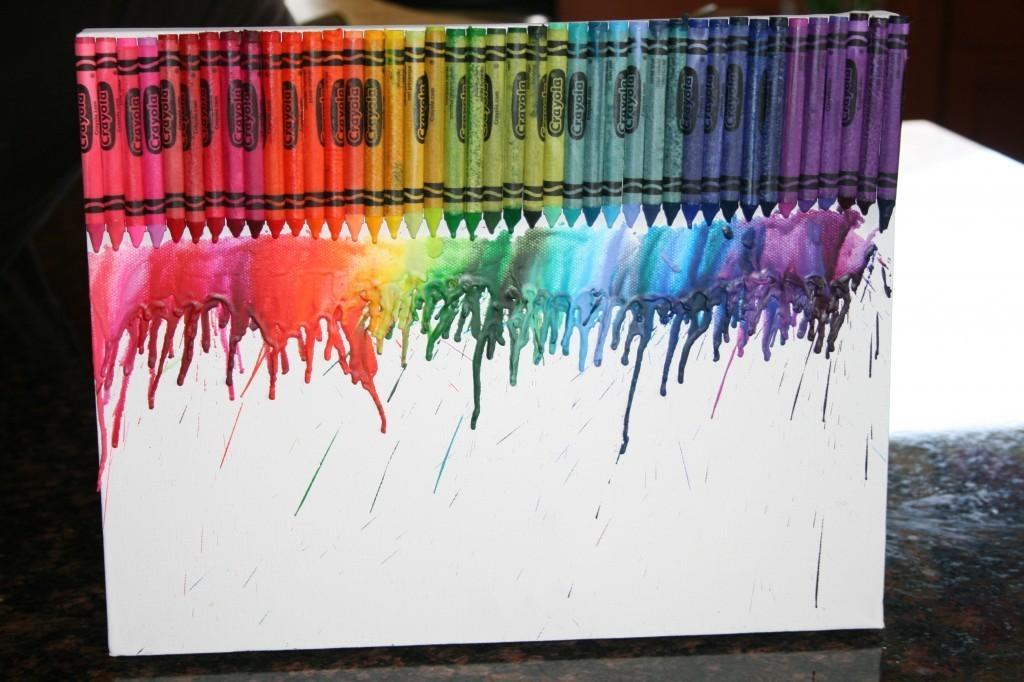
I was super pleased with how this project turned out. I probably would melt the crayons longer next time, but they were splattering all over and we kind wanted to contain the mess. I think doing it outside would be the best idea.
Did you do any projects over the weekend? If so, let’s hear about it!!!

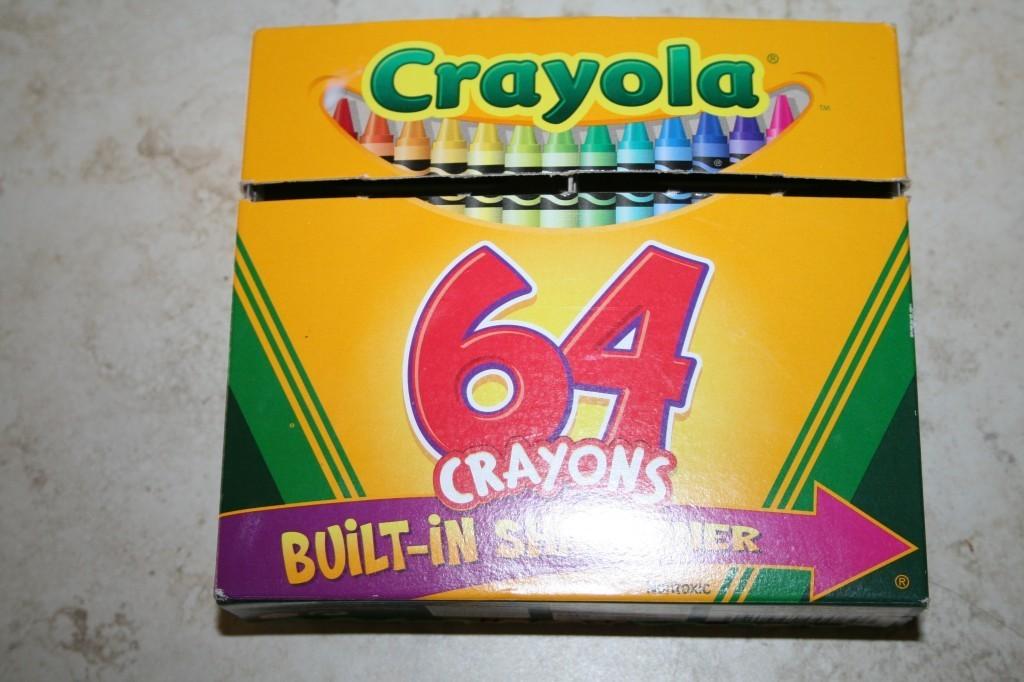

Wow! This is awesome. I really must get on Pinterest. When the kids are back in school…
I saw this on Pinterest and wondered how it was done! I may have to make one for the playroom! So cute!
so cool Jen! I think I need to do this too!!
Thanks for the awesome idea and the great picture directions!
I am so excited to try this with Ava!! After I saw you posting about this on FB I decided it’s time I got on Pinterest, too. I requested an invite and am still waiting. How long do you think I need to wait?? 🙁
I just invited you. Let me know when you get it!!
Got it, thanks! Now I just have to figure out how to get started. 🙂
I think an easier way to do it is to use the crayons in a hot glue gun (instead of glue). Another Blog I read (Hello Miss Chelsea) shows how she did it.
Just wanted you to know that I enjoy “stalking” you on your blog. It’s one of my favorite ones. Can I just say, does your husband ever wear a shirt?? Not that I’m complaining. If my husband looked like that, I’d insist he be bare chested all the time, too. Keep all your crafts/baking/organizing/sale items stuff coming. I really enjoy it.
OMG. I’m cracking up!! He wears a shirt when we are out in public, but never when he is outside working or going on a run. I think the teenage girls honk at him when he’s running ;).
Very cool project. Where do you plan on hanging it?
so cool Jen! I think I need to do this too!!
Thanks for the awesome idea and the great picture directions! What is pininterest?
I will send you an invite Joanne!
I love this idea! Yours came out great!