Disclosure: If you make a purchase through the links posted below, I may receive a small compensation. Read the full disclosure.
So like I mentioned a while back in my Nursery Ideas Board post that I was going to attempt no sew curtains. A friend of mine actually suggested it to me and said it was pretty easy so I thought I would give it a chance too. I sort of followed the instructions from this blog. But sort of, I mean, I read the post twice and then just went for it.
Supplies Needed:
–Fabric. I ordered fabric from Caden Lane because I wanted it to match the crib bedding, but I am sure you could get a way better deal at Joann’s or somewhere like that. Based on the measurements of my window and some online calculator (and B), I ordered a total of six yards. I probably have a yard or so left over, but I am glad I didn’t order any less.
–Scissors. I got some fabric scissors which were like $4, but I am sure any scissors would work just fine.
–Tape Measure: I used just a random tape measure we have here. Nothing fancy.
–Iron On Adhesive: I used Heat’n Bond Ultra Hold and I was totally happy. It worked perfect.
Steps:
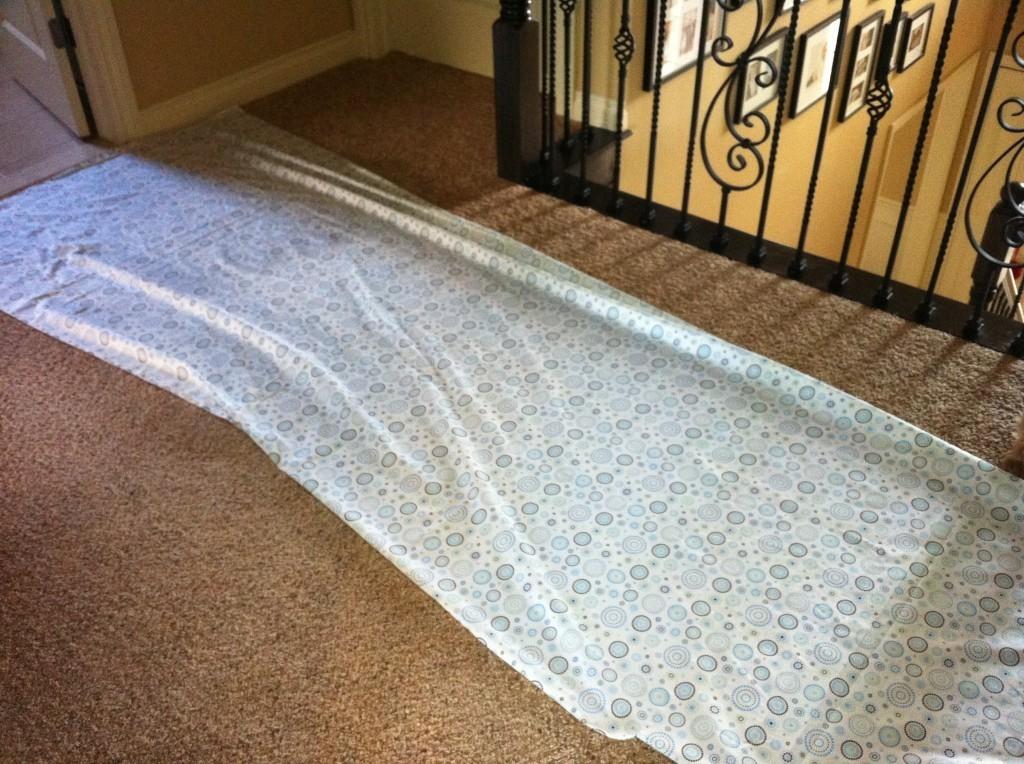
1. I spread out the fabric in the hallway so I could see how much I had. When I had a rough idea of the length I wanted to cut, I just went for it. L helped me by holding the tape measure. I cut the fabric into two fairly equal pieces and had some left over.
2. The first curtain was the hardest. I seriously broke a sweat trying to figure out what to do. I was super worried about getting everything perfectly straight. I ended up getting it as close to straight as I could and started taping. It’s pretty much just put tape on. Iron to get tape to stick. Peel off tape backing. Fold fabric over tape. And iron again.
3. After I finished the top of the curtain, I hung it up just to see how much length I had left at the bottom to figure out how much more I needed to cut, etc.
4. Once curtain #1 was done, curtain #2 was a breeze. I used curtain #1 as the template and just laid curtain #2 right on top and make it exactly the same size.
5. I think you are supposed to iron the fabric before you start, but mine wasn’t that wrinkled or creased or anything, so I just ironed it when I was all finished. There was NO WAY I was ironing it twice. No way.
6. Then I just hung them up and was done! I need to get blinds or shades or something still for the inside of the window, because clearly these aren’t going to black a lot any light!
Basically I am super pleased with how the curtains turned out, but I should also note that it wasn’t that easy! It was actually more time consuming than it was difficult. It takes longer than you would think to iron tape onto fabric. I did finish in one day, but I would guess it took around 4 hours overall? That does include the time I spent just staring at the fabric. It’s possible that it just took me longer because I am clueless when it comes to ironing too!! I would do the project again in a second if I couldn’t find curtains I liked (which was the case here). It for sure wasn’t a money saver for me (due to the cost of the fabric). But I should note, that I happily would have paid double if Caden Lane sold curtains, so maybe I did save some cash??
I think I covered everything, but if you have any questions, let me know. Have you ever done a No-Sew DIY project? Please share!

