Disclosure: If you make a purchase through the links posted below, I may receive a small compensation. Read the full disclosure.
I had so much fun making the first Melted Crayon Art Projectthat I decided I needed to do it again. Except this time I used a bigger canvas and a different heat source.
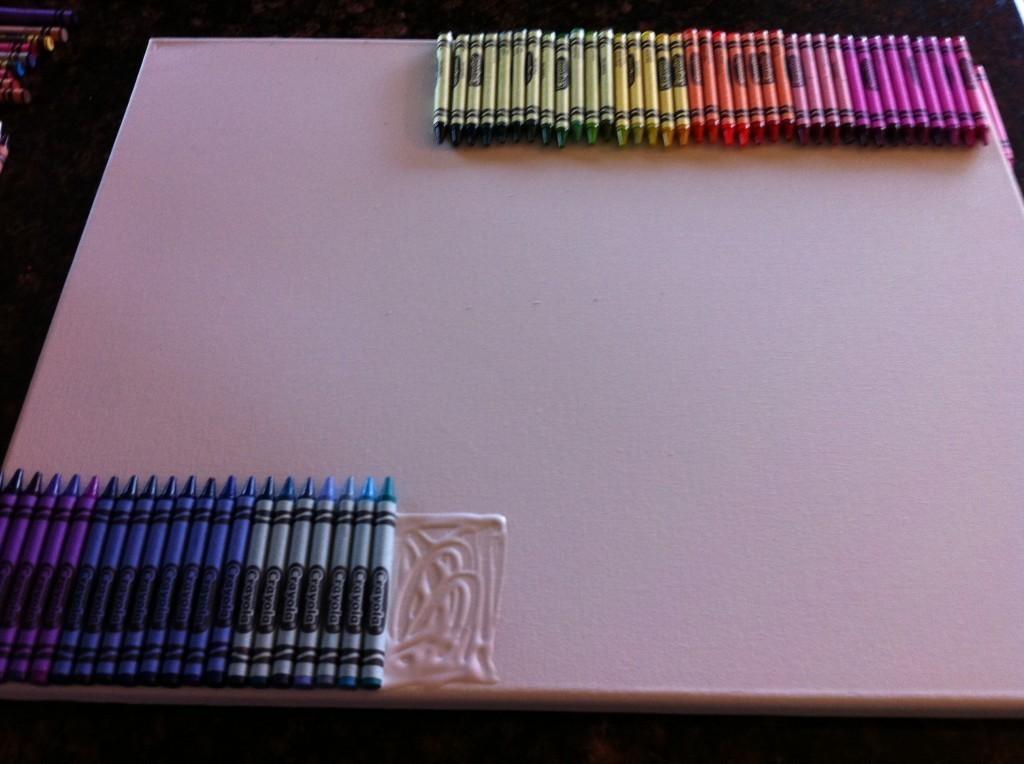
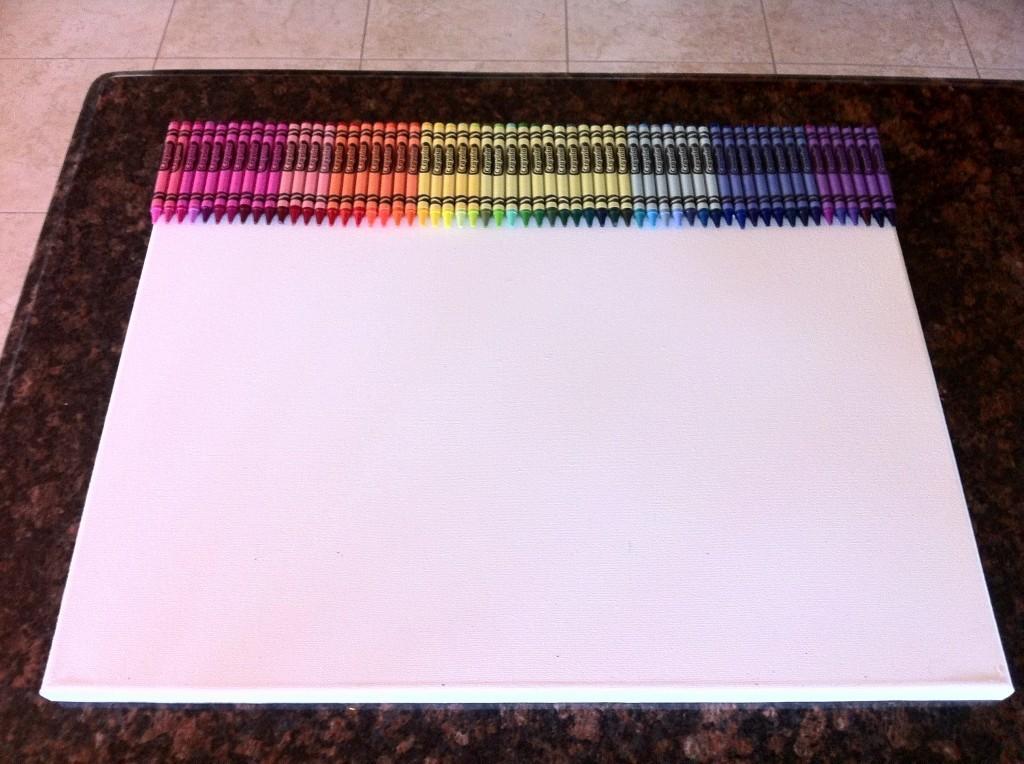
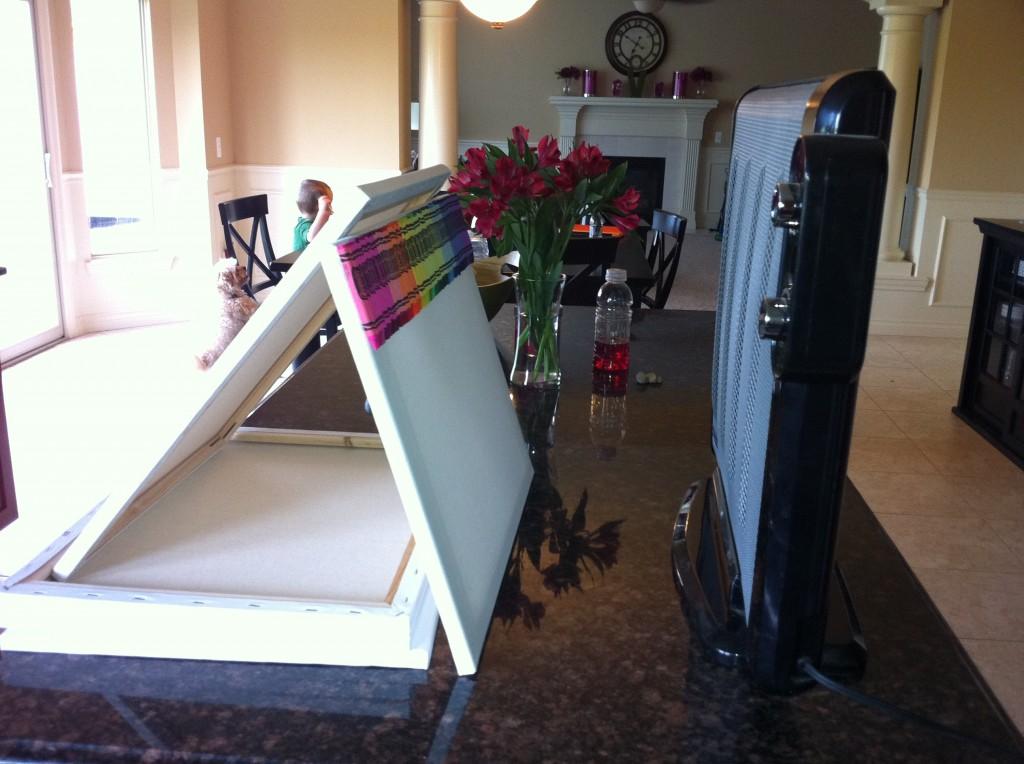
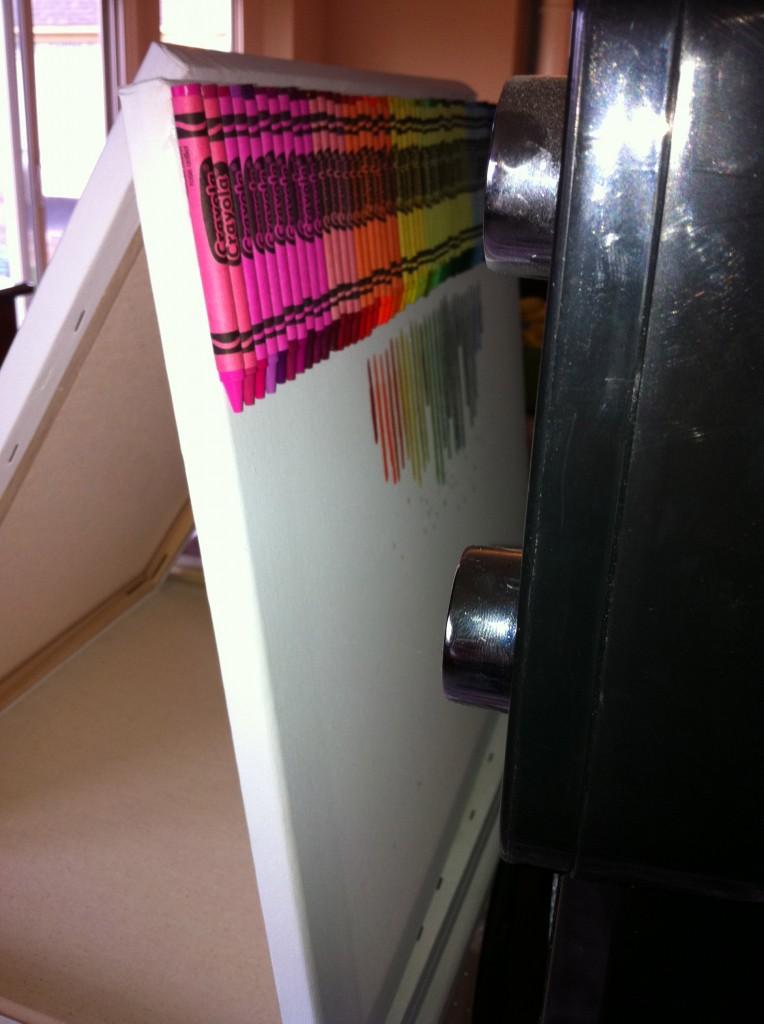
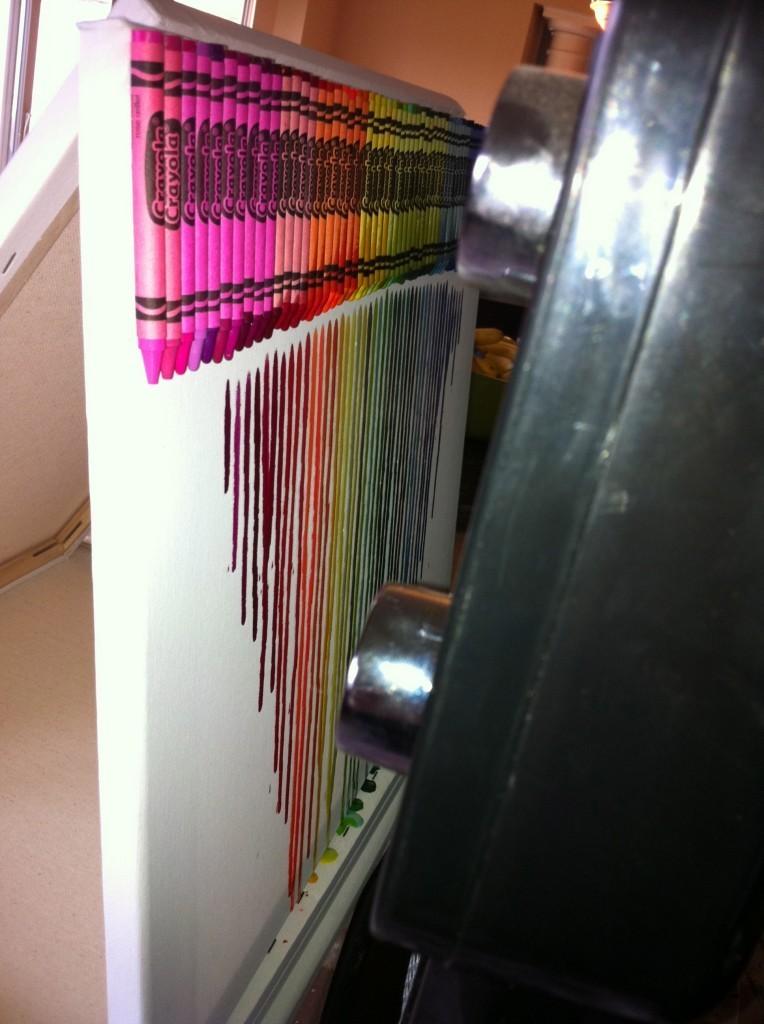
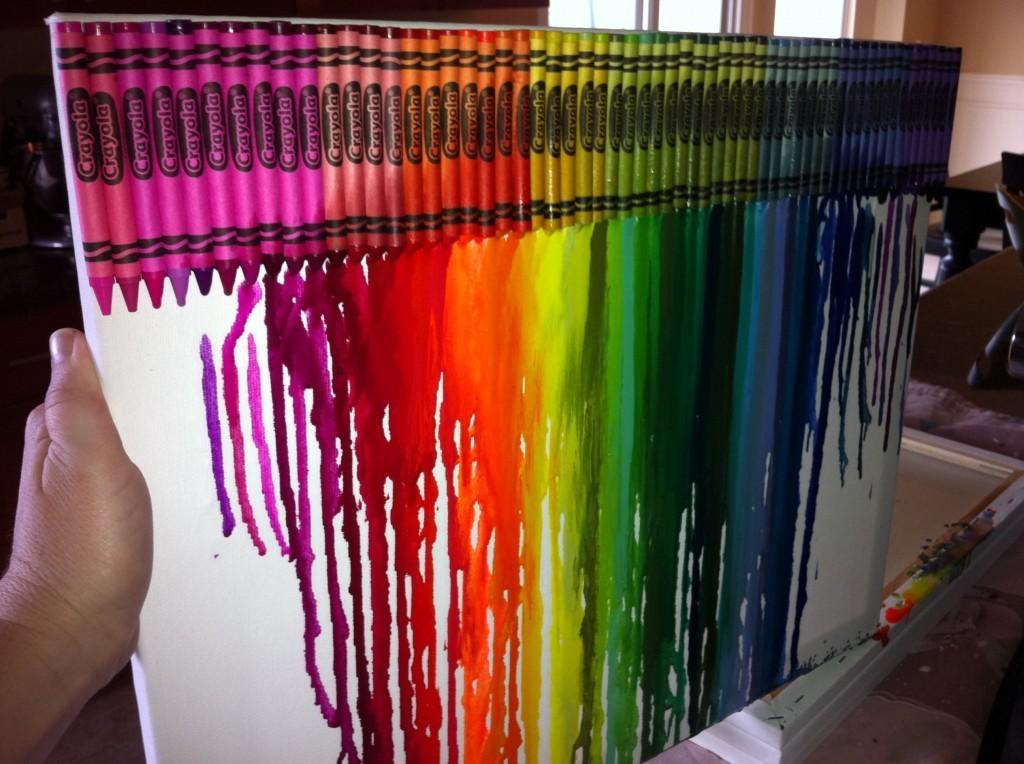
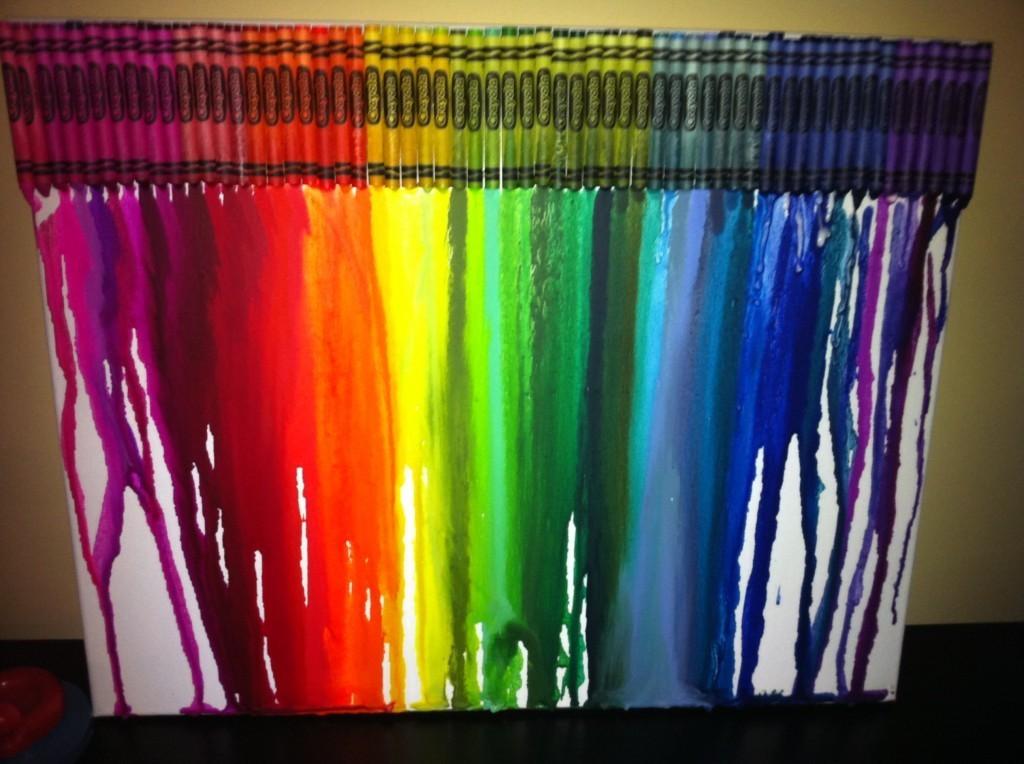
I am now even more excited about making more. I love the way the heater melted the crayons. I may try to leave one outside one day, just to see how the sun would melt the crayons. I think I spent $8 on the box of crayons and maybe $5 on the canvas, so this is a super cheap project. Way less than the ones on Etsy go for!!
Have you done any melted crayon art projects yet? What’s your opinion? Yay or nay?


Adorable! So that glue is just elmers? I would of been nervous that the crayons would slip with the heat. I’ve GOT to try this. Oh, and will you (aka B) PLEASE make that adorable storage container on your pinterest with buckets tied together. I REALLY want to do that soon, but want you to do it first (lol)…I want to know where to buy the buckets, and step-by-step directions. Thanks! 😉
Yes, it’s just plain old white Elmers glue. And I love that bucket thing!! I think you and Jon should make it!!!!
I see an Ann Arbor art fair in your future $$$$$ cha ching. Those are sooooo neat!!
http://www.storiesbycindy.blogspot.com
I love it..but what are you doing with it after it’s done? Hanging it up in the playroom?
I haven’t tried it yet but I will!! I bought thd crayons and just have to run out for the canvas. I’m going to start with the 11×14 size. I’m thinking of using a heat tool that is used for embossing. It makes heated air like a blow dryer but without the actual blowing. I love how it turned our with a space heater and since I don’t have one (living in NC and all) I’ll try something else. If it turns out I’ll post it on FB! 🙂
This is very cool. I like this one better than the last. As for heating in the sun, I would be concerned it wouldn’t run but just melt into a clump. I would be curious to see what would really happen.
i’m totally doing this for our new playroom
I have done 6 different variations so far, trying this and that, but nothing beats the original! I found a 5 pack of the bigger canvases for $20 at Michaels and I bought (no joke) 27 boxes of the 24-count Crayola crayons for $1.17 each at Walmart…I didn’t need all the colors the larger count boxes had and figured all the colors I wanted were in the 24 count anyway. If you do stock up on crayons, I highly suggest grouping to colors together and separating them into the empty boxes…instead of what I did and just had a shambles in every box. 🙂
the blue part reminds me of a waterfall. we are also doing melted crayon art in belle chasse high school, except instead of gluing the crayons on the canvas we actually melt the crayons until it forms a picture…i am doing the Mona lisa painting in crayon form it will be hard, but i wil learn as i go along…lol lovely project by the way 😉
Really awesome one.